|
vwhelmot
|
 |
« Reply #90 on: June 29, 2015, 21:36:08 pm » |
|
|
|
|
|
« Last Edit: June 29, 2015, 21:38:46 pm by vwhelmot »
|
 Logged
|
|
|
|
|
vwhelmot
|
|
« Reply #91 on: June 29, 2015, 21:41:12 pm » |
|
|
|
|
|
|
Logged
|
|
|
|
|
vwhelmot
|
|
« Reply #92 on: June 30, 2015, 08:08:14 am » |
|
|
|
|
|
|
Logged
|
|
|
|
|
vwhelmot
|
|
« Reply #93 on: June 30, 2015, 09:02:02 am » |
|
|
|
|
|
|
Logged
|
|
|
|
|
|
|
|
|
karl h
|
|
« Reply #96 on: June 30, 2015, 10:55:03 am » |
|
what kind of weld-through primer do you use?
|
|
|
|
|
Logged
|
|
|
|
|
vwhelmot
|
|
« Reply #97 on: June 30, 2015, 12:27:37 pm » |
|
upol Wed#2 Good stuff
|
|
|
|
|
Logged
|
|
|
|
|
vwhelmot
|
|
« Reply #98 on: June 30, 2015, 12:36:14 pm » |
|
|
|
|
|
|
Logged
|
|
|
|
|
BeetleBug
|
|
« Reply #99 on: June 30, 2015, 12:53:22 pm » |
|
upol Wed#2 Good stuff
Volvo also have a really good one: 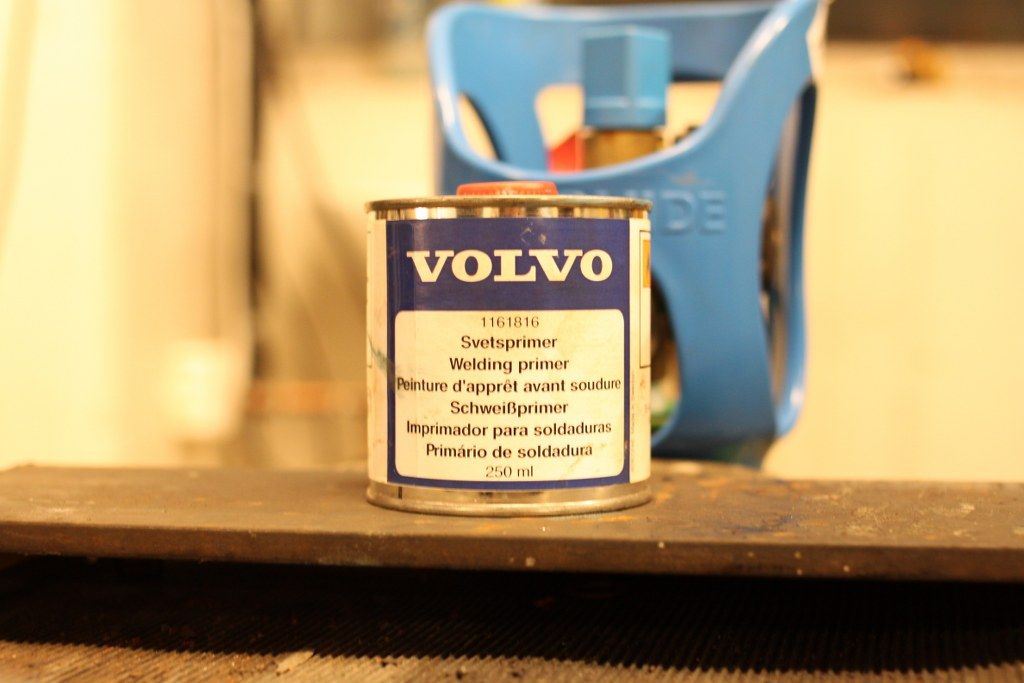 Best rgs BB |
|
|
|
|
Logged
|
10.41 - 100ci - 1641ccm - 400hp
|
|
|
|
vwhelmot
|
|
« Reply #100 on: June 30, 2015, 13:28:49 pm » |
|
Yeah but that's only for Volvos  |
|
|
|
|
Logged
|
|
|
|
|
VWGlassee
|
|
« Reply #101 on: June 30, 2015, 23:10:43 pm » |
|
Really loving your resto! Keep the updates commin'!  |
|
|
|
|
Logged
|
Get In, Sit Down, Shut Up, & Hold On
|
|
|
|
karl h
|
|
« Reply #102 on: July 01, 2015, 06:49:00 am » |
|
i tried to get the upol primer, but no one in the uk will ship it to Austria  |
|
|
|
|
Logged
|
|
|
|
|
vwhelmot
|
|
« Reply #103 on: July 01, 2015, 11:14:56 am » |
|
I`m sure there are other products on the market  Next on the list was to do something about the poor quality pressing on the front of the channel. It had not been formed properly so I had to do something about it. The black line was where I had to cut the lower quarter as it sloped downwards and I wanted it straight.  Trimmed straight first 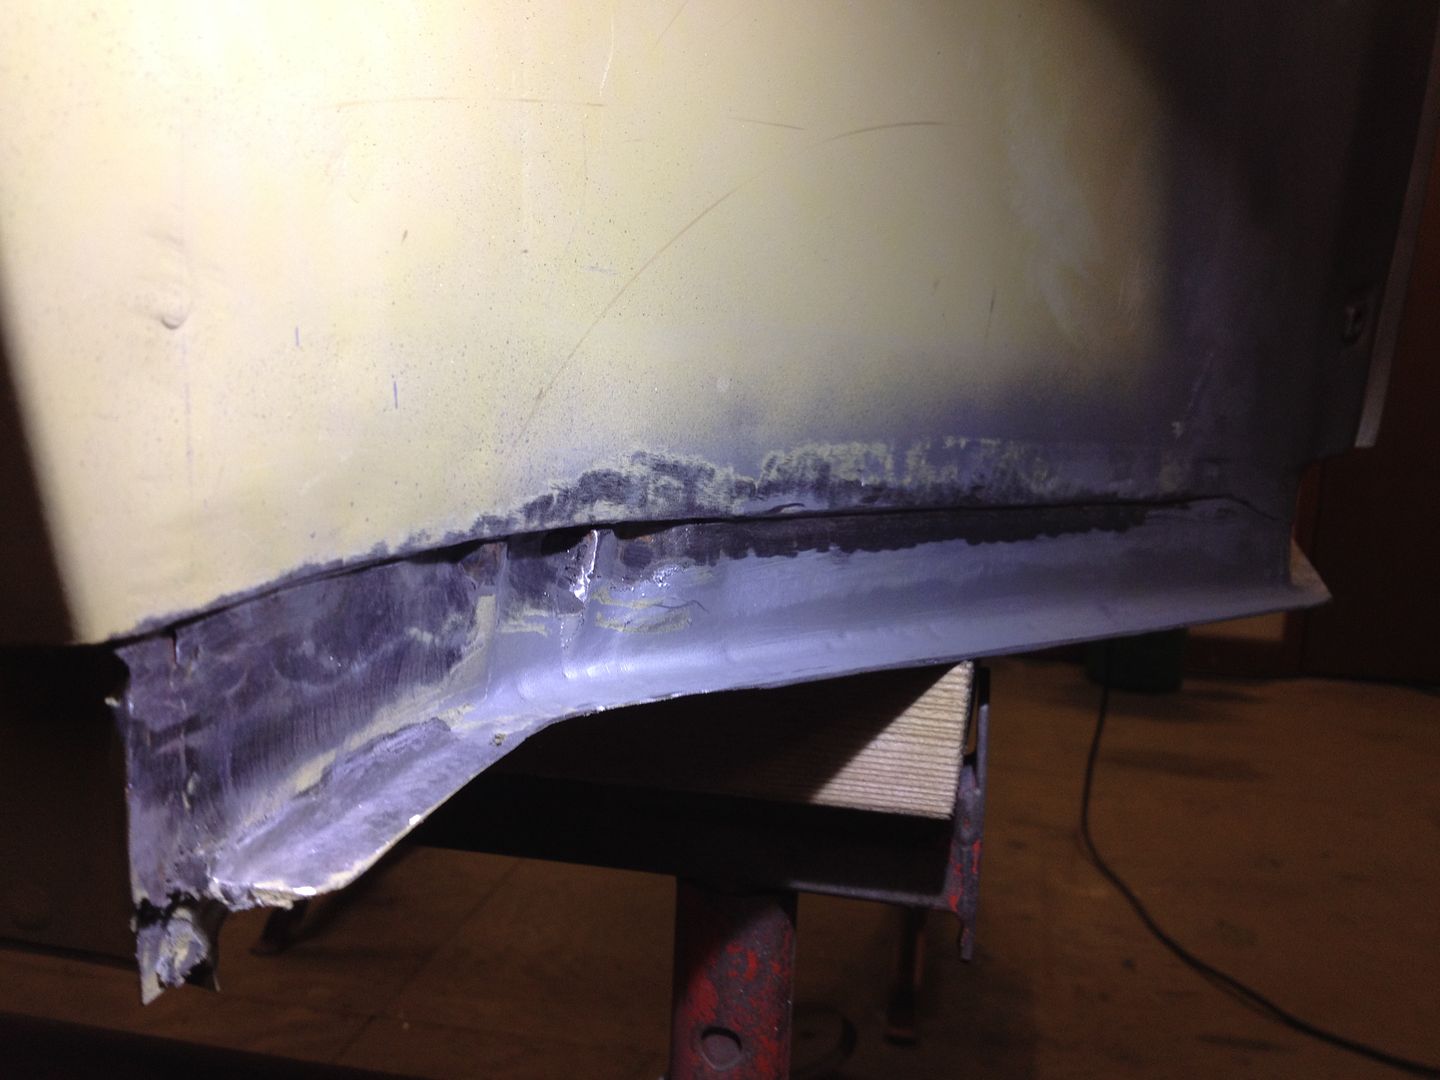 These are the two sections I had to cut out 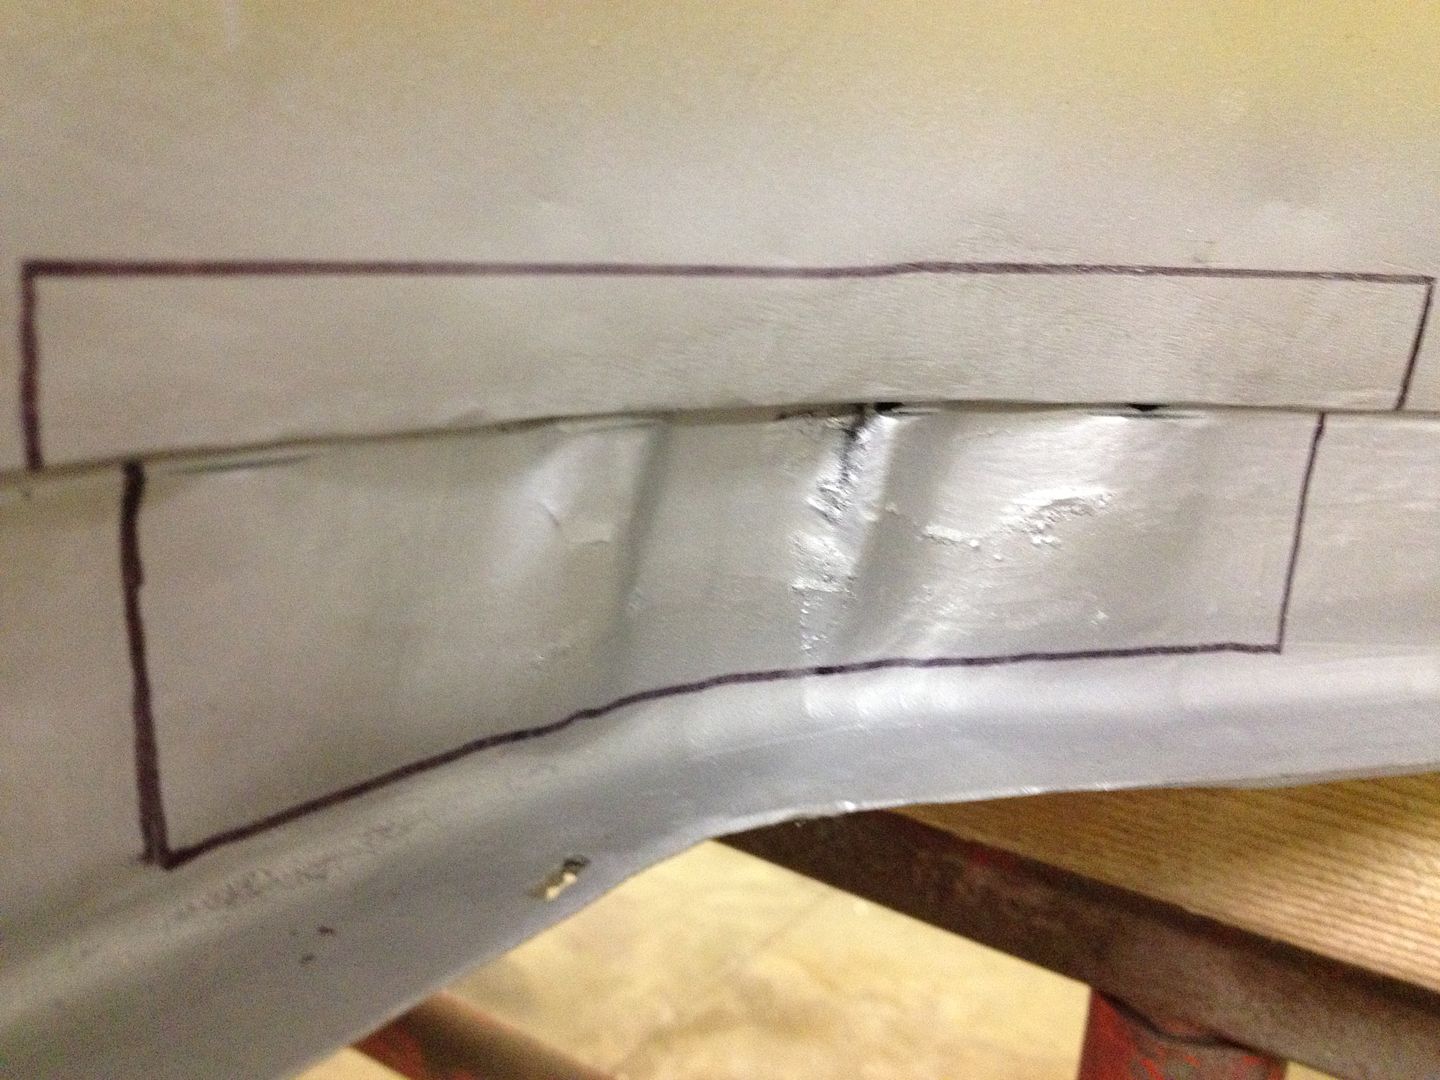 Done 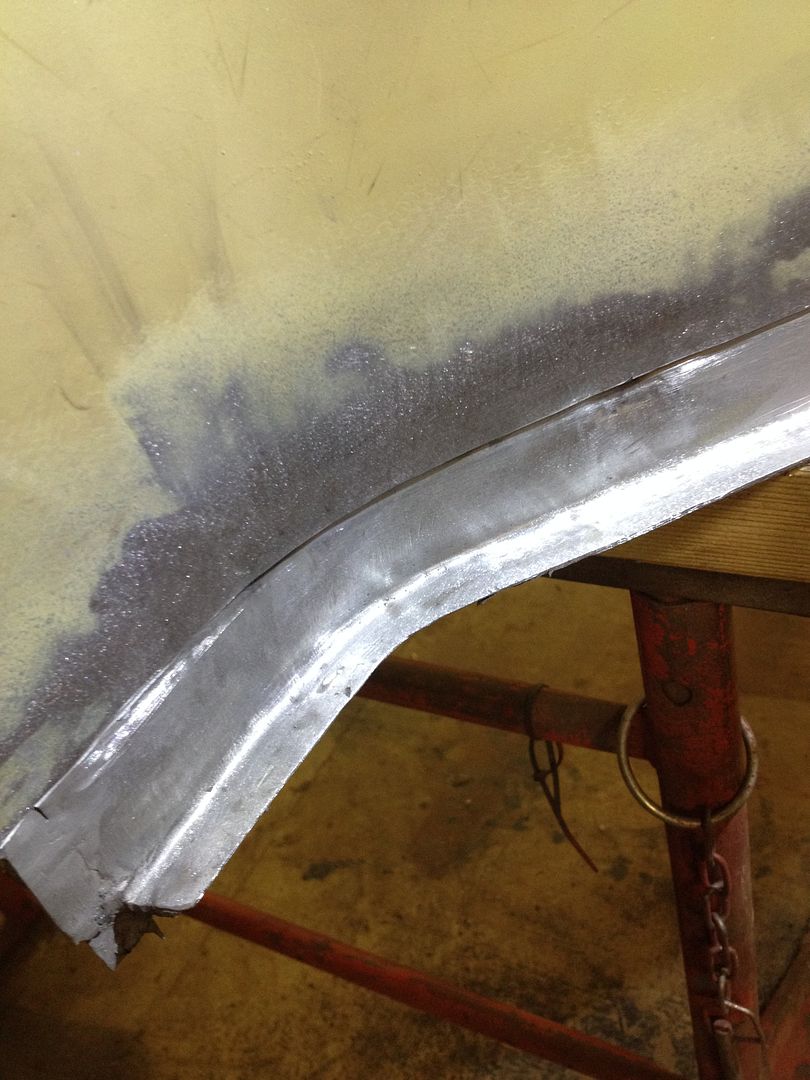 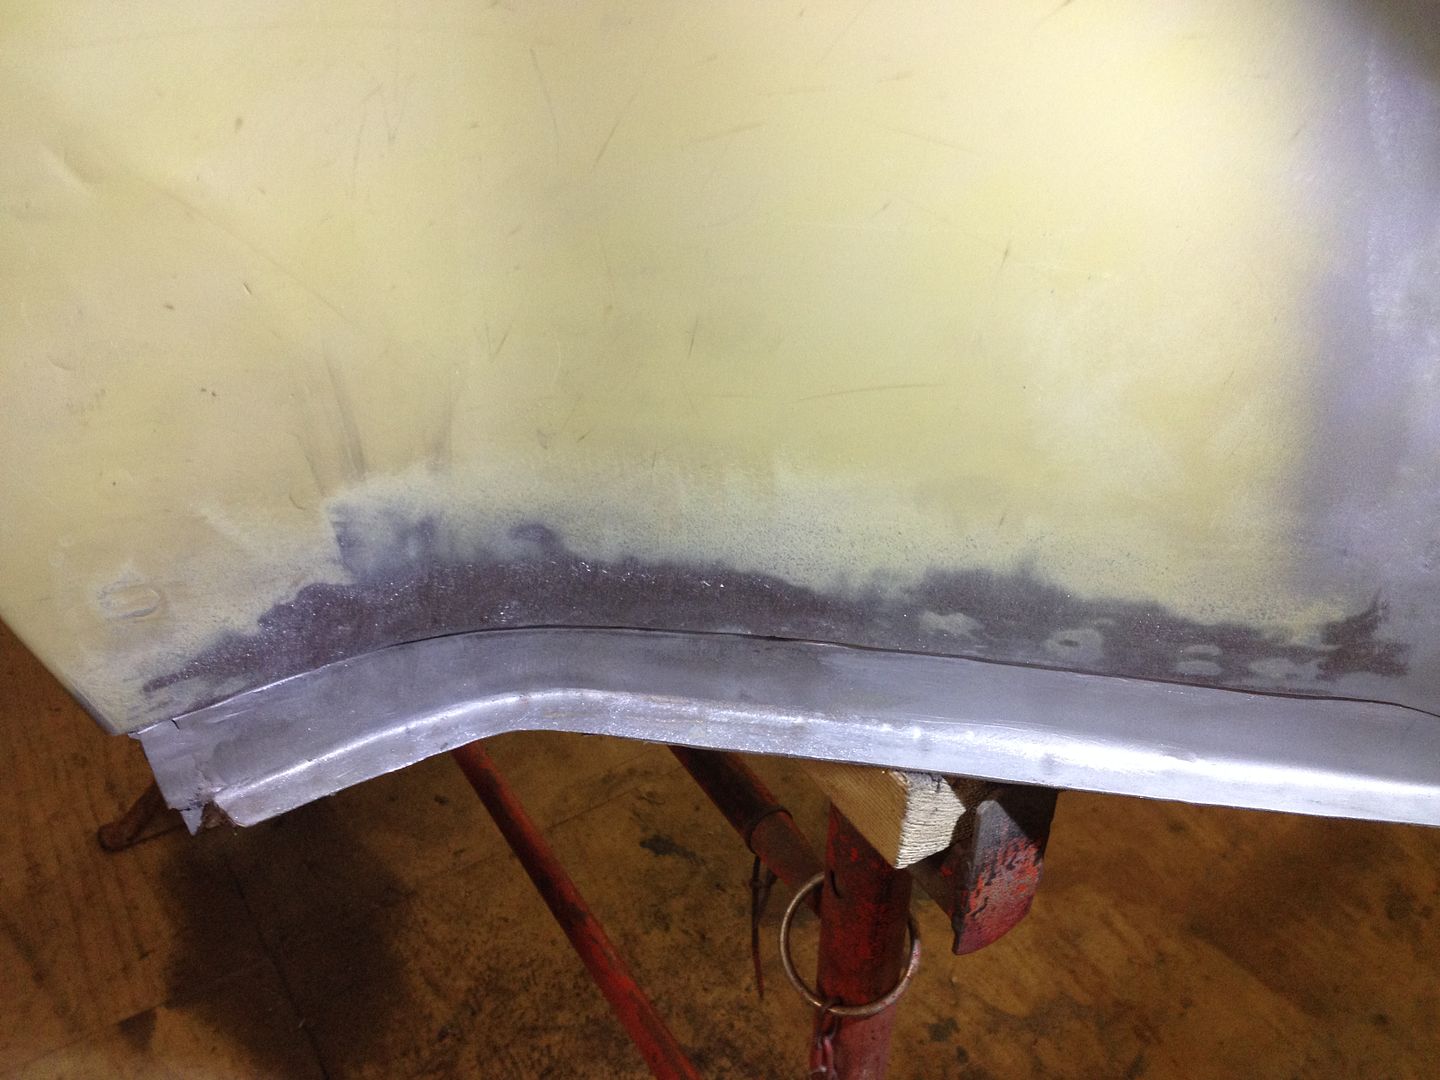 Up to this point the shell looked like this . More and more silver areas were added 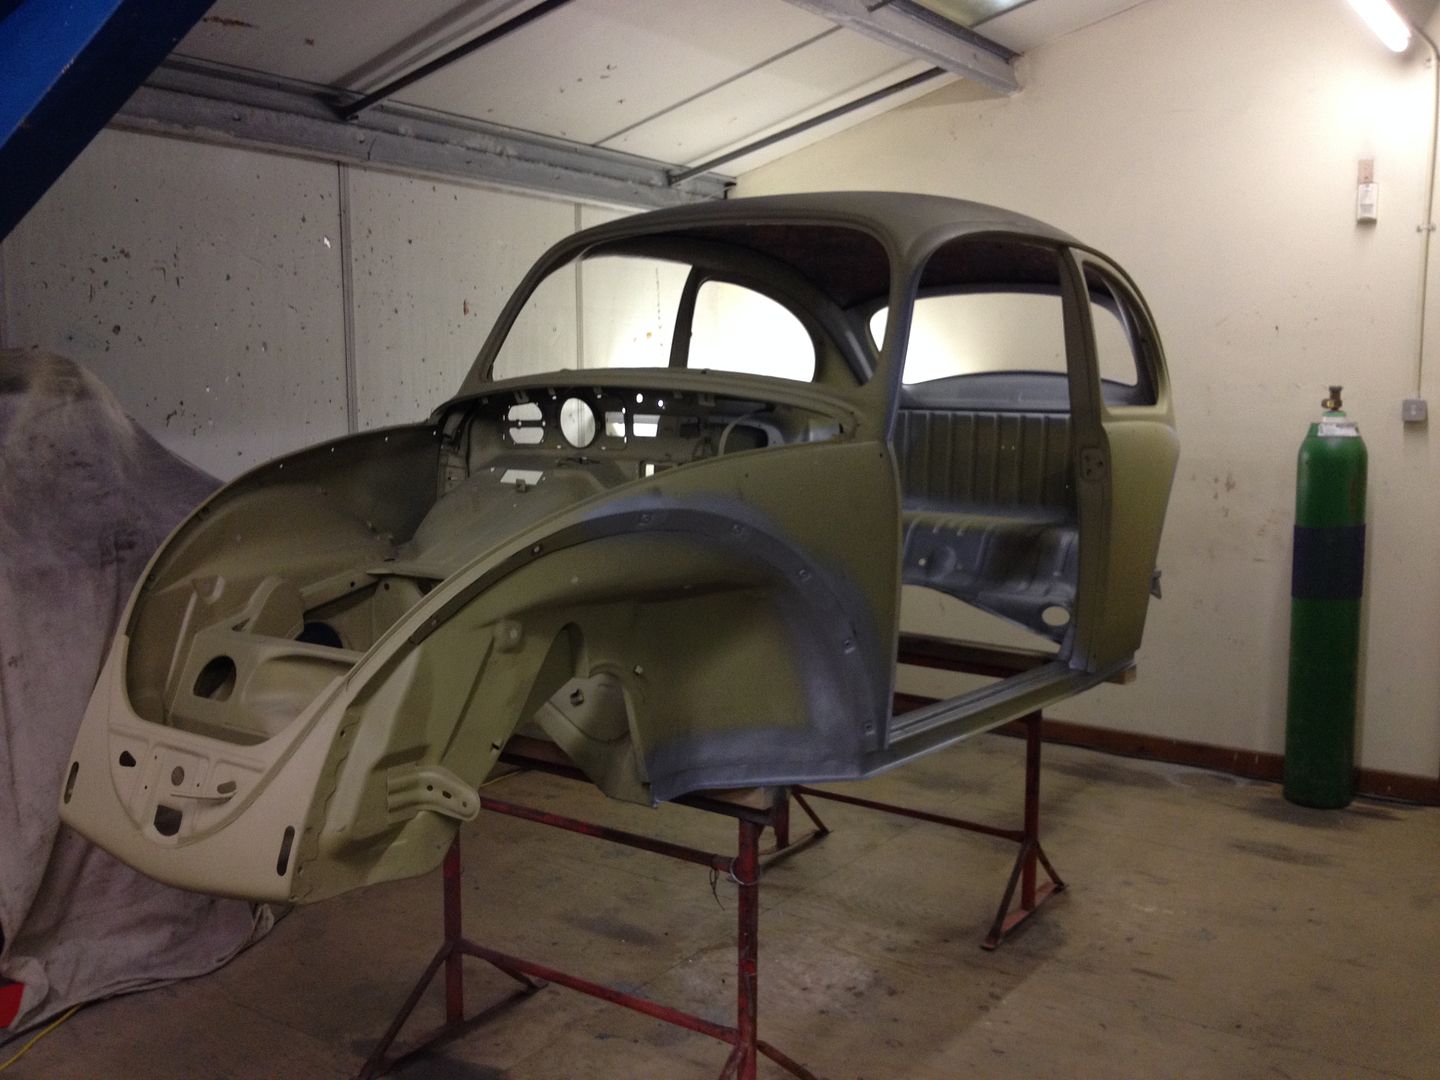 |
|
|
|
|
Logged
|
|
|
|
|
vwhelmot
|
|
« Reply #104 on: July 01, 2015, 11:50:18 am » |
|
|
|
|
|
|
Logged
|
|
|
|
|
BeetleBug
|
|
« Reply #105 on: July 01, 2015, 12:13:03 pm » |
|
I cant believe I`m skipping through all this so quick, its taken a lot of hours to get to just this point and there is a lot more to come. Hope I`m entertaining you and not boring you with my shit. I just wanted to show what has been done so that when its finished its not just the same car tidied up. Many many hours have been put into all the other detail stuff too. I think I should slow this thread down a bit.  Please keep the updates coming. You are setting new standards and it is really interesting to see all the work you have done and your detailed pictures. Best rgs BB |
|
|
|
|
Logged
|
10.41 - 100ci - 1641ccm - 400hp
|
|
|
|
Eddie DVK
|
|
« Reply #106 on: July 01, 2015, 12:26:46 pm » |
|
I cant believe I`m skipping through all this so quick, its taken a lot of hours to get to just this point and there is a lot more to come. Hope I`m entertaining you and not boring you with my shit. I just wanted to show what has been done so that when its finished its not just the same car tidied up. Many many hours have been put into all the other detail stuff too. I think I should slow this thread down a bit. Please keep the updates coming. You are setting new standards and it is really interesting to see all the work you have done and your detailed pictures. Best rgs BB Yep and the sh... part is it looks so easy...   but I tried it sometimes I am not skilled yet.. |
|
|
|
|
Logged
|
Regards Edgar
" Type 4, it is a completely different engine. You have to drive one to understand! "
|
|
|
|
vwhelmot
|
|
« Reply #107 on: July 02, 2015, 12:06:01 pm » |
|
|
|
|
|
|
Logged
|
|
|
|
|
vwhelmot
|
|
« Reply #108 on: July 02, 2015, 12:45:48 pm » |
|
Before I cut the cross member out , I cut out the horrible repair I did years ago on the front quarter. It was nasty.. 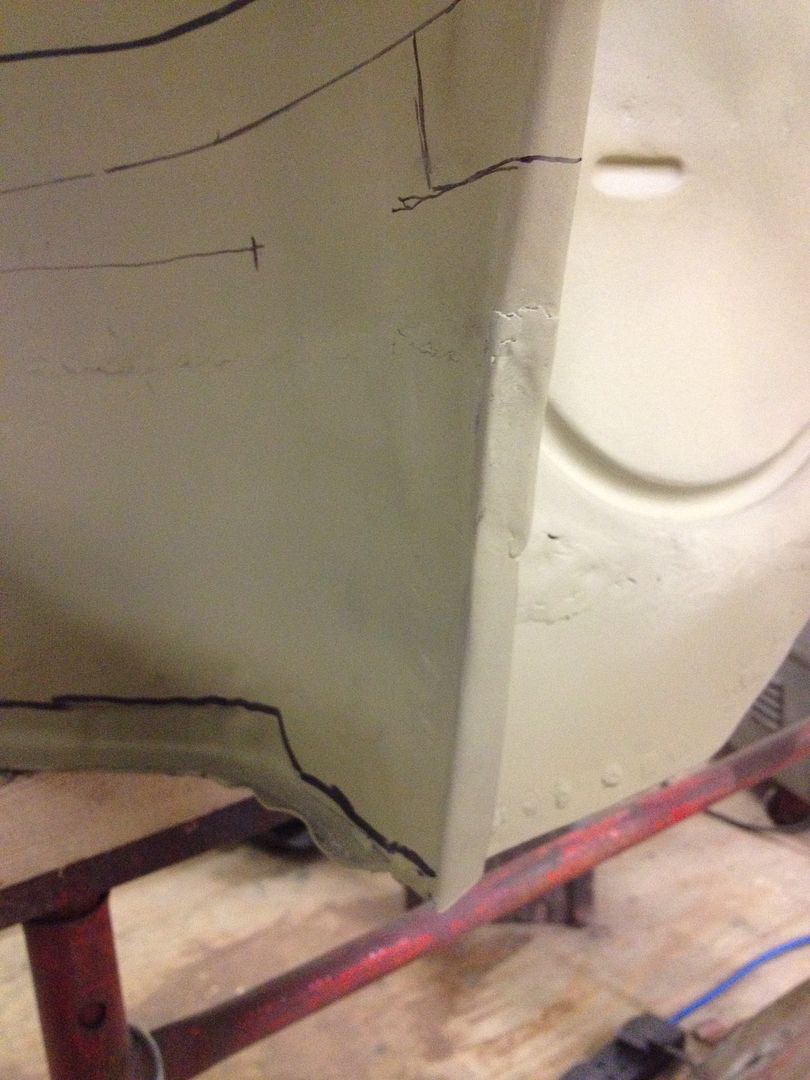 The 'needed' writing was there so there was no confusion as to what sections i needed when emailing people with photos with exactly what i wanted!  This is what it was hiding! :shock: 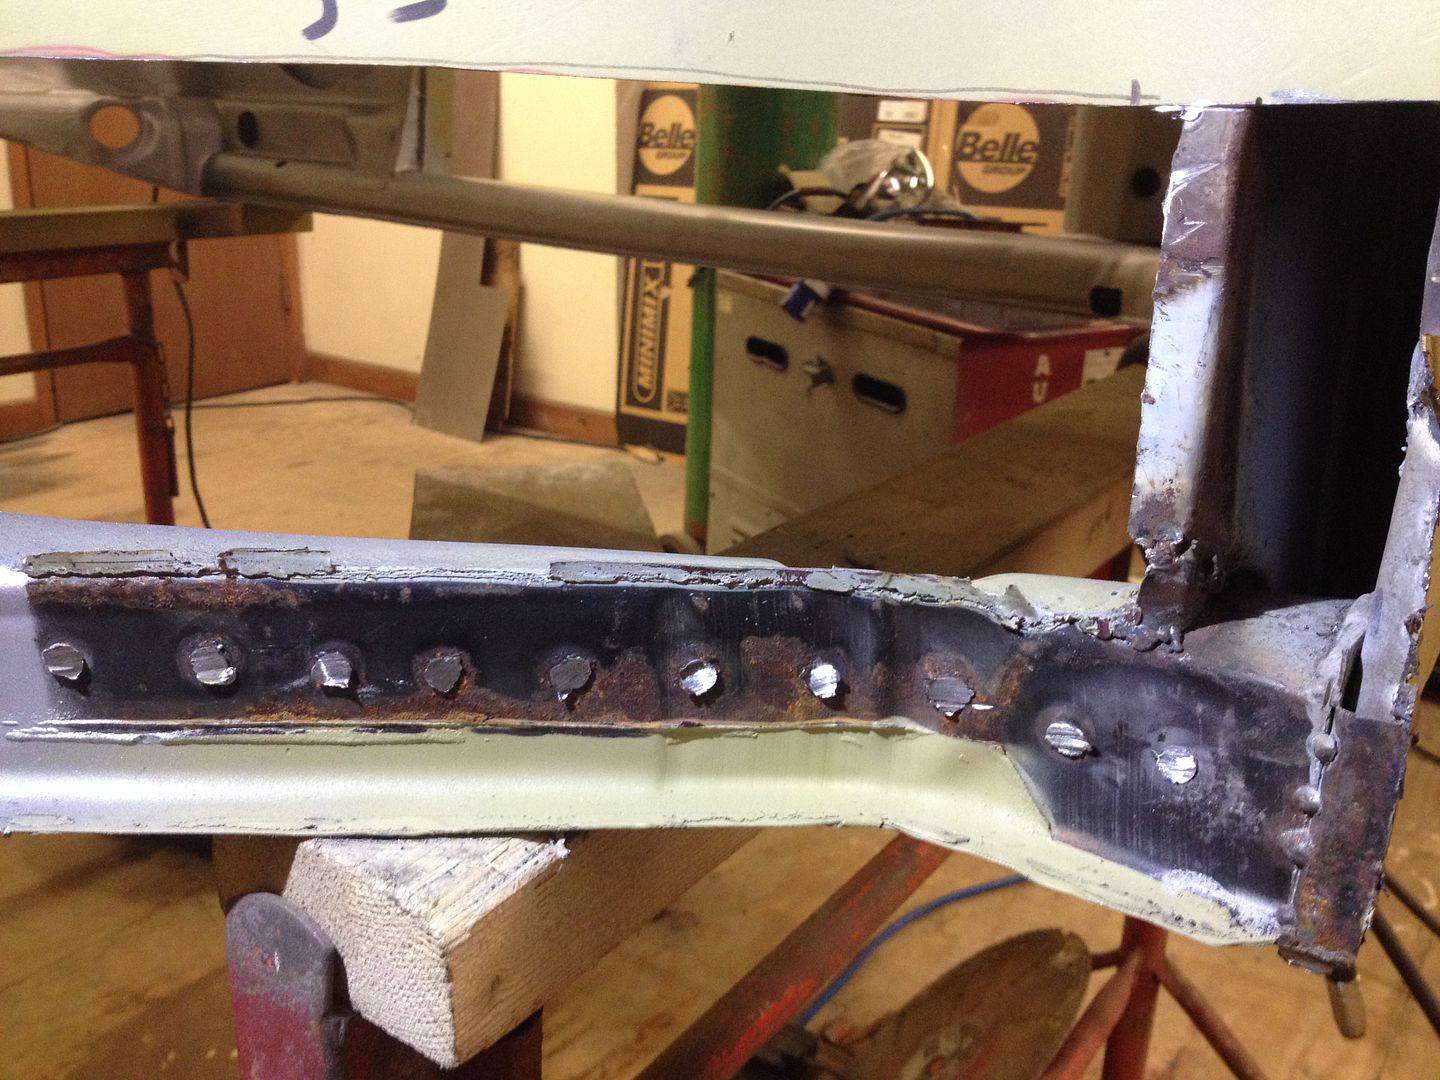 Told you it was nasty! 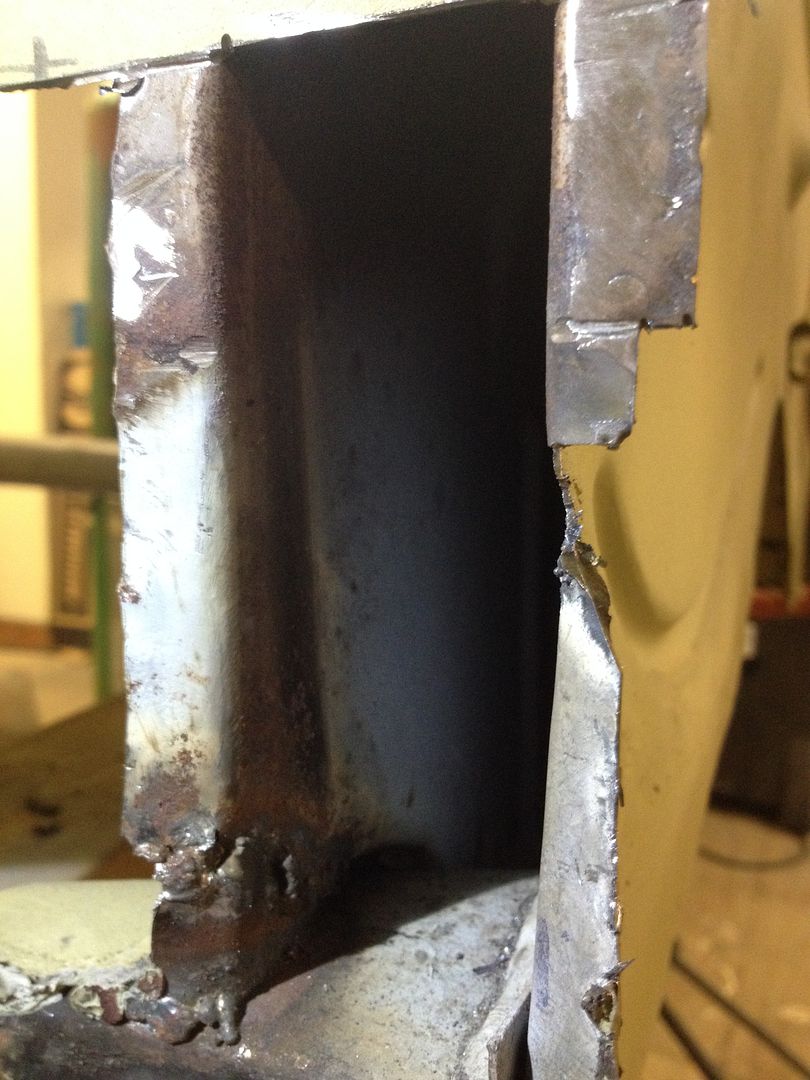 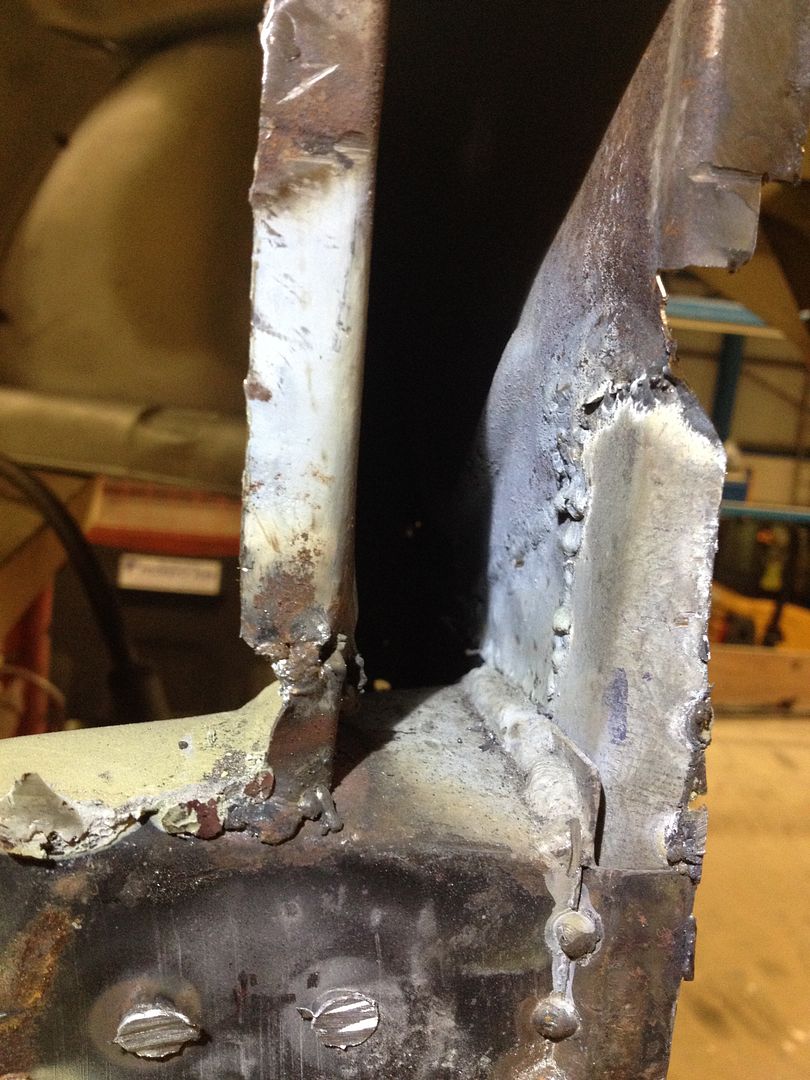 I was dreading this area to be honest, i knew it would be difficult to get it to look factory fresh. Cut out the old one, which was a bastard of a job 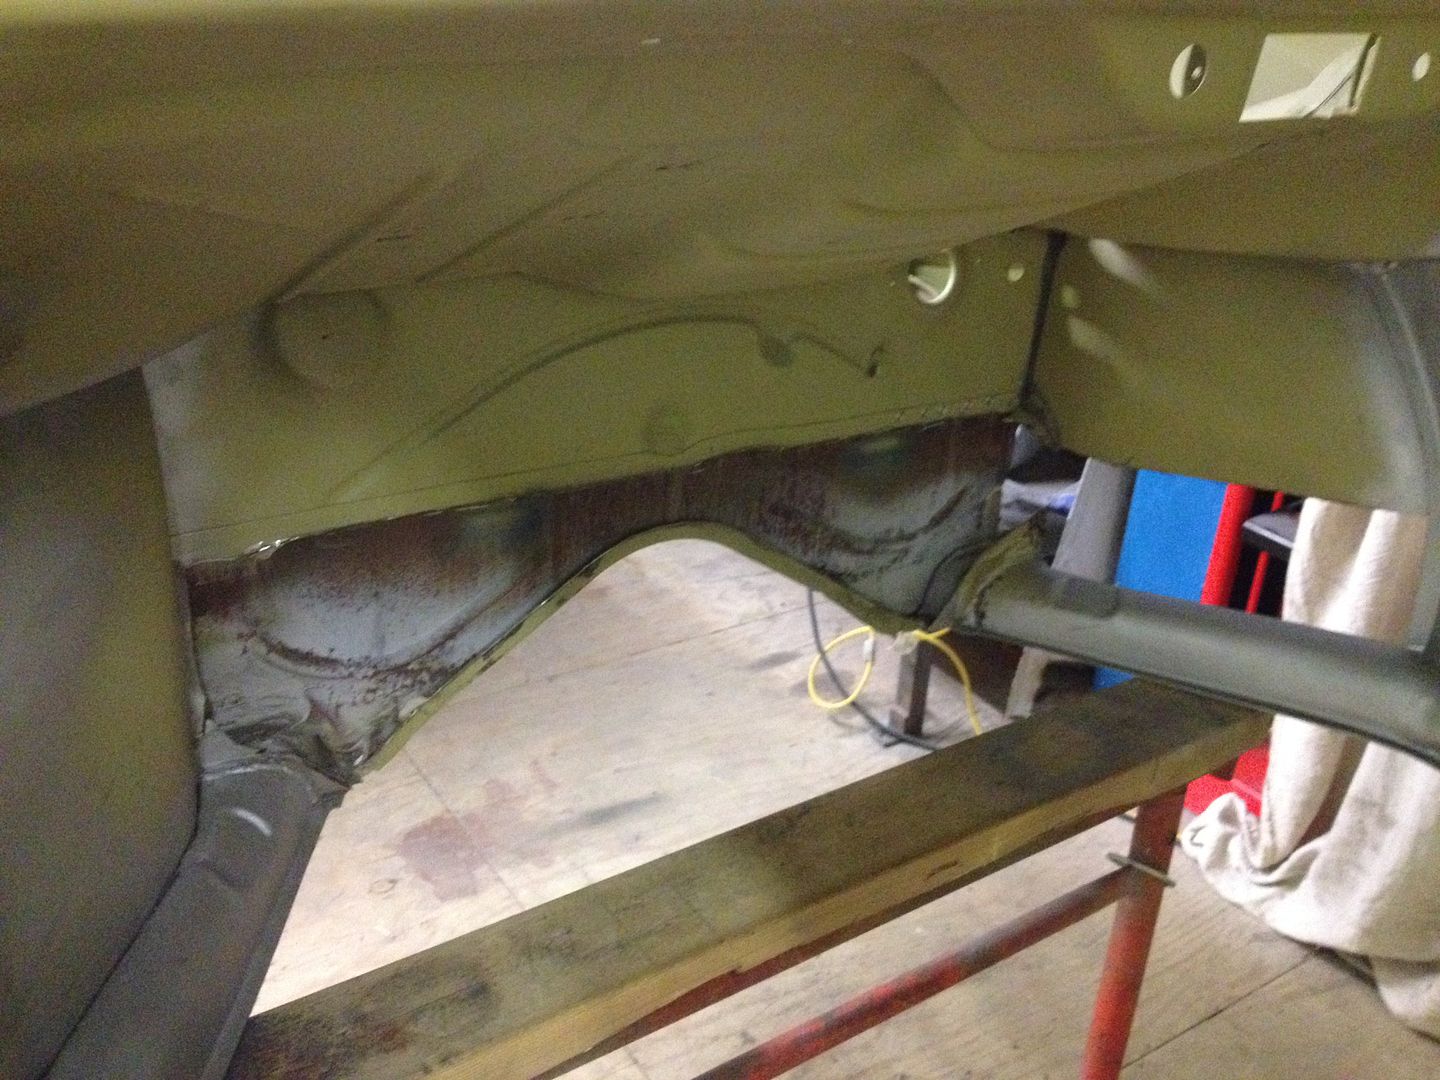 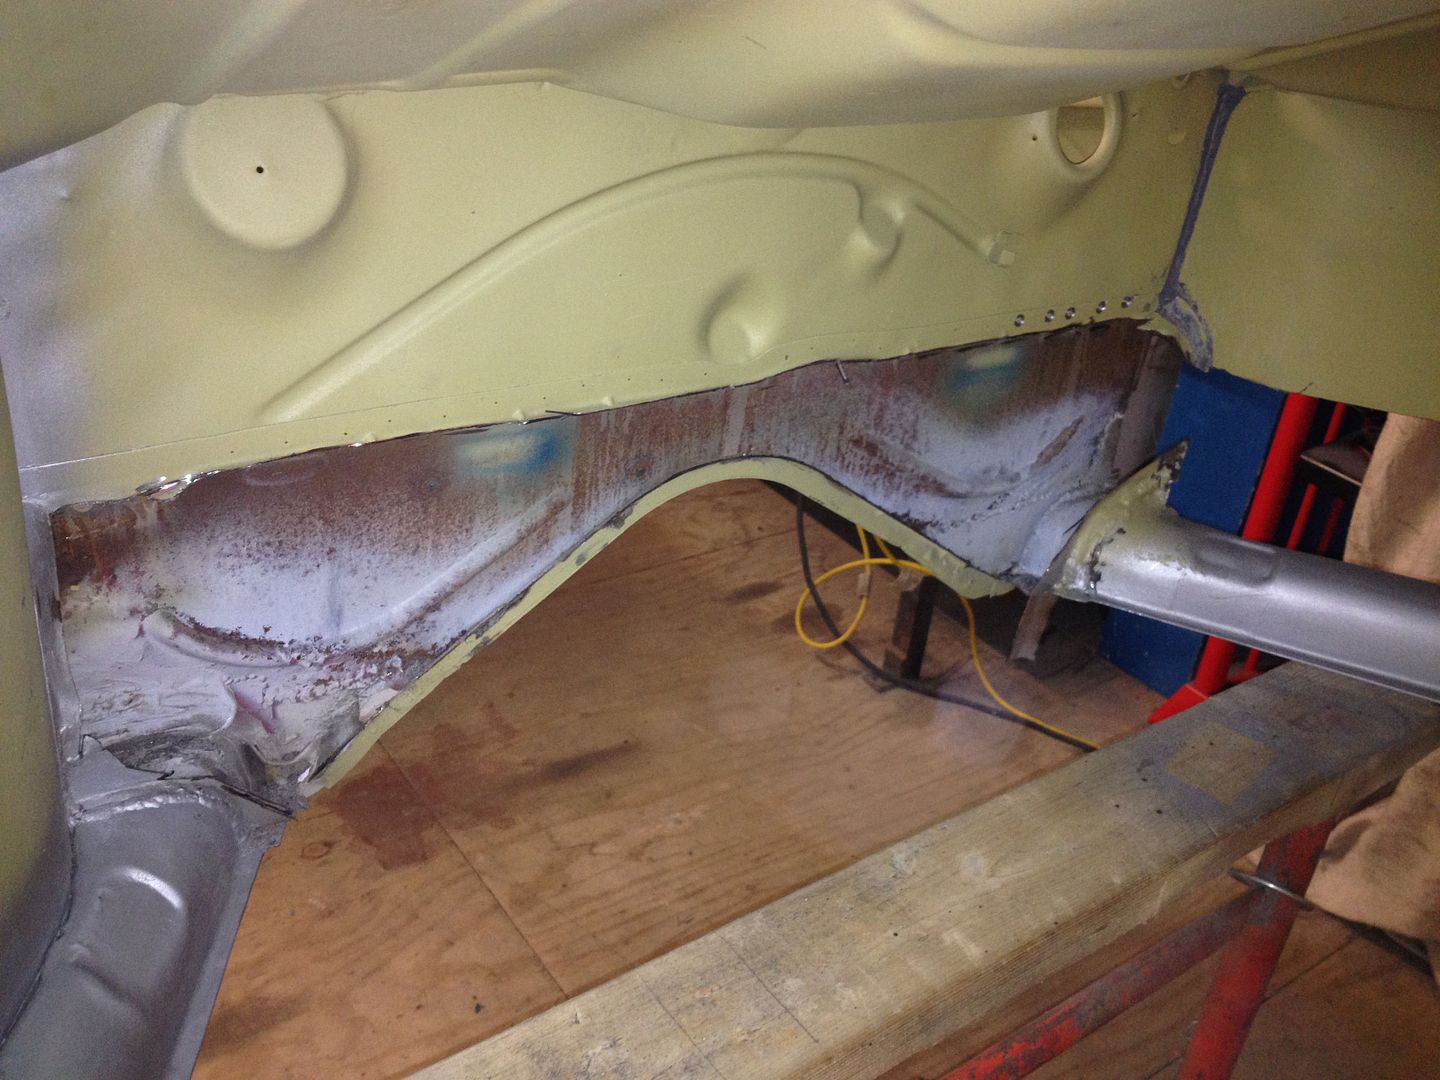 Job done..... 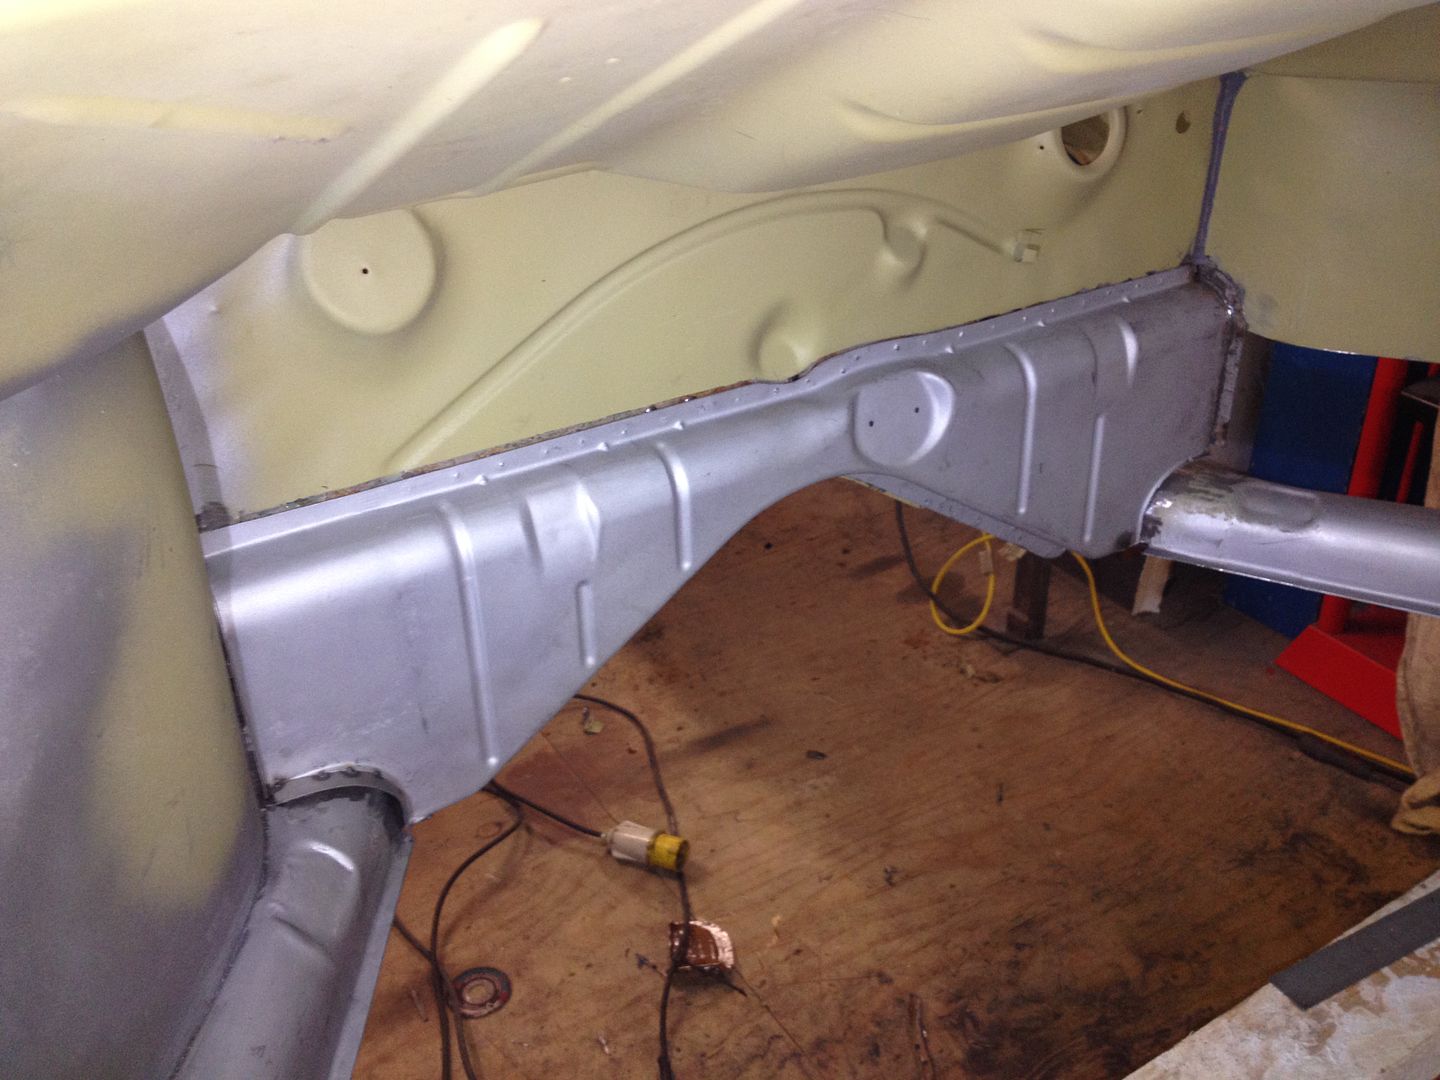 Only joking |
|
|
|
|
Logged
|
|
|
|
|
karl h
|
|
« Reply #109 on: July 02, 2015, 13:53:24 pm » |
|
going to smooth the boss where the steering column passes through the bulkhead on LHD cars?
|
|
|
|
|
Logged
|
|
|
|
|
vwhelmot
|
|
« Reply #110 on: July 02, 2015, 14:46:06 pm » |
|
You got me ! I did think about it and I still might delete it but being that its a flat panel and thin sheet (0.6mm) it would be really difficult to get it right and also I might use that raised area for something else.  |
|
|
|
|
Logged
|
|
|
|
|
vwhelmot
|
|
« Reply #111 on: July 03, 2015, 12:05:37 pm » |
|
|
|
|
|
|
Logged
|
|
|
|
|
vwhelmot
|
|
« Reply #112 on: July 03, 2015, 12:27:29 pm » |
|
|
|
|
|
|
Logged
|
|
|
|
|
Lids
|
|
« Reply #113 on: July 04, 2015, 15:22:18 pm » |
|
This is an awesome thread your work is amazing.
It reminds me of the 50's cabriolet on restowagen all those years ago.
|
|
|
|
|
Logged
|
|
|
|
DHP 60
Newbie

Posts: 8
|
|
« Reply #114 on: July 04, 2015, 17:11:53 pm » |
|
This is an awesome thread your work is amazing.
It reminds me of the 50's cabriolet on restowagen all those years ago.
Thought same thing. This is great work. |
|
|
|
|
Logged
|
|
|
|
|
WCB Hitler's Hot Rod
|
|
« Reply #115 on: July 05, 2015, 15:39:03 pm » |
|
Keep 'em coming. This thread shows some amazing work. You're a true master at what you do. Unbelievable. I spend an hour just looking at your pics. How many hours do you have in time so far? I can only imagine!!  |
|
|
|
|
Logged
|
WARNING! BE PREPARED FOR A ROLLING BLACKOUT.
West Coast Blitz... "Motha Sucka!"
You may have some Swag, but I OWN da Swagoo!!
This right here is my 'lil Nazi-killa!
|
|
|
|
j-f
|
|
« Reply #116 on: July 05, 2015, 19:51:47 pm » |
|
Awesome work and great pictures! Very instructive! Thanks for sharing and to spend times taken pics and explain what you do. |
|
|
|
|
Logged
|
|
|
|
|
vwhelmot
|
|
« Reply #117 on: July 06, 2015, 10:13:11 am » |
|
|
|
|
|
|
Logged
|
|
|
|
|
vwhelmot
|
|
« Reply #118 on: July 06, 2015, 10:45:25 am » |
|
|
|
|
|
|
Logged
|
|
|
|
|
vwhelmot
|
|
« Reply #119 on: July 06, 2015, 11:02:07 am » |
|
|
|
|
|
« Last Edit: July 06, 2015, 11:18:12 am by vwhelmot »
|
Logged
|
|
|
|
|
 The Cal-look Lounge


 Author