|
vwhelmot
|
 |
« Reply #120 on: July 07, 2015, 09:38:04 am » |
|
|
|
|
|
« Last Edit: July 07, 2015, 09:42:31 am by vwhelmot »
|
 Logged
|
|
|
|
|
Lids
|
|
« Reply #121 on: July 07, 2015, 21:21:35 pm » |
|
two questions:
1 - what weld through primer are you using
2 - how are you finishing the welds? What type of sander is it etc
|
|
|
|
|
Logged
|
|
|
|
|
vwhelmot
|
|
« Reply #122 on: July 07, 2015, 22:10:12 pm » |
|
Upol weld 2
I linish the weld with a 1" belt sander and then use a random orb sander. All of my tools are Makita. I know them inside and out.
|
|
|
|
|
Logged
|
|
|
|
|
vwhelmot
|
|
« Reply #123 on: July 09, 2015, 10:55:25 am » |
|
|
|
|
|
|
Logged
|
|
|
|
|
vwhelmot
|
|
« Reply #124 on: July 09, 2015, 11:06:12 am » |
|
As I wanted a nice invisible repair both inside and out I knew there would be an issue with metal thickness and I was right. Over the years of abuse, rust, blasting, scraping etc the inner quarter had gone thin, it starter from the factory as around 1mm sheet and mine was on average .7mm 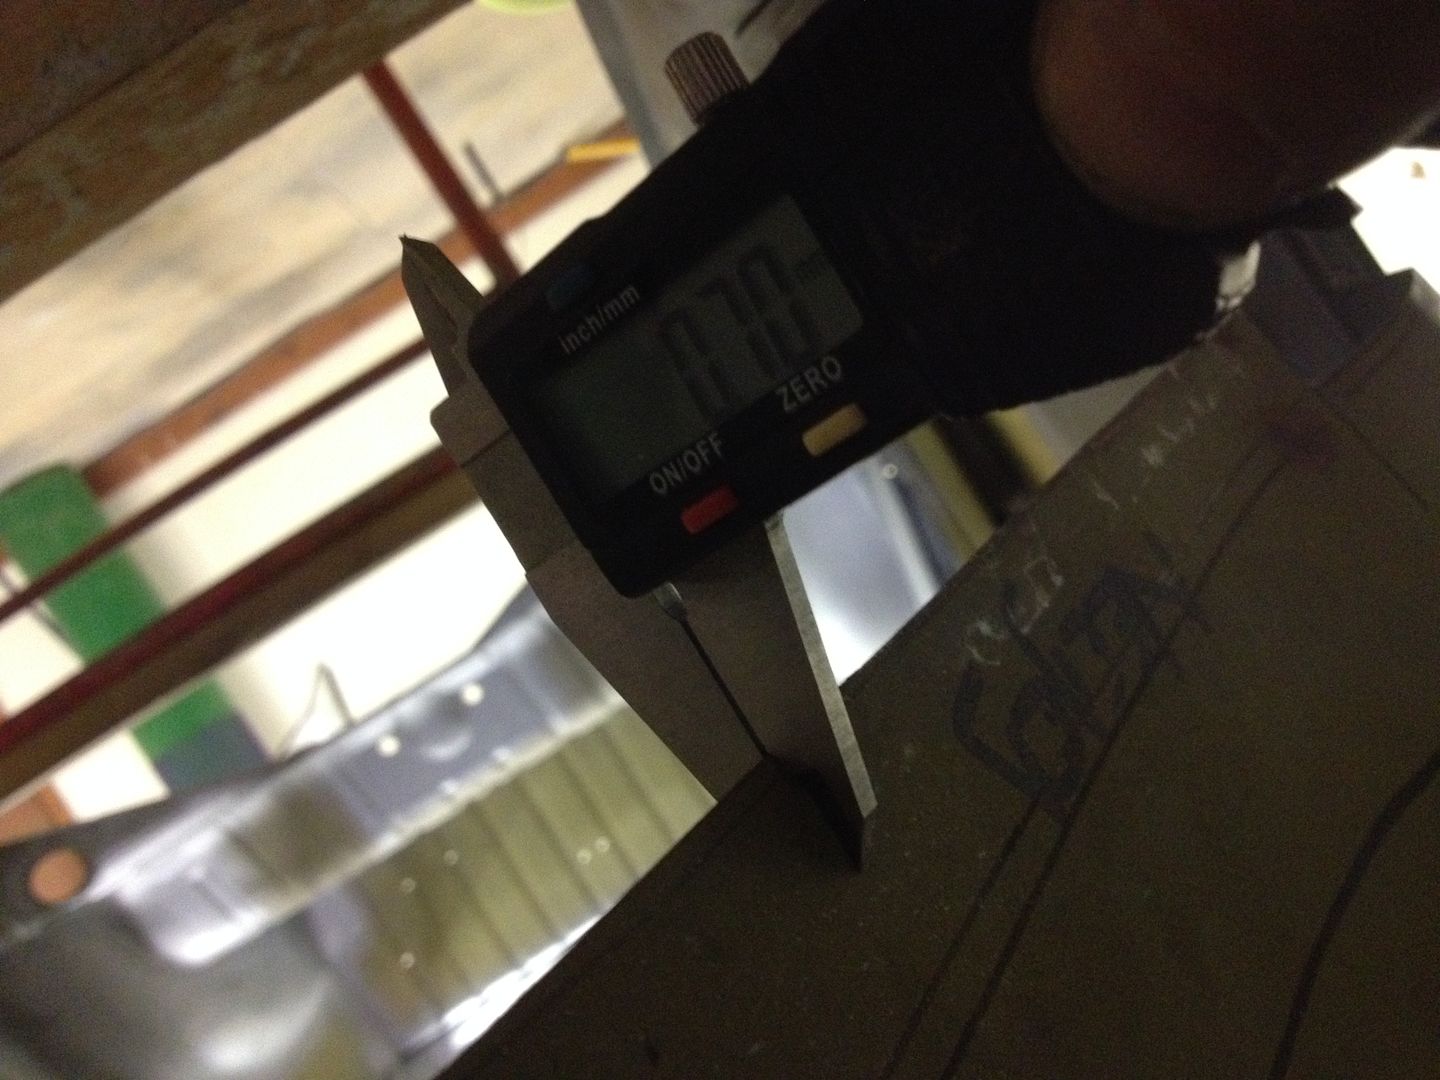 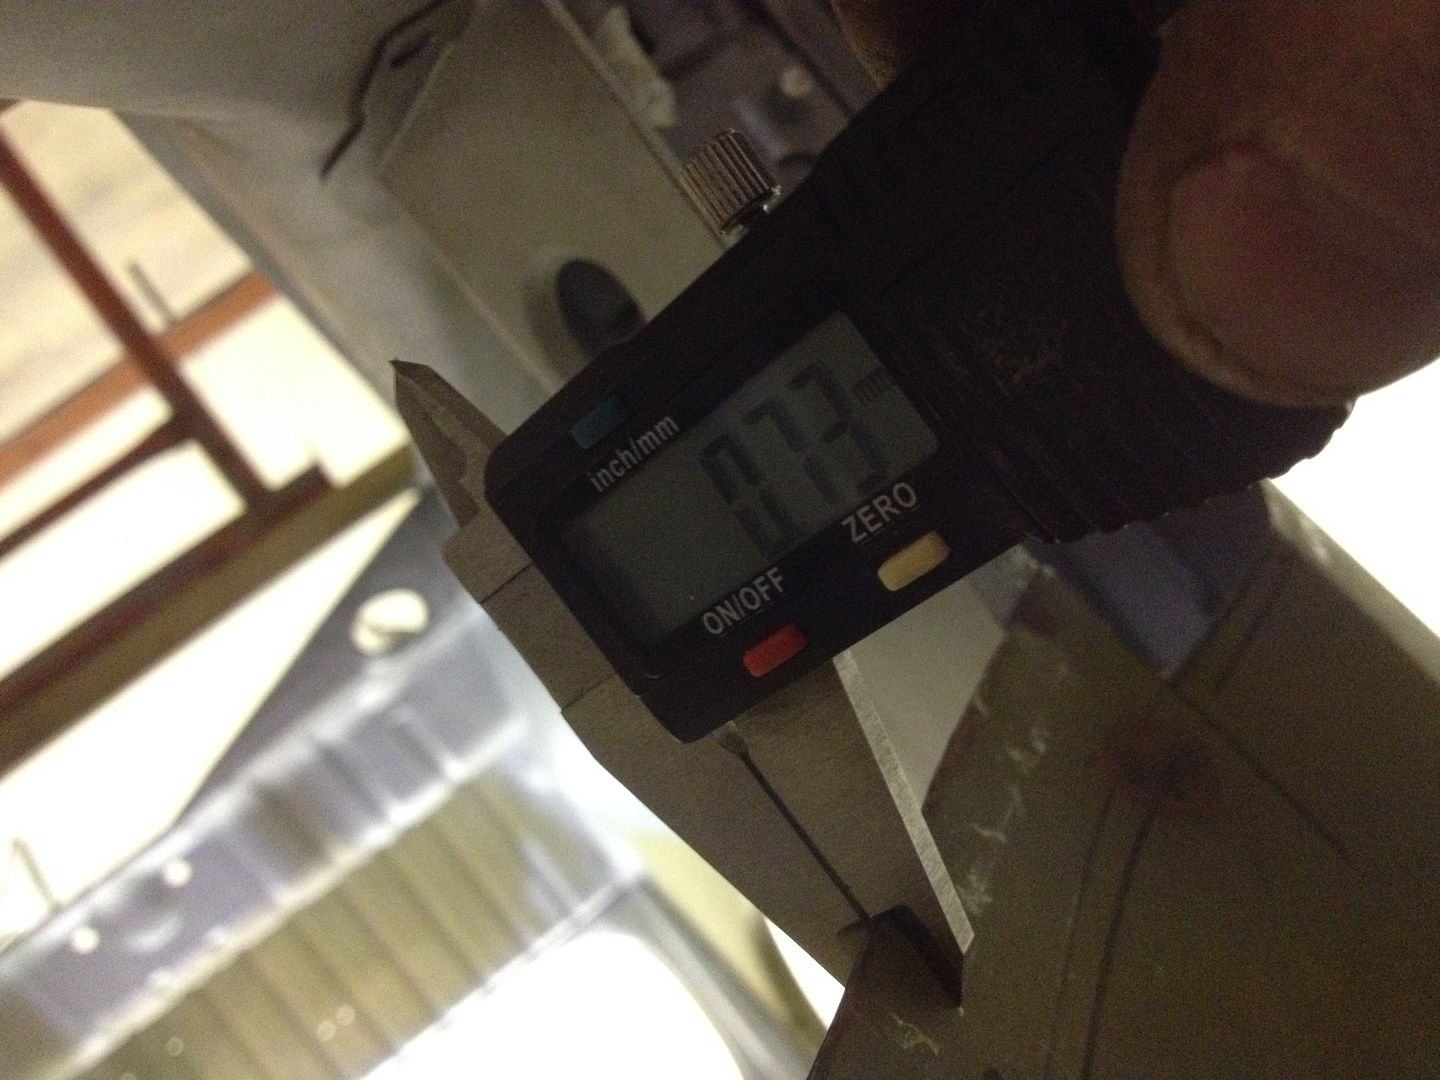 Again welding thick to thin does not work especially if you want a nice finish on the inside too. The new repair panel was 1mm 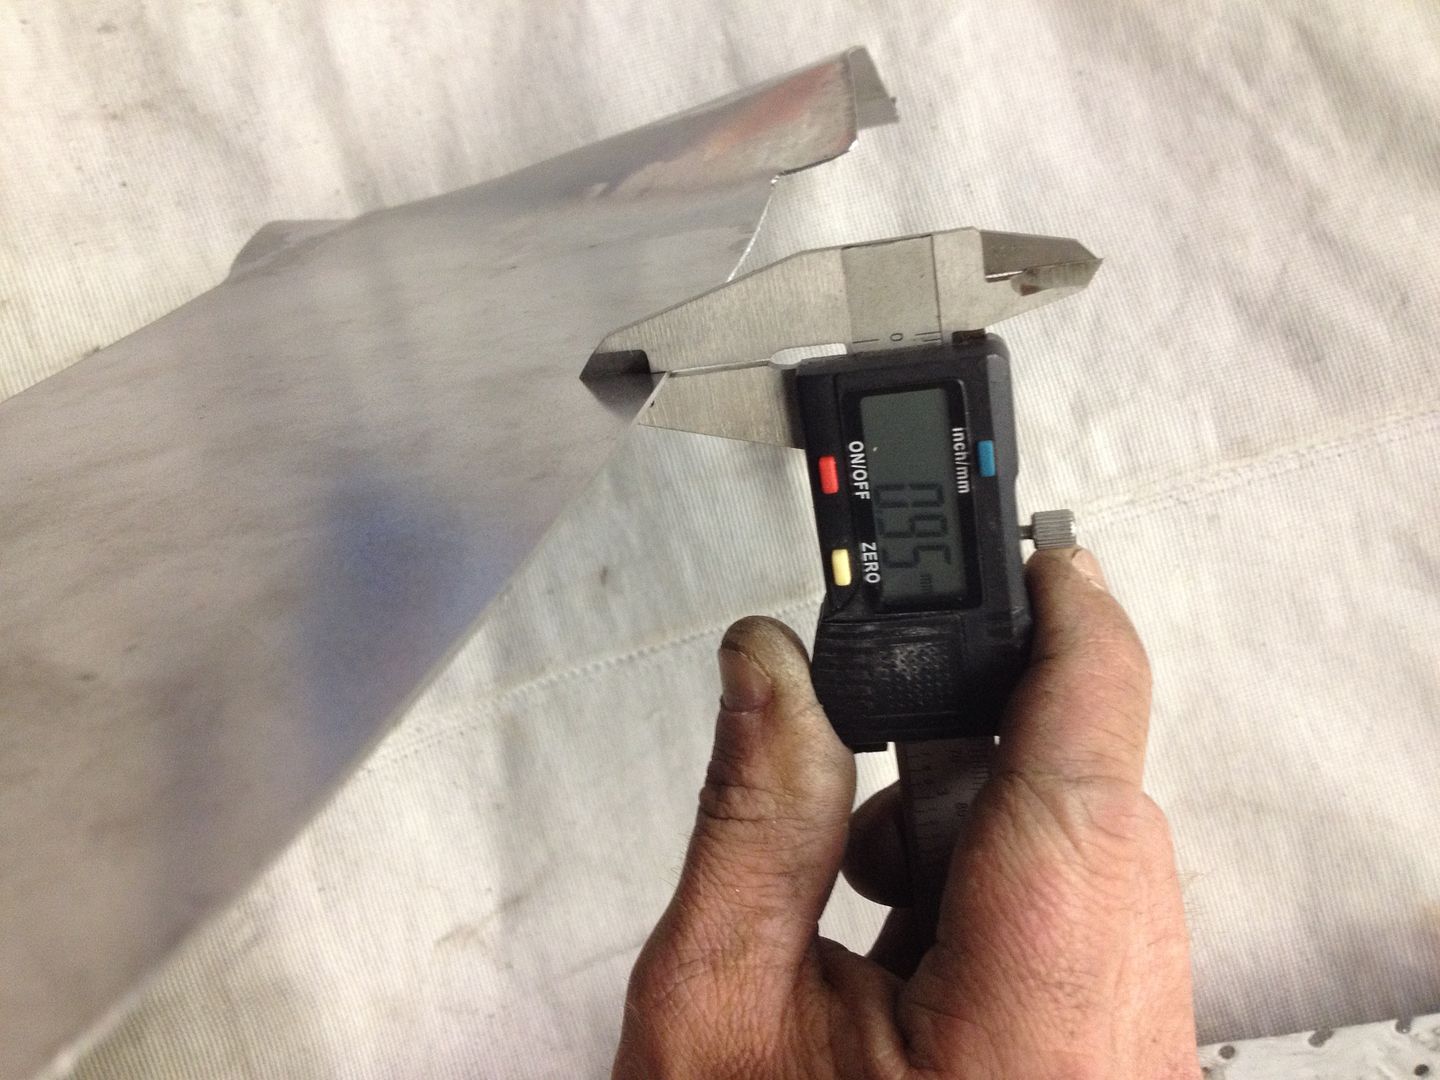 I thought about this problem for a while, what could I do.....? The only way around it and I know this sounds crazy but I had to make my new panel thinner, so I put it on the linisher ( basically an upside down 4"belt sander) . You can see where I sanded the whole side down. 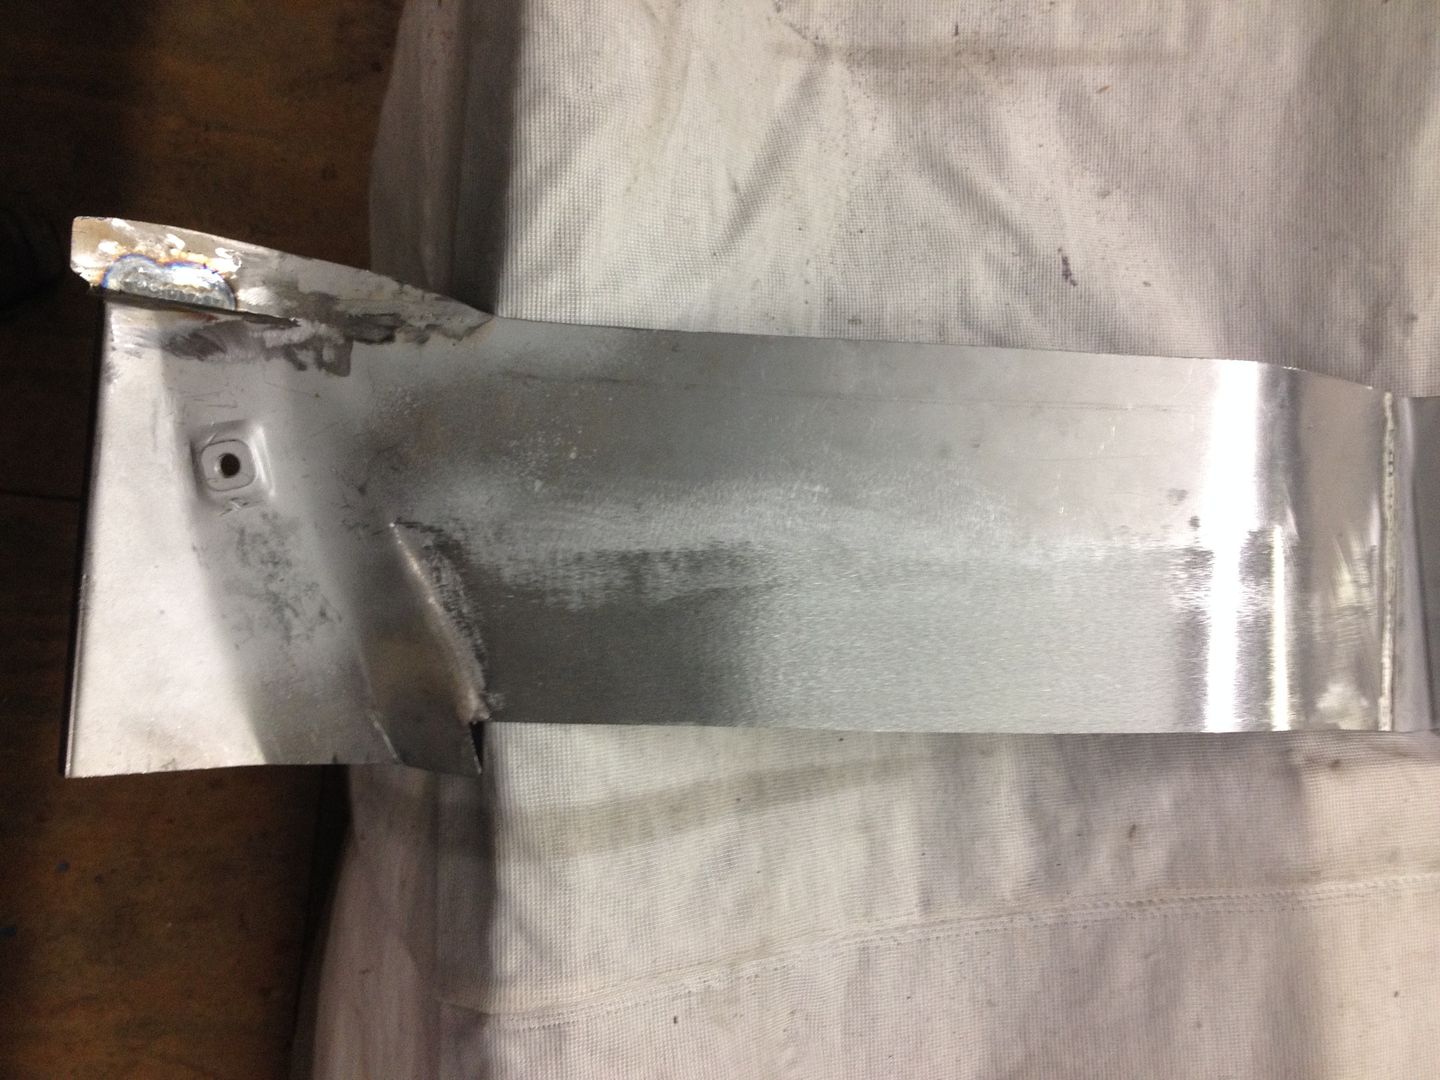 Got it down to a nice even .73mm 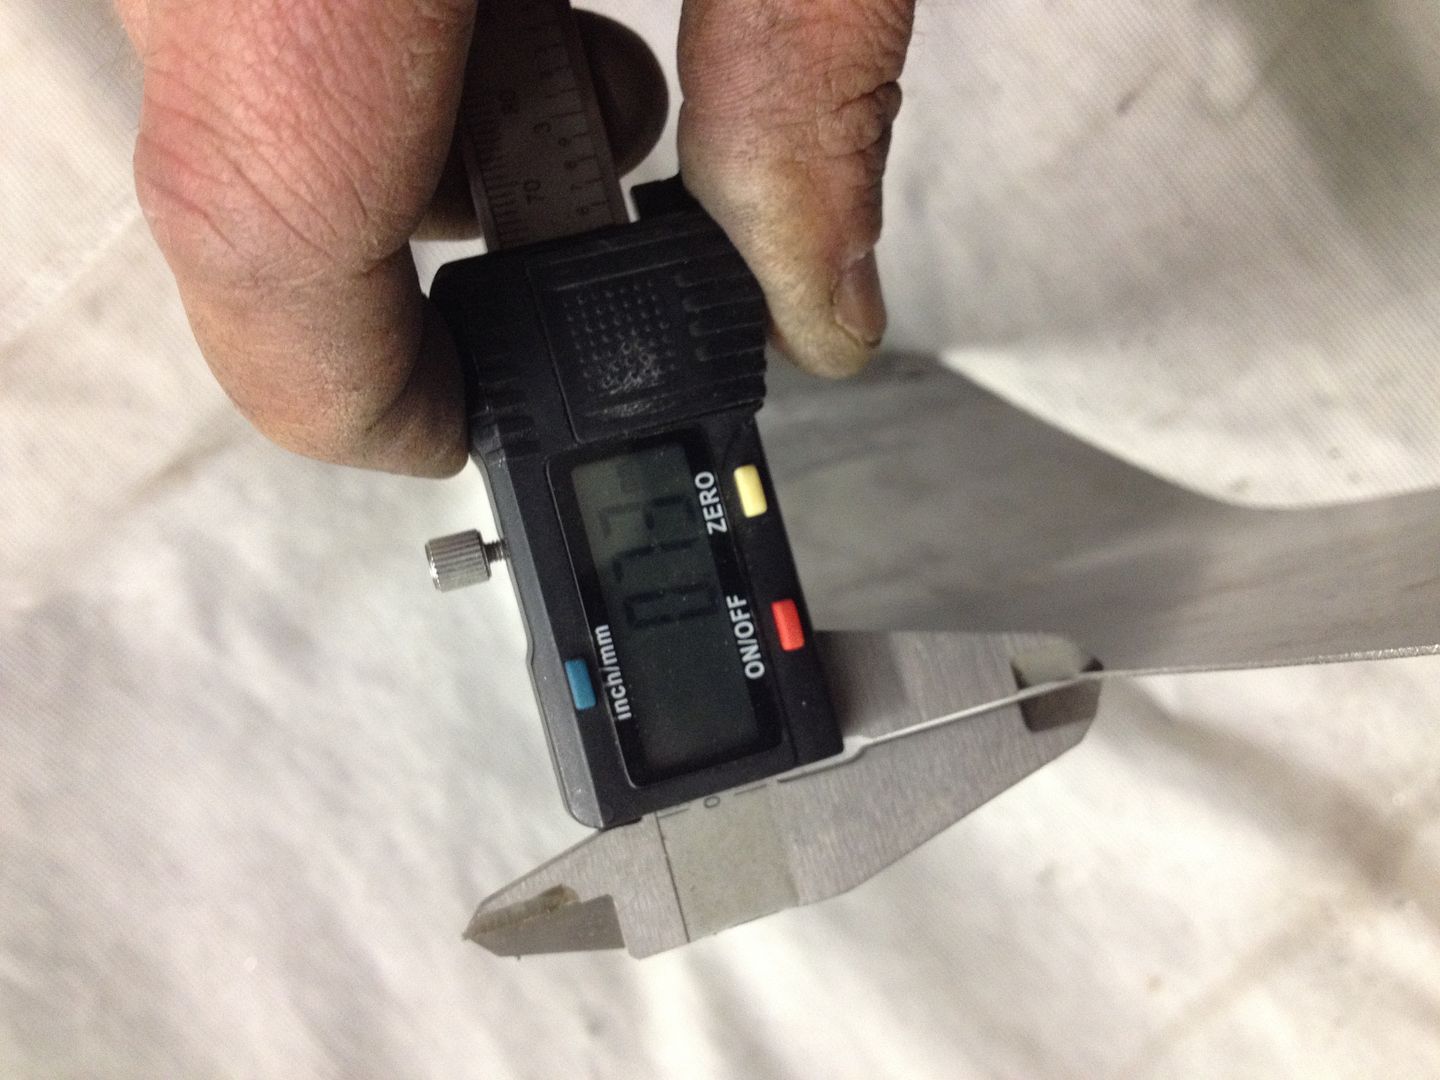 |
|
|
|
« Last Edit: July 09, 2015, 11:17:57 am by vwhelmot »
|
Logged
|
|
|
|
|
vwhelmot
|
|
« Reply #125 on: July 09, 2015, 11:15:10 am » |
|
|
|
|
|
« Last Edit: July 09, 2015, 11:18:43 am by vwhelmot »
|
Logged
|
|
|
|
|
mychatype3
|
|
« Reply #126 on: July 09, 2015, 13:28:47 pm » |
|
Wouw insane metalwork, love it
|
|
|
|
|
Logged
|
1968 fastback "in resto"
1970 Westfalia from the States
|
|
|
|
Neil Davies
|
|
« Reply #127 on: July 09, 2015, 22:49:47 pm » |
|
Those virtanen panels look nice - i remember when the Veng panels had that full closing piece in for the bottom of the quarter panel - now it's just a slot! Great work as always.
|
|
|
|
|
Logged
|
2007cc, 48IDFs, street car. 14.45@93 on pump fuel, treads, muffler and fanbelt. October 2017!
|
|
|
|
vwhelmot
|
|
« Reply #128 on: July 11, 2015, 09:18:58 am » |
|
Ha, veng stuff is so shit, none of it fits right! To get away from the welding etc here is some of the other stuff I`ve been doing . All the bolt on panels have had their own various issues, the wings that were on the car when I bought it back were Day moulding ones. They are great quality and I was going to reuse them and had thoughts about getting the insides gel coated too but for a show car fiberglass doesn't cut it. Finding a nice set of original wings is getting harder, especially the fronts. I got a pair off a well known person in the vw scene, they are slightly earlier ones so the indicator holes are wrong for my year but I am going to fill those in anyway and run us spec headlamps. They needed quite a bit of straightening, some of the dents were very difficult to get out but after a lot of beating they are good now. 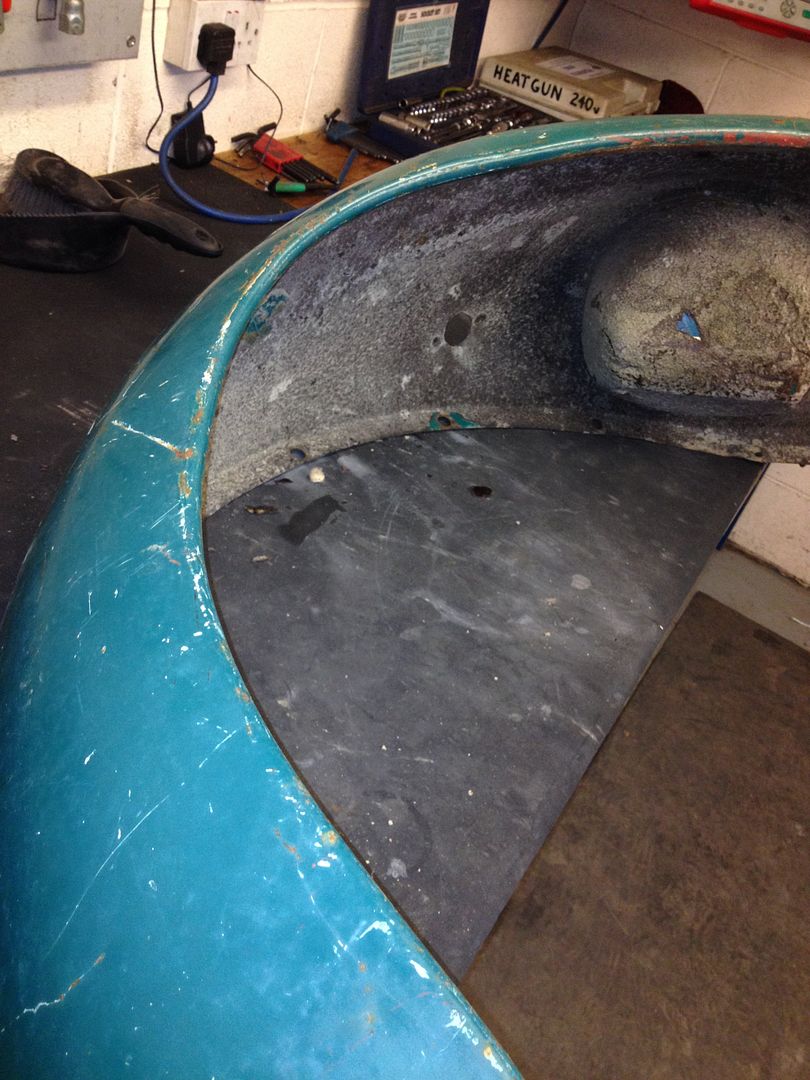 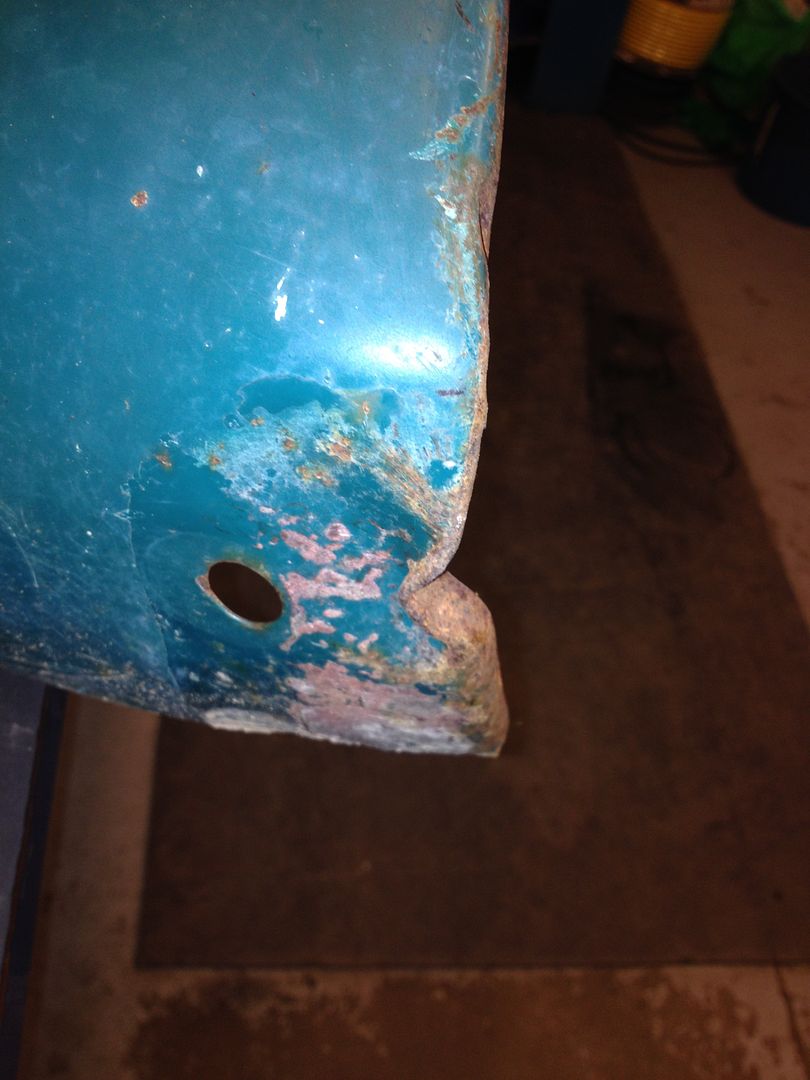 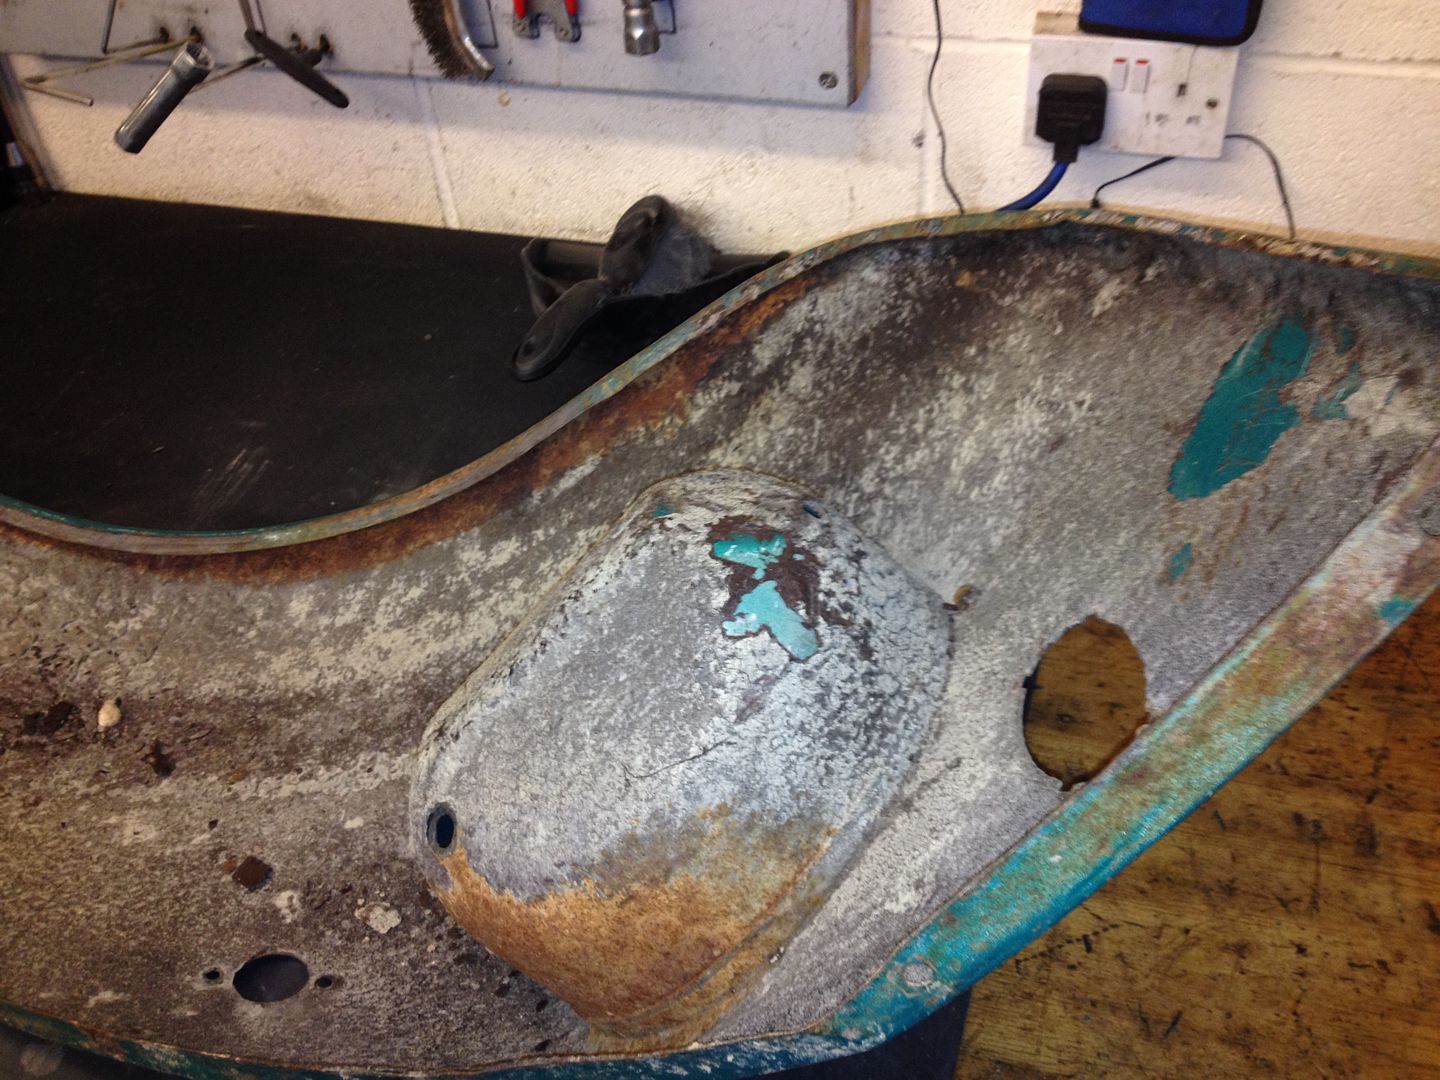 I had to heat this area up to get it straight  It split 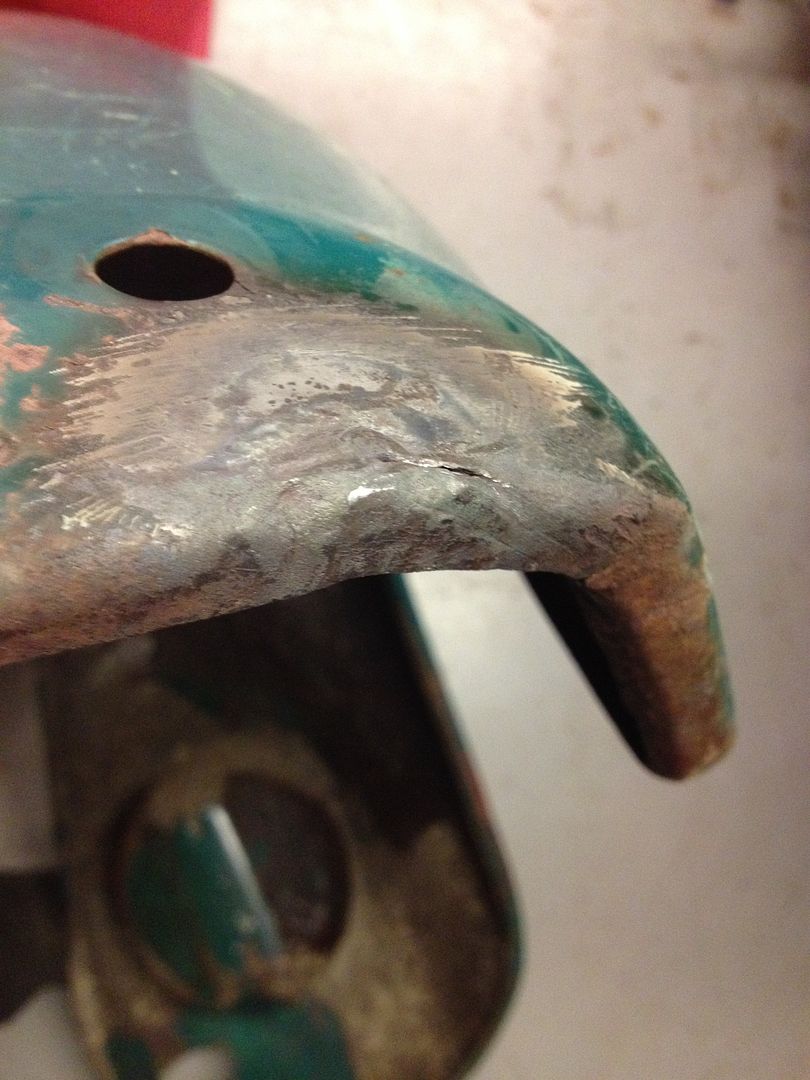 After welding etc 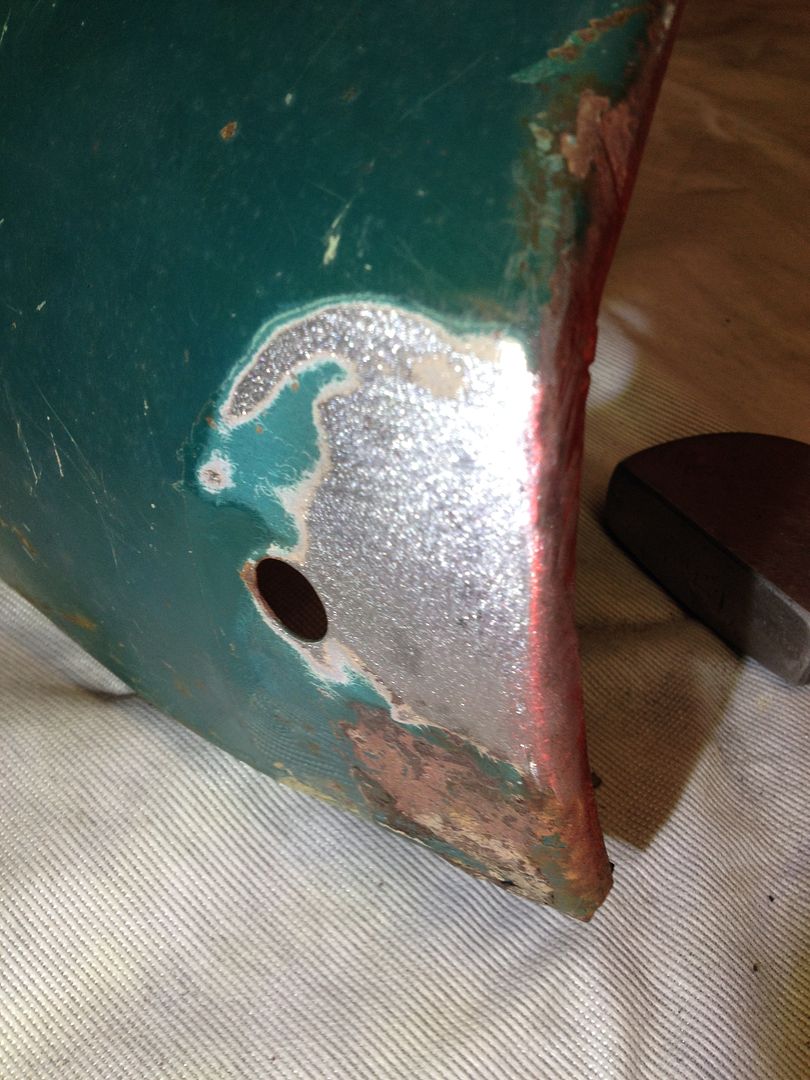 I was not 100% sure if the bonnet on the car was original vw , it fitted ok but I had a nagging doubt that it wasn't so I did a deal with the same well known vw person for my old day wings and bonnet for the two fronts and a genuine bonnet. We arranged to meet one weekend to exchange the panels but when he turned up with the bonnet I was a bit cheesed. He actually turned up with two , one was peppered with stone chips . had some splits here and there , some dents too and there was this one  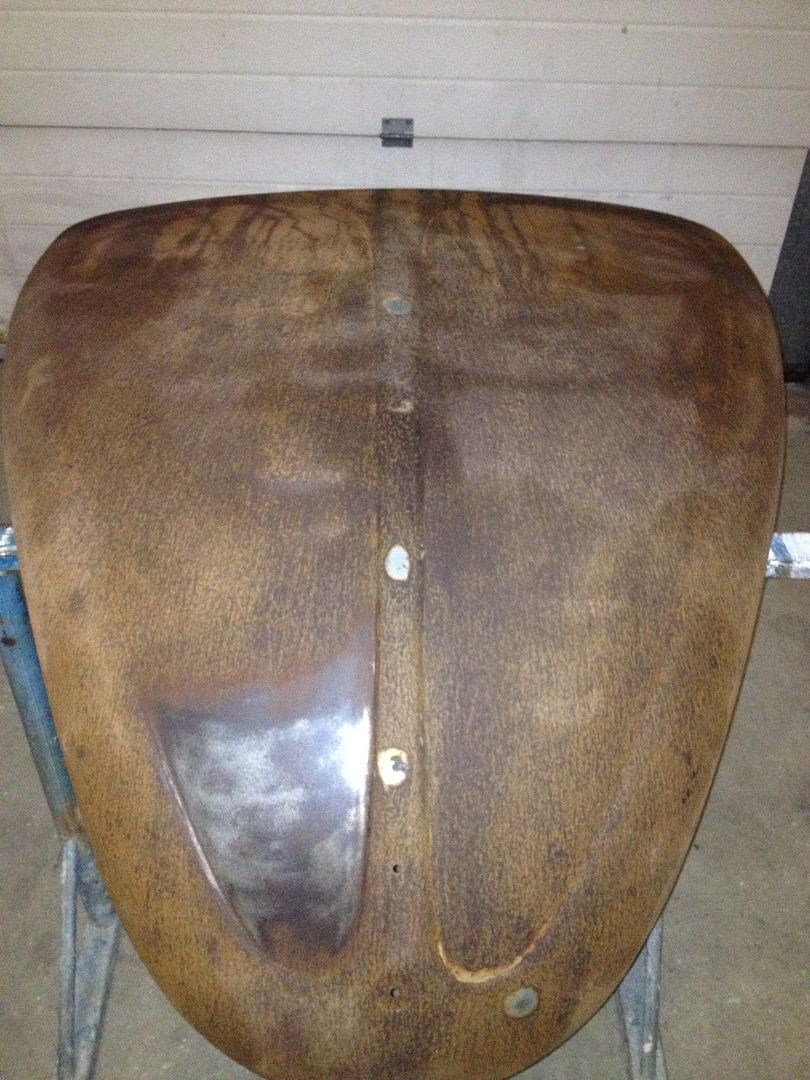 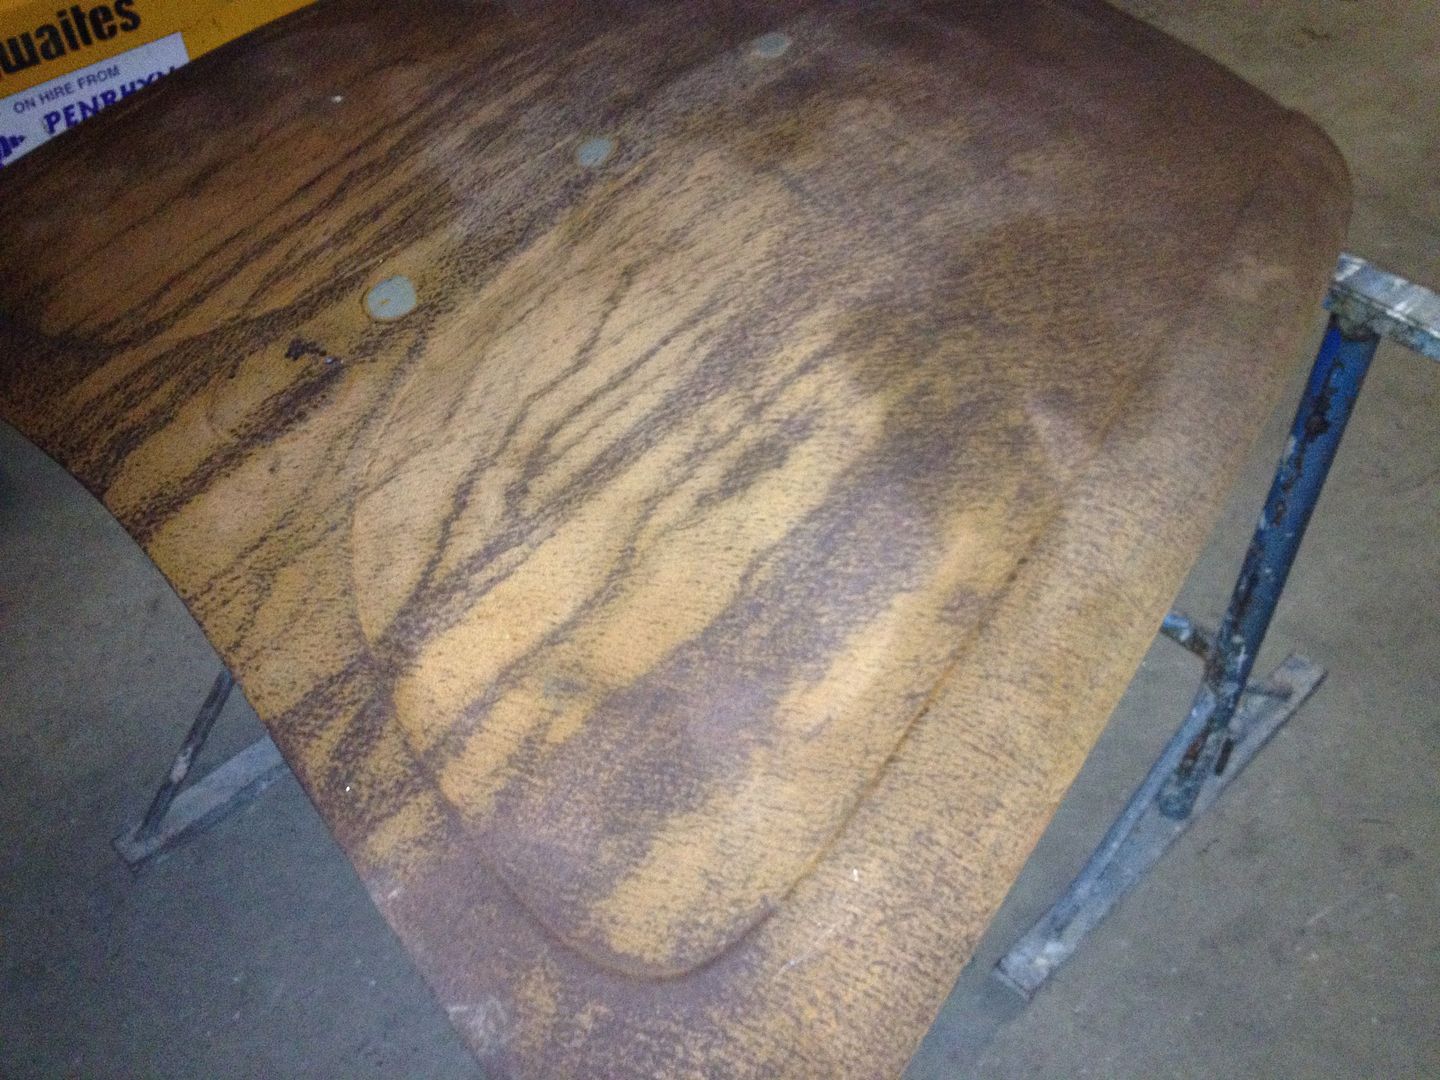 So I bought both  This rusty one had been previously blasted and for some reason just left with no primer or protection whatsoever. Running my hand over it there is no dents and no splits or cracks, just rust. I was confident I could get it back so to start I ran a DA sander over it first , just to get the worst off. 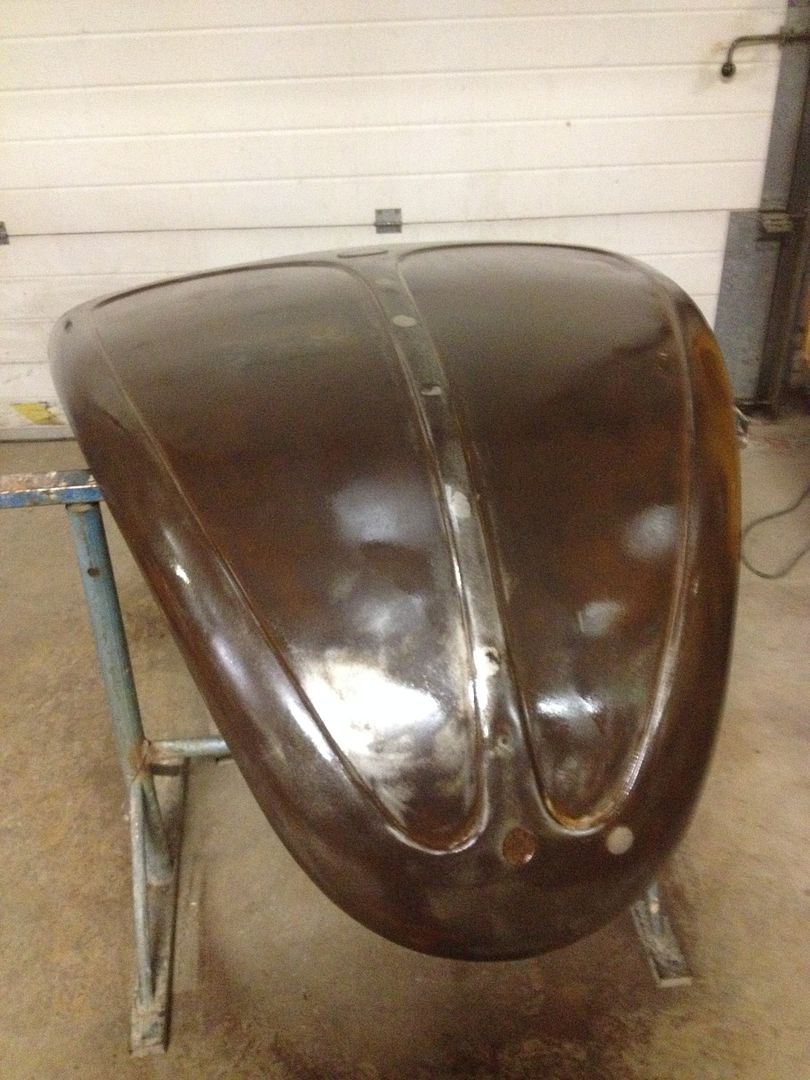 The trim holes had been welded and leaded. I will put the holes back in. 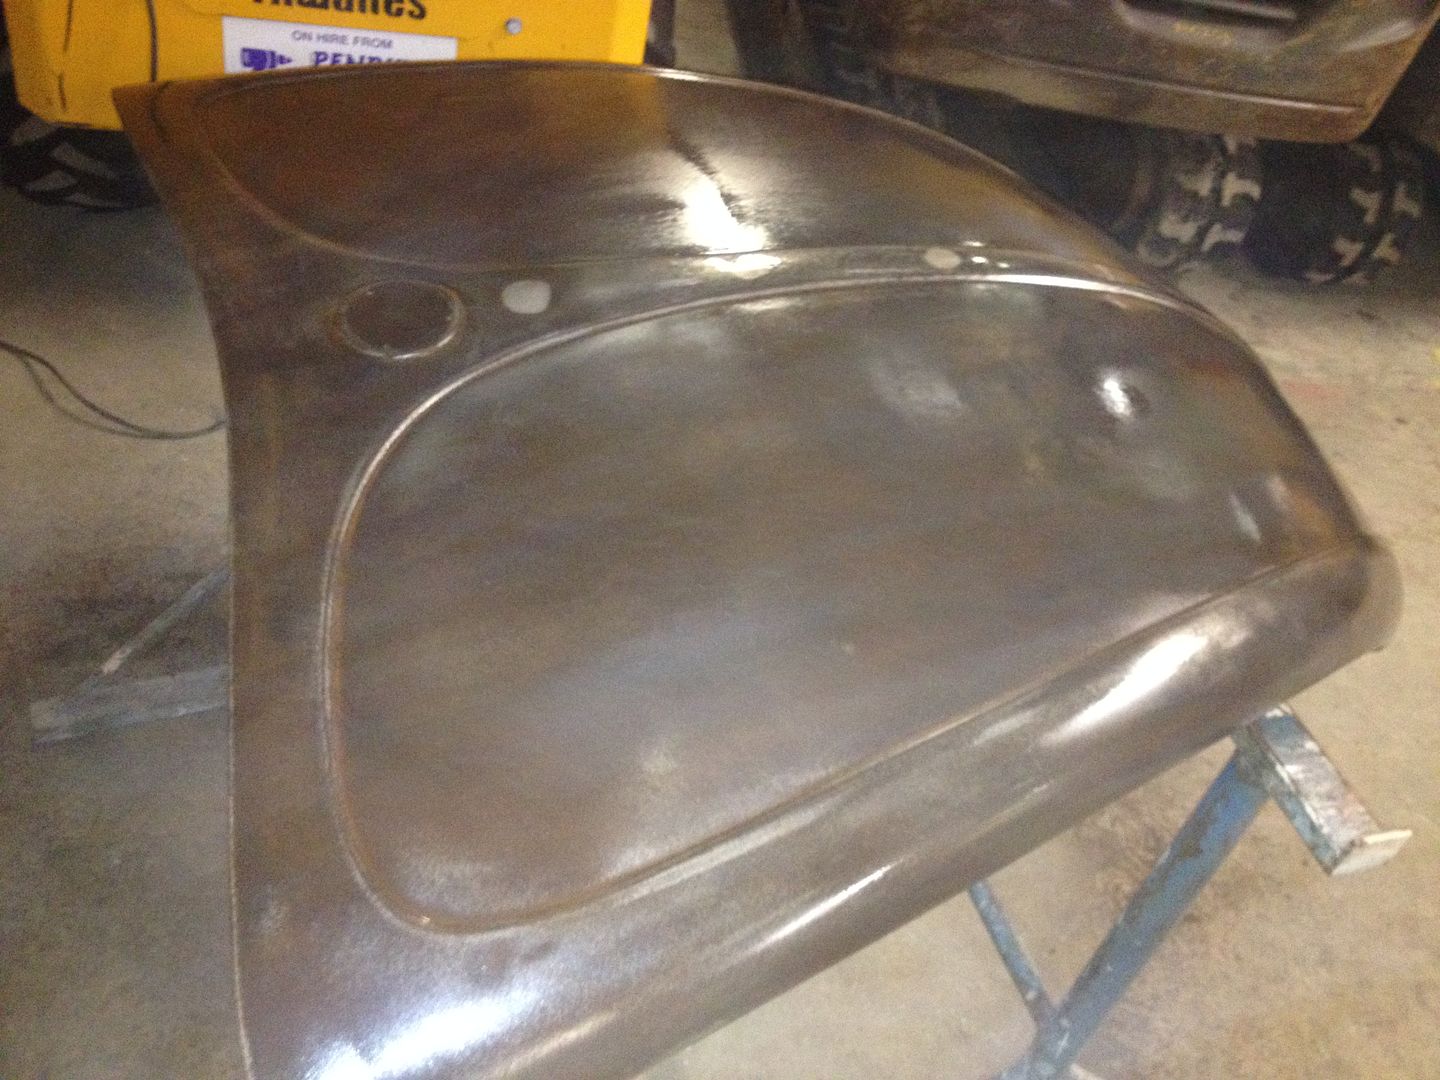 Outside for a bit of rust removal 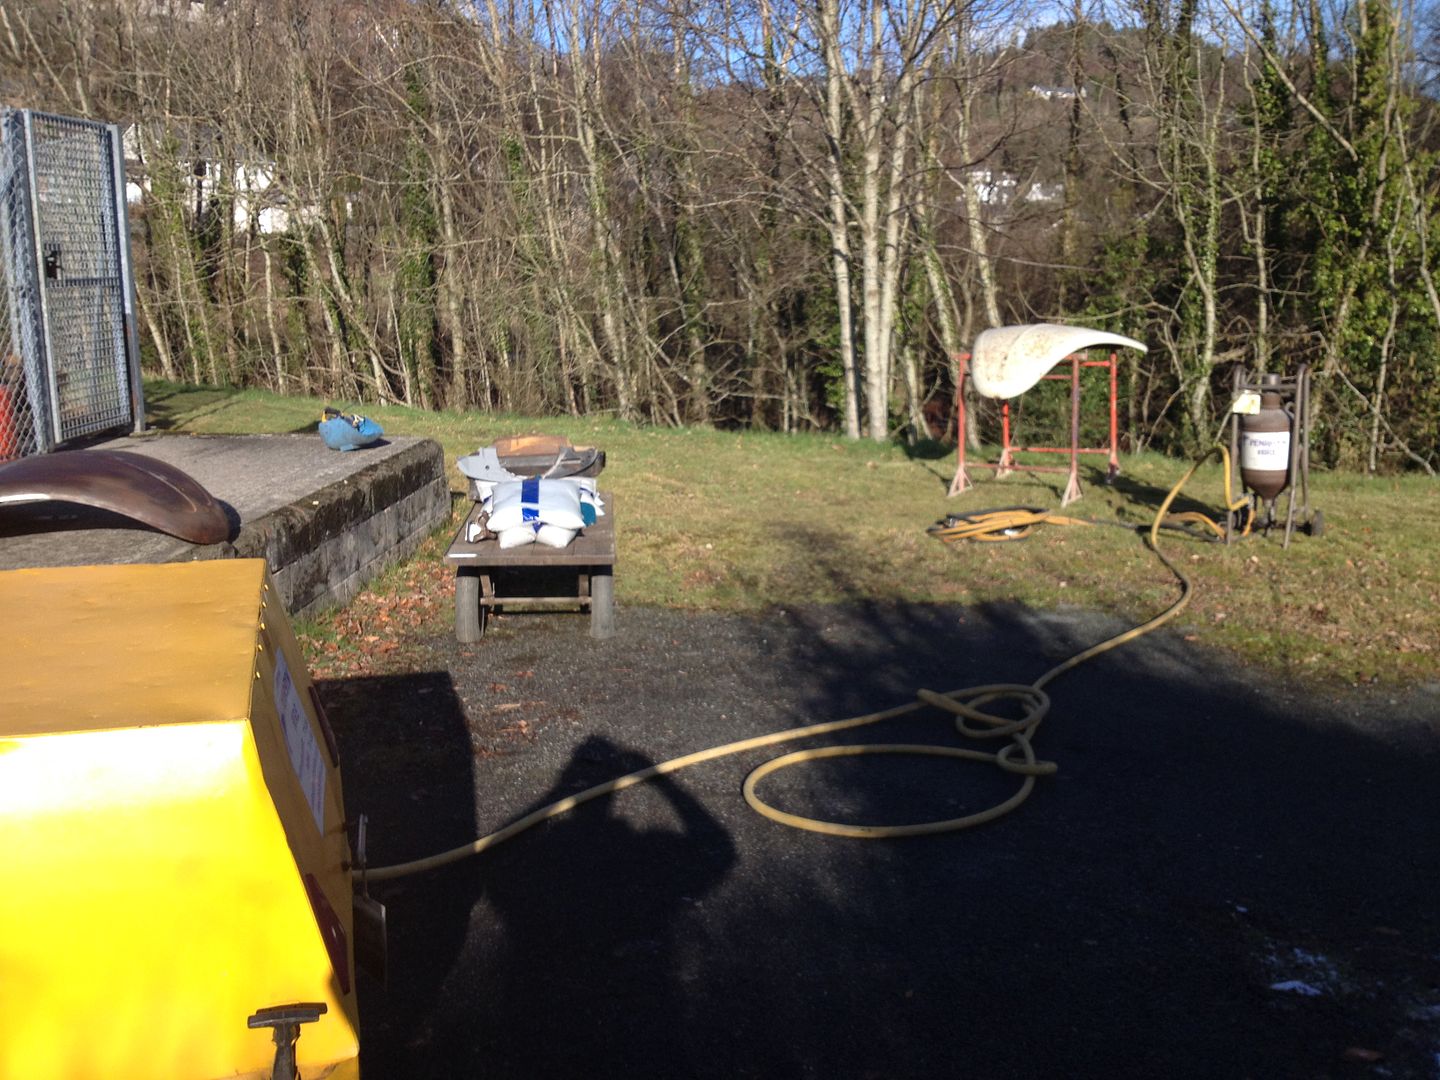 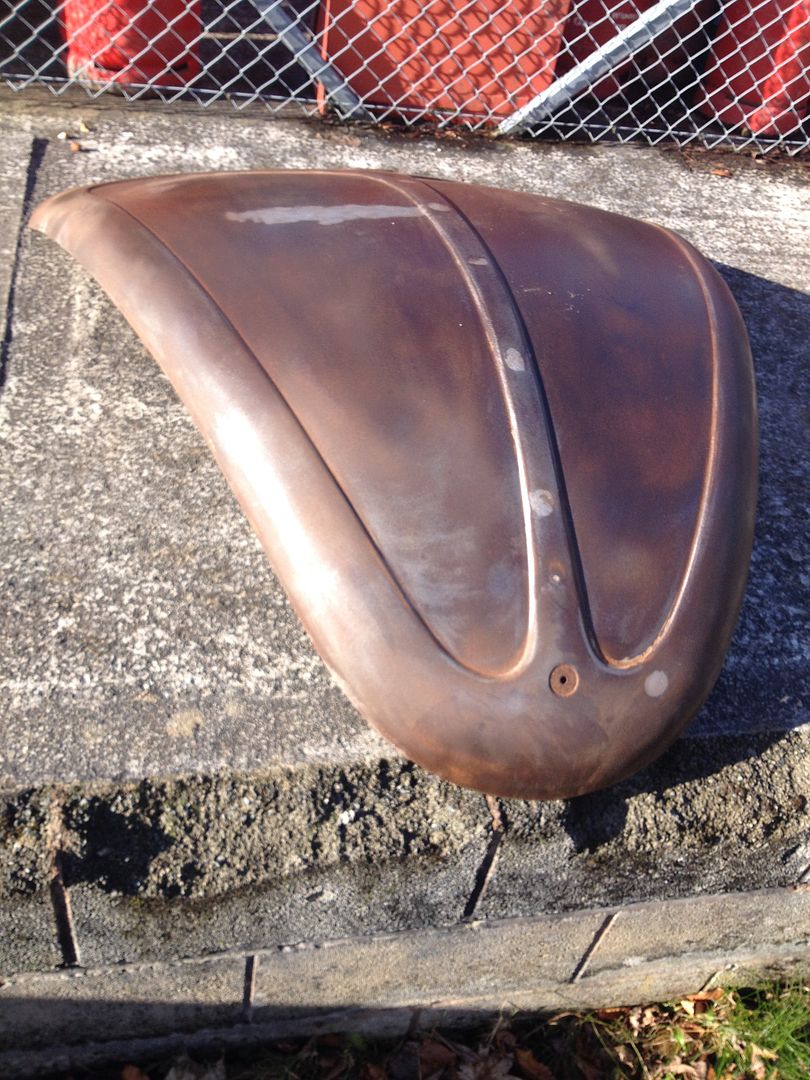 Other bonnet which maybe for sale soon ! 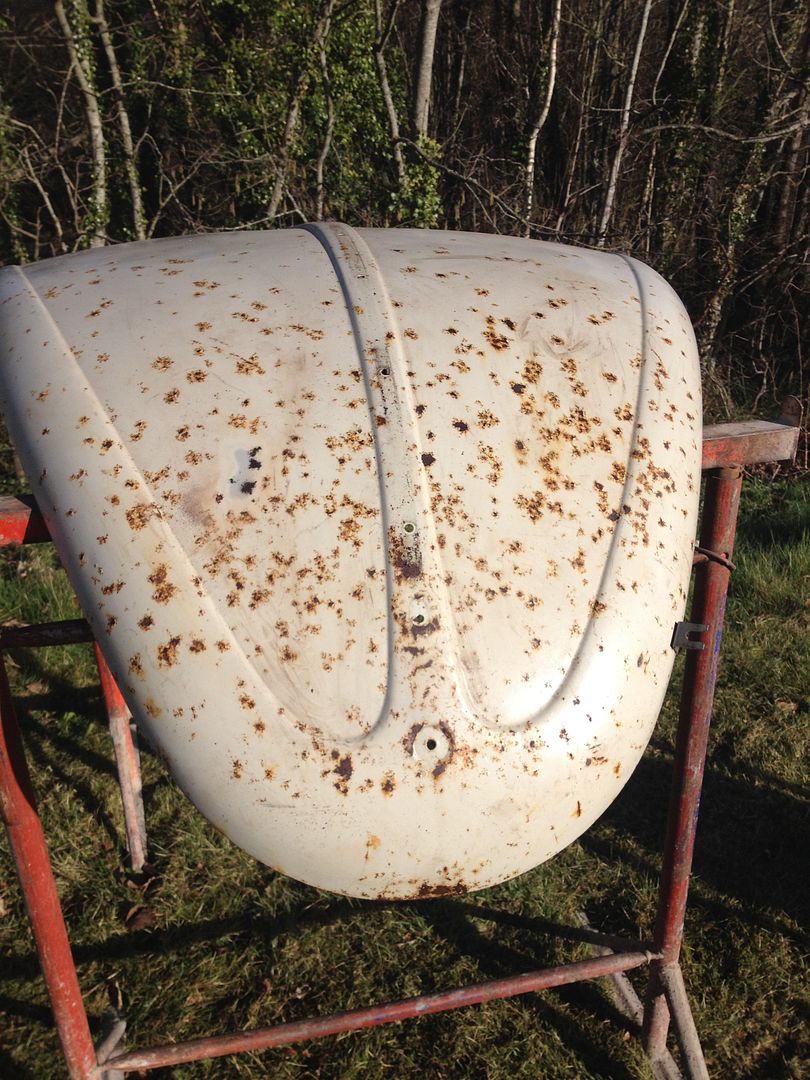 No substitute for blasting 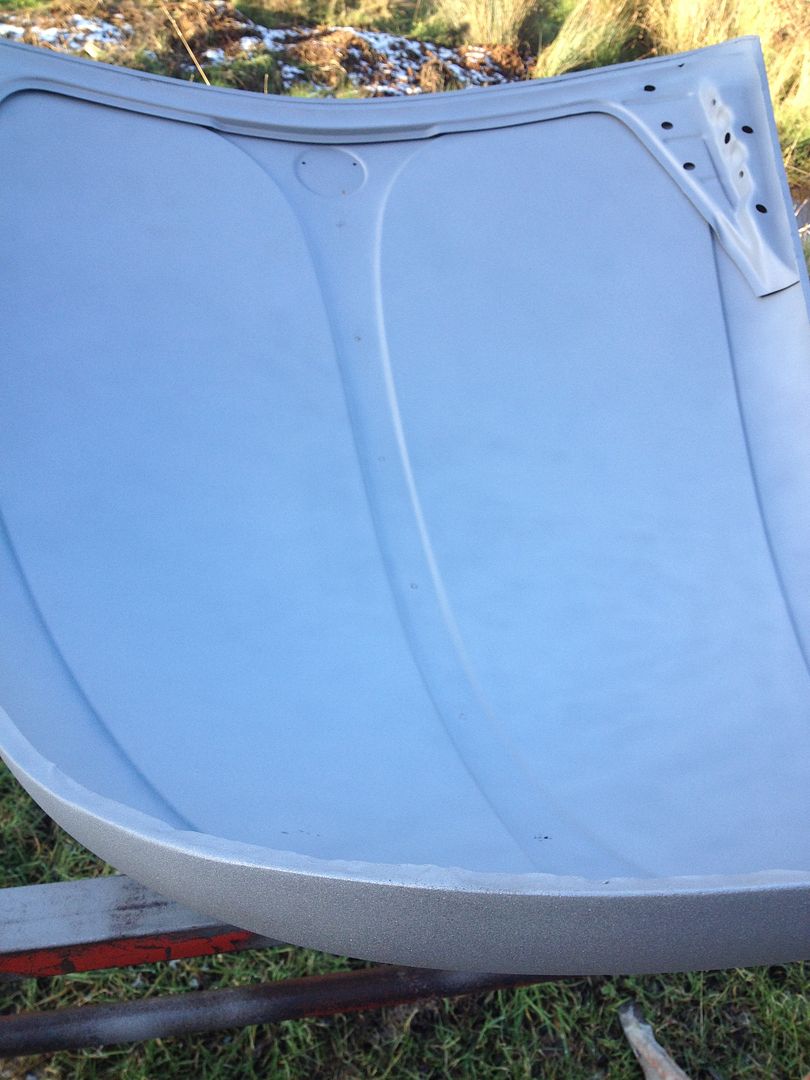 This is the ex rusty one 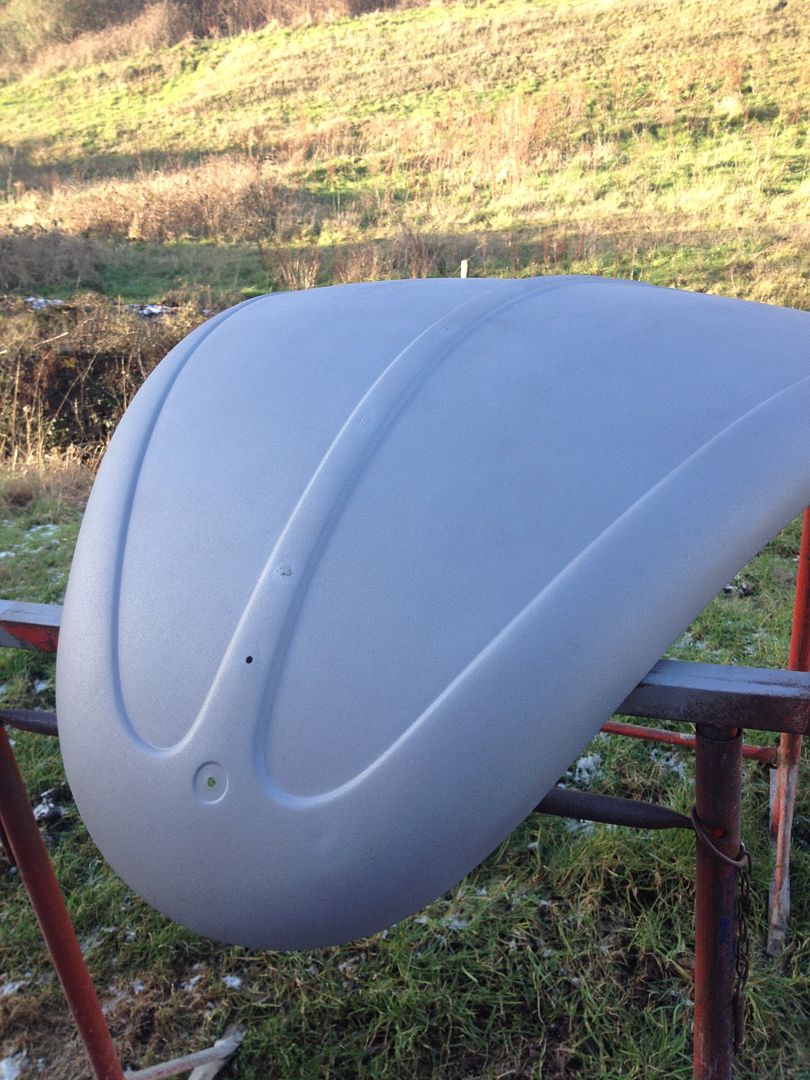 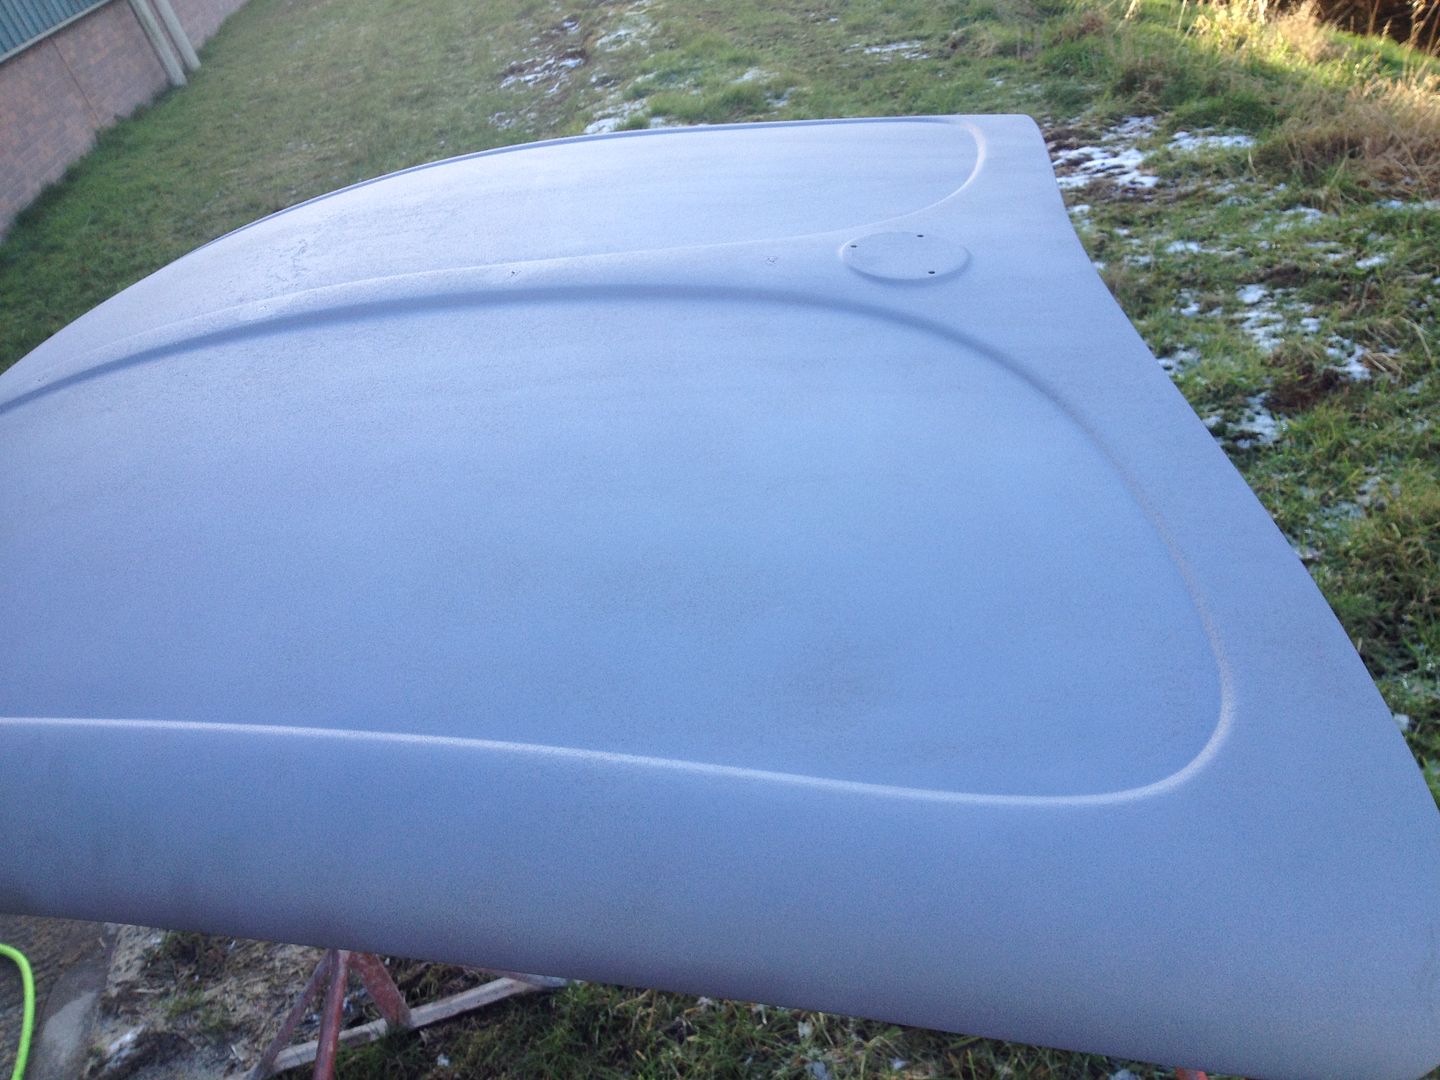 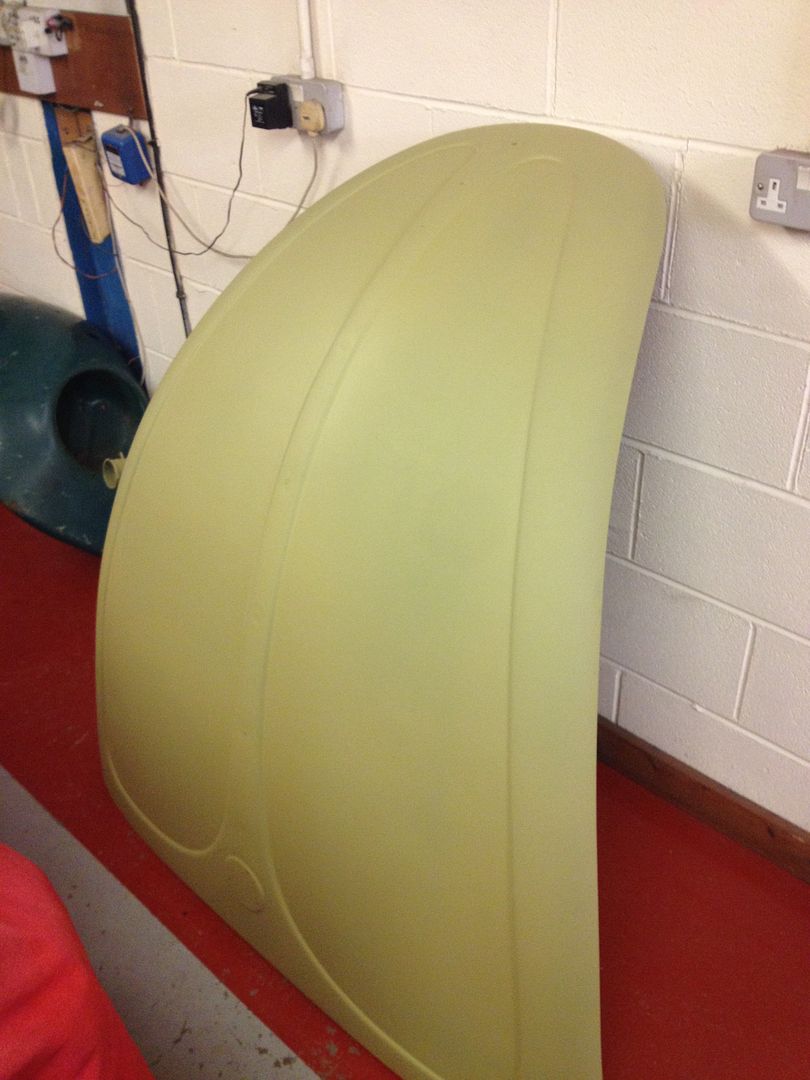 Other one came up good too 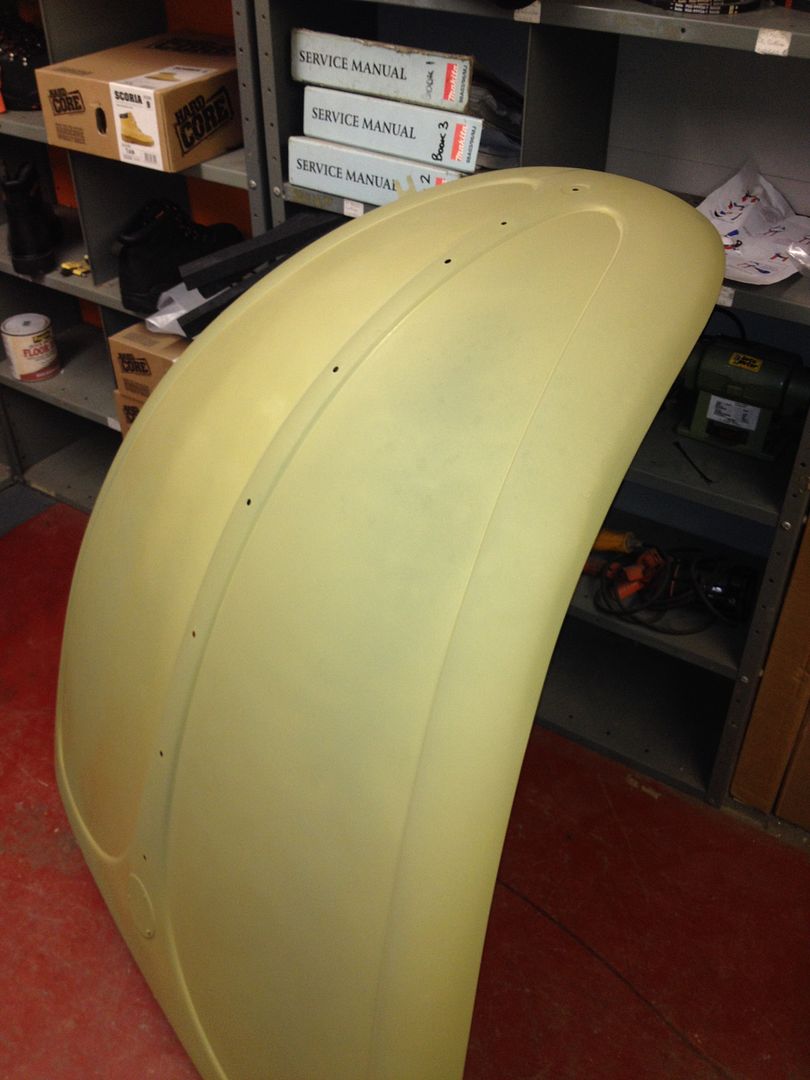 Underseal took an age to scrape off 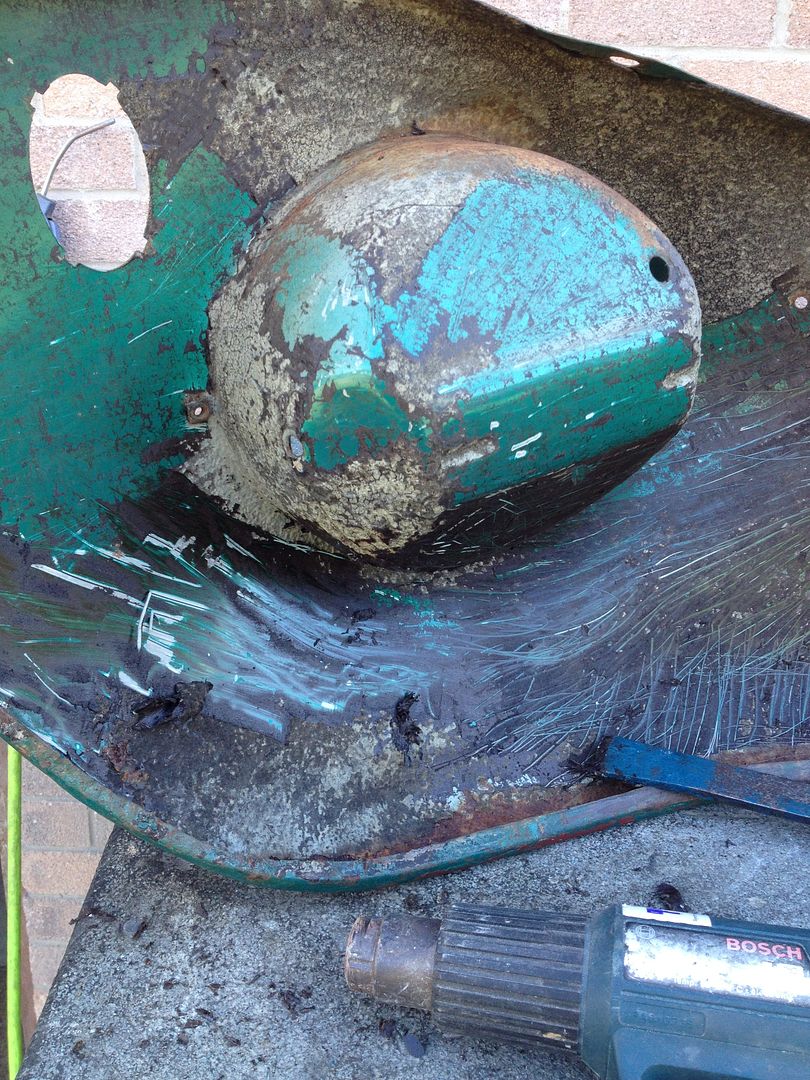 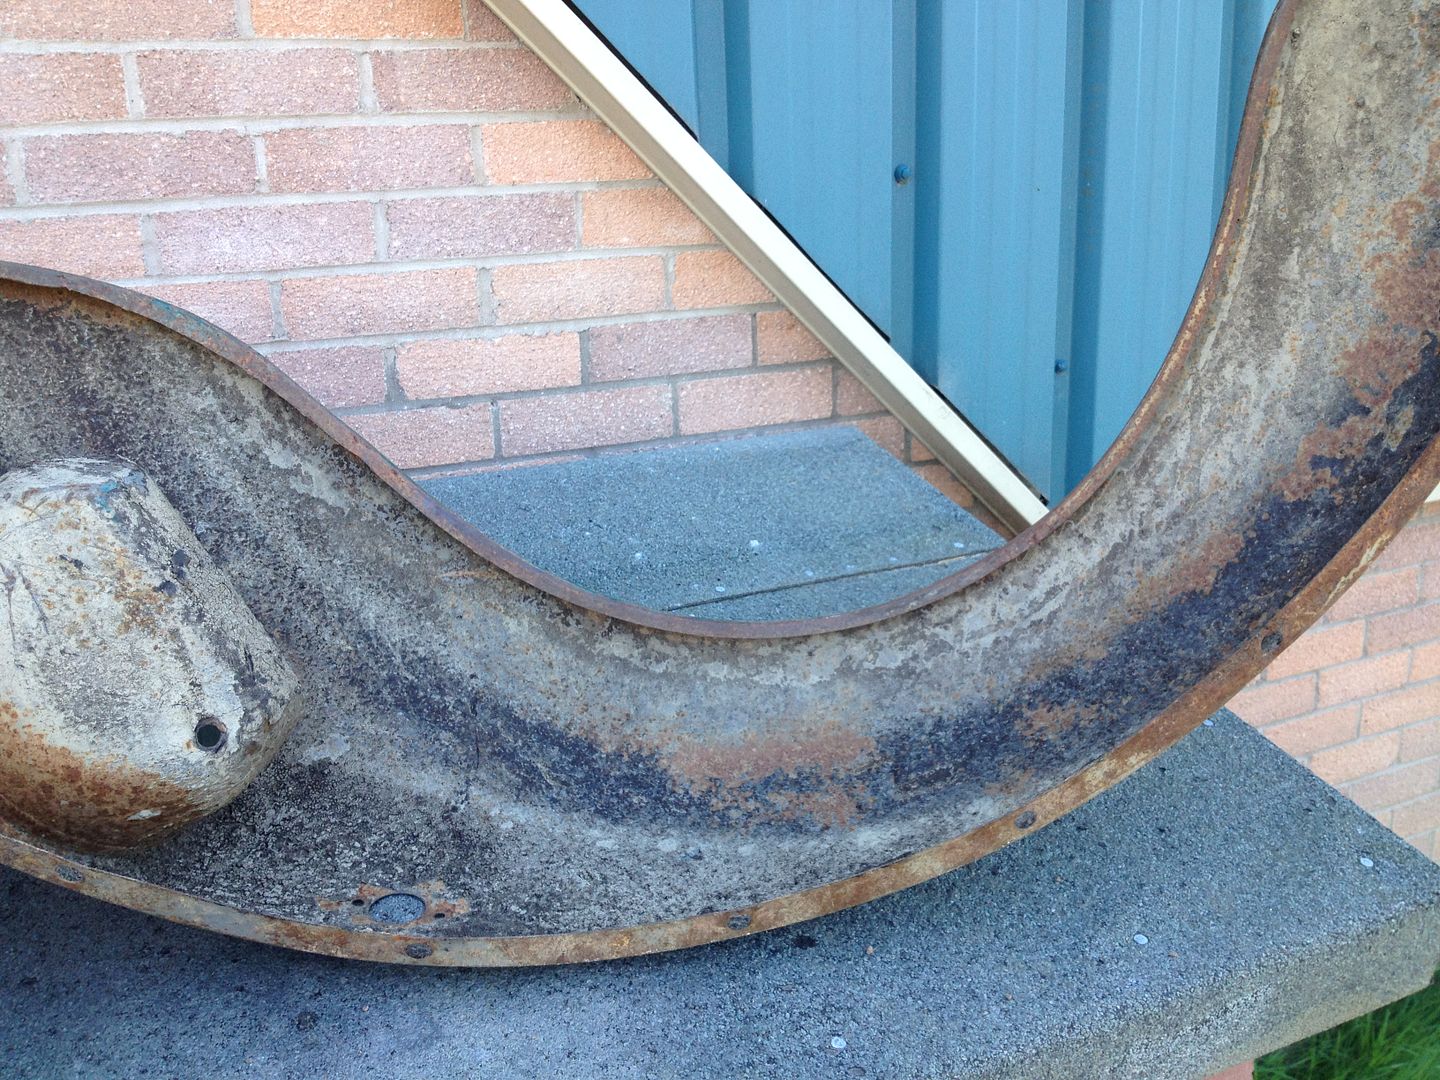  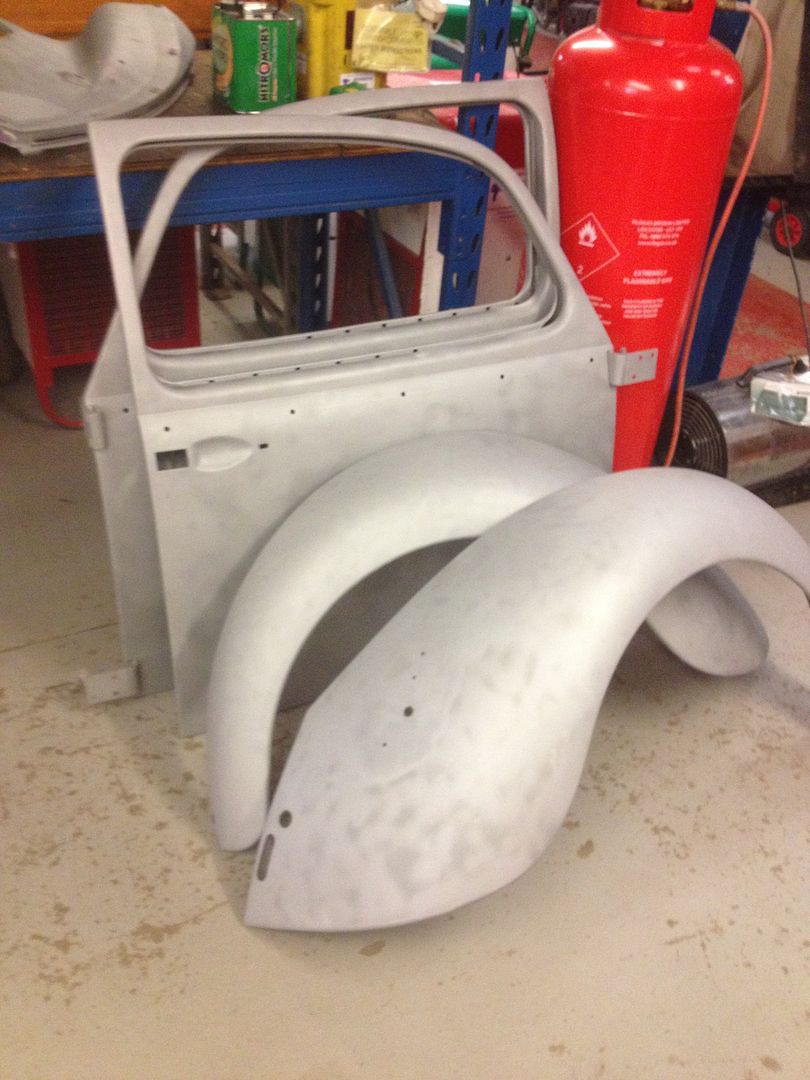 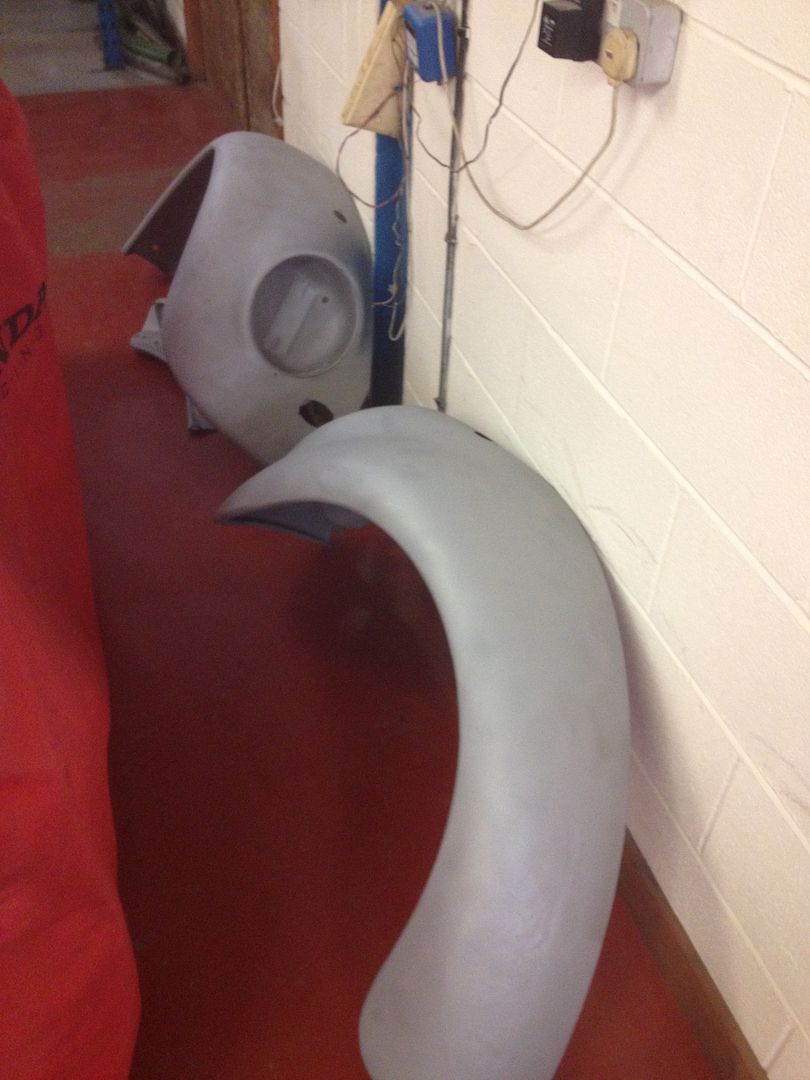 Came up nice 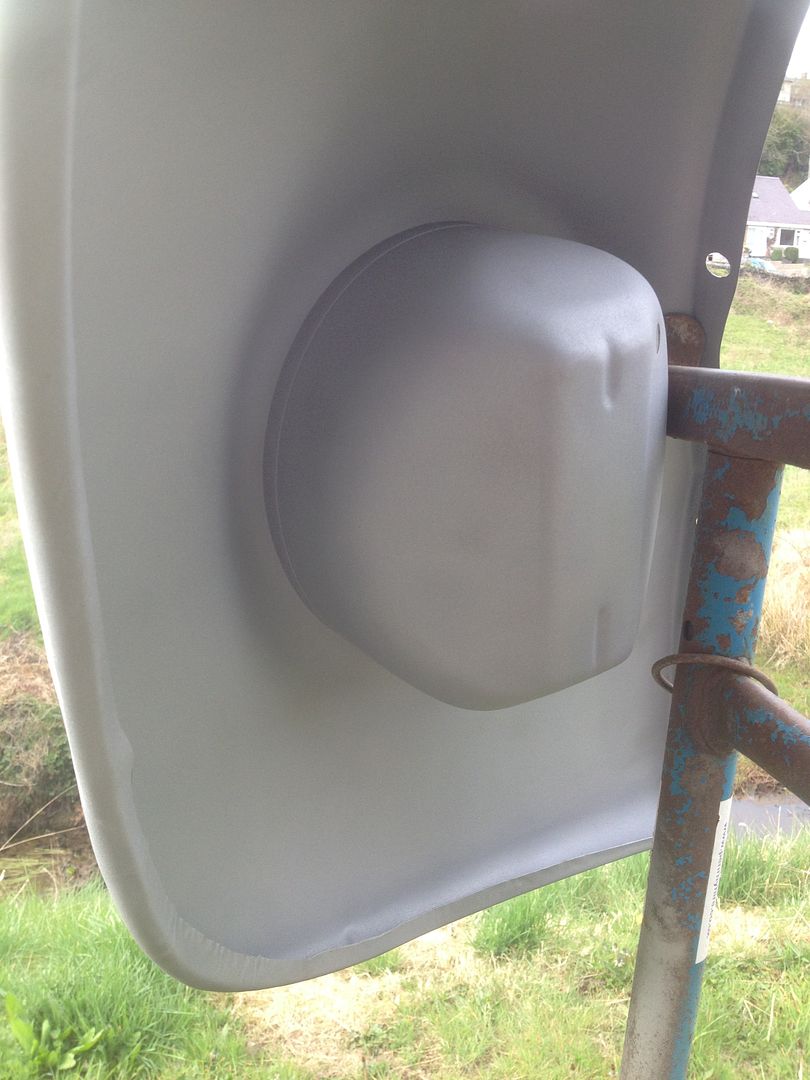 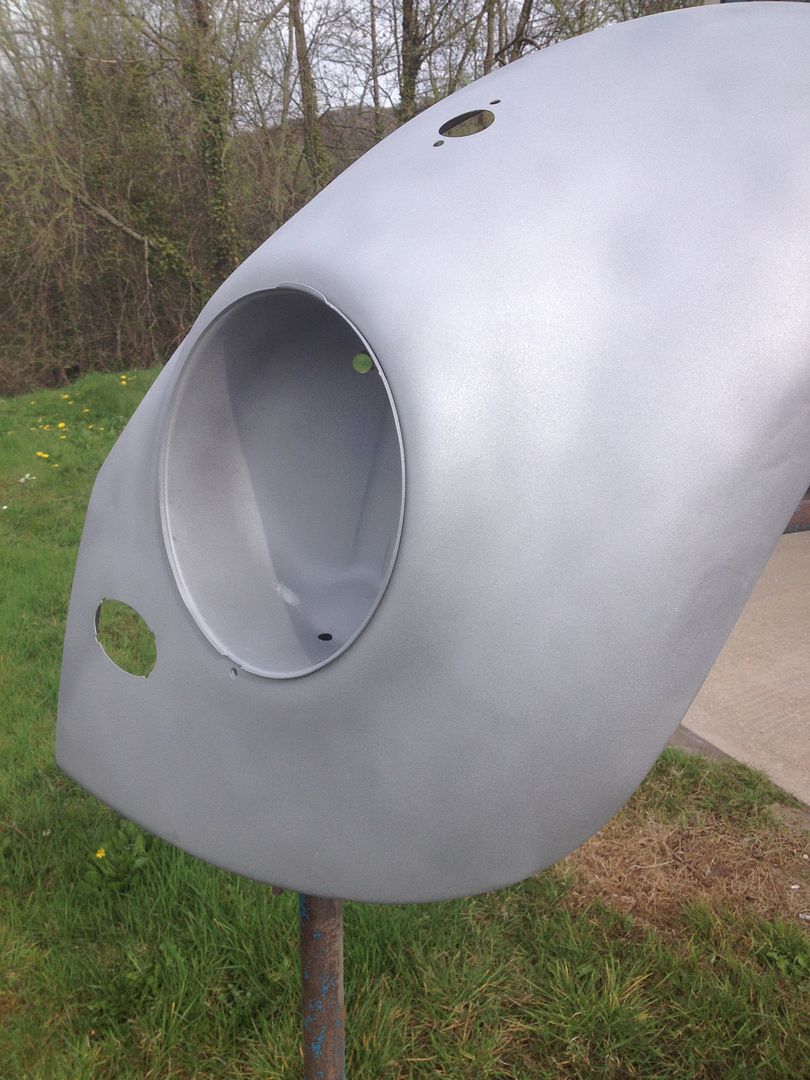 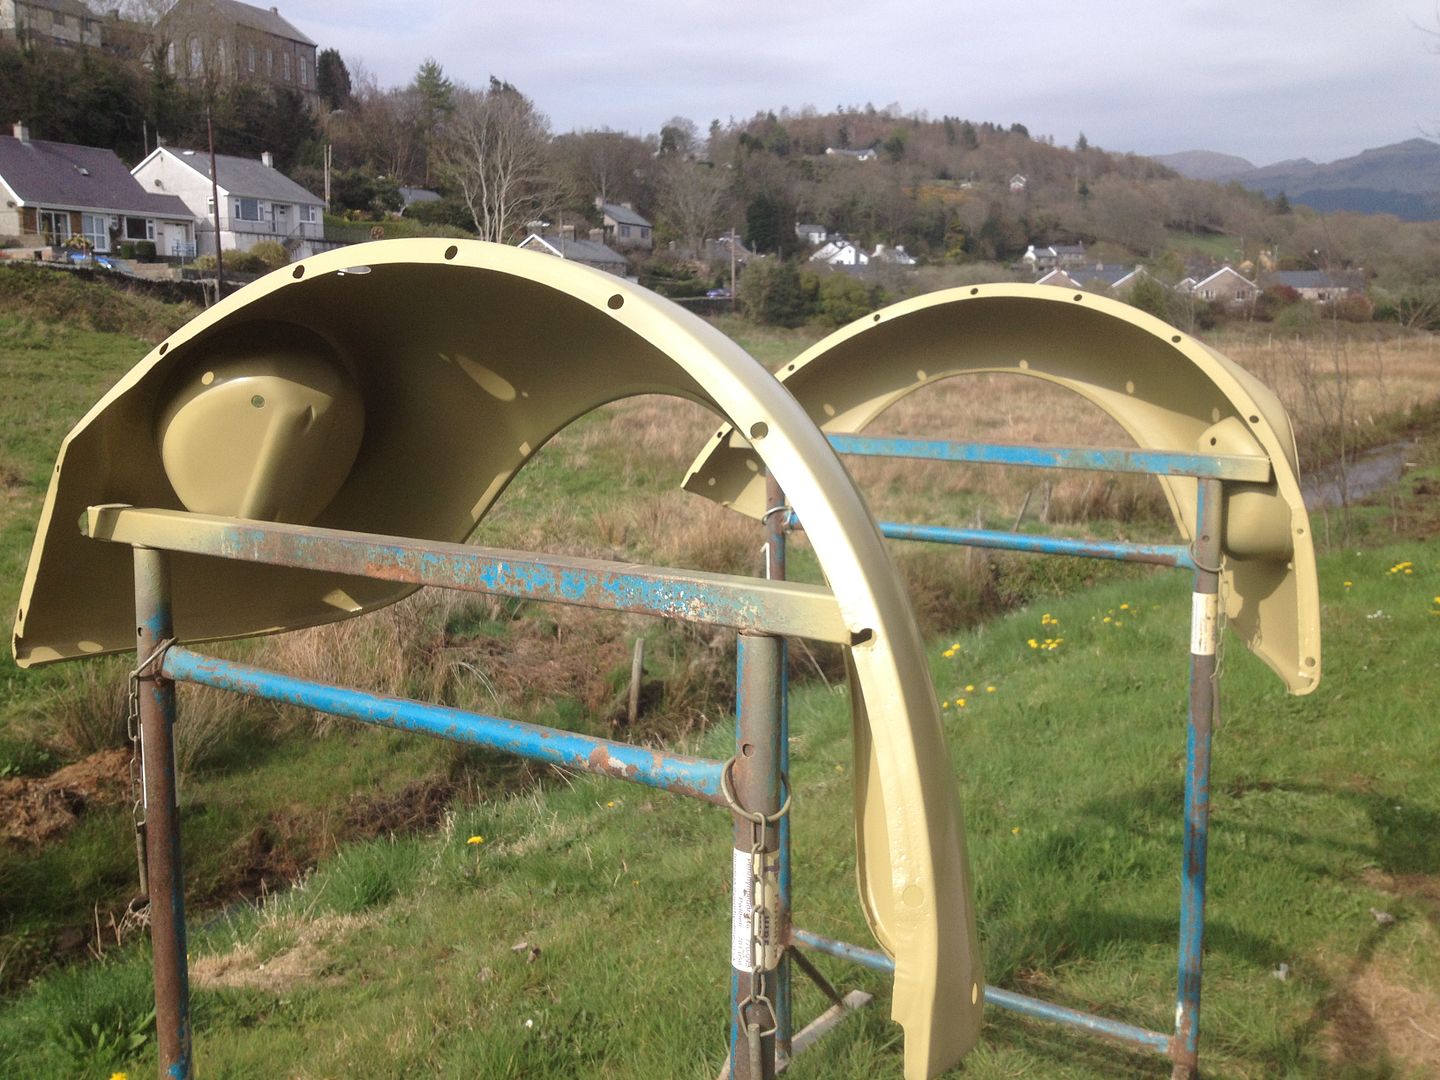 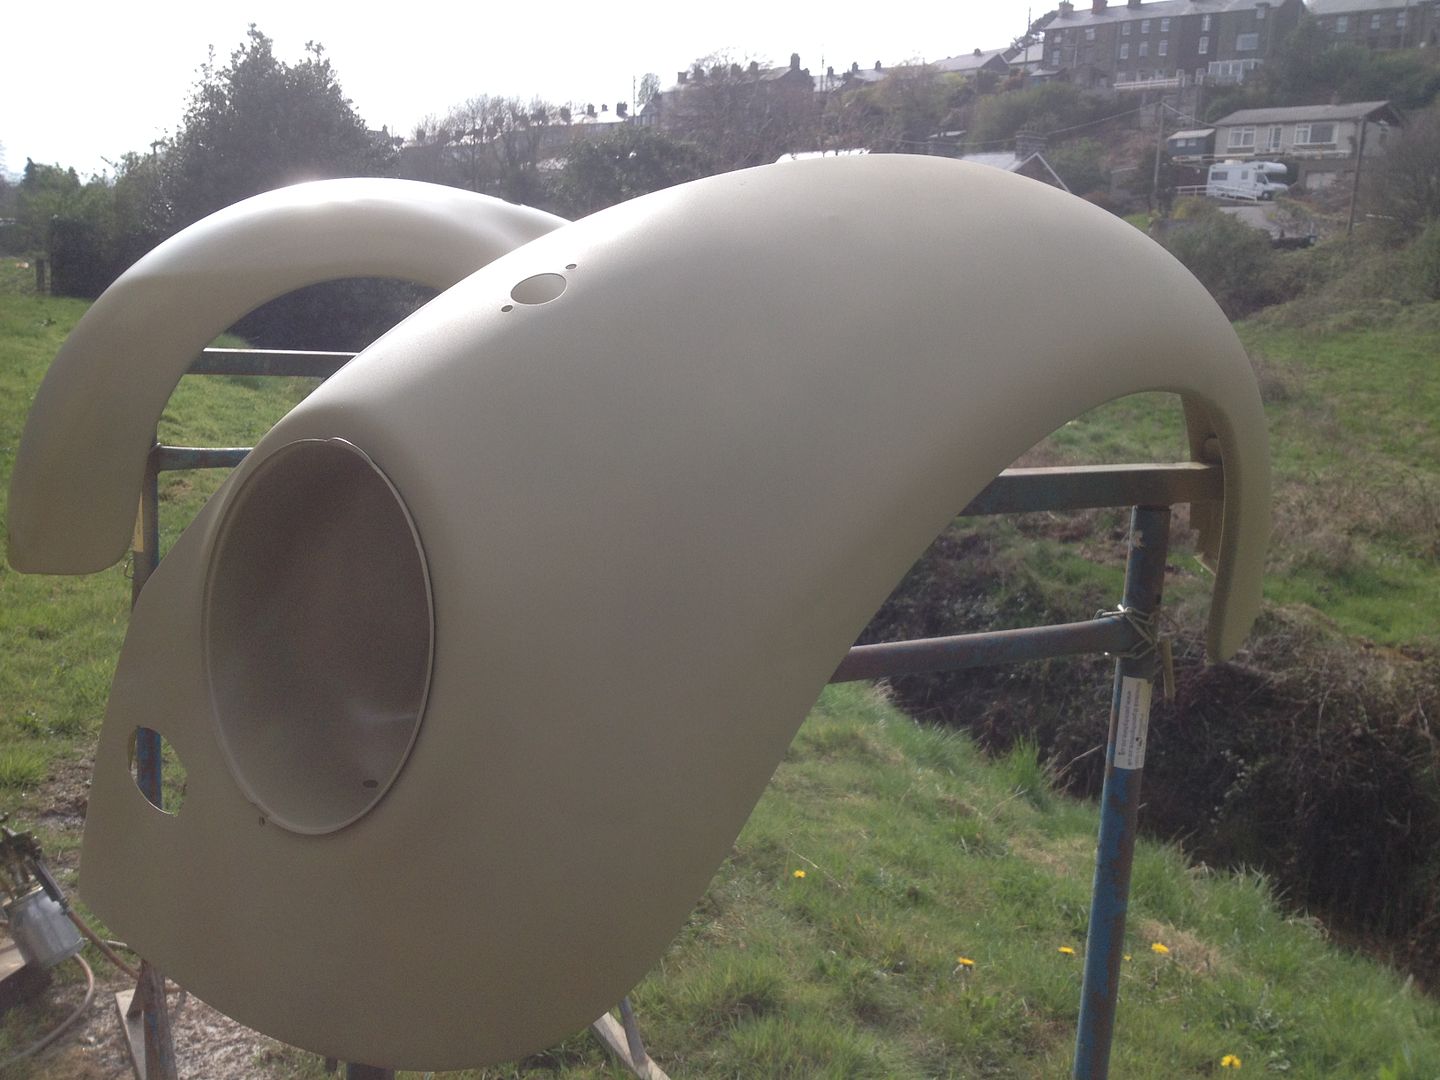 |
|
|
|
|
Logged
|
|
|
|
|
vwhelmot
|
|
« Reply #129 on: July 11, 2015, 09:24:36 am » |
|
|
|
|
|
|
Logged
|
|
|
|
|
vwhelmot
|
|
« Reply #130 on: July 11, 2015, 09:30:53 am » |
|
|
|
|
|
|
Logged
|
|
|
|
|
vwhelmot
|
|
« Reply #131 on: July 11, 2015, 09:41:37 am » |
|
|
|
|
|
|
Logged
|
|
|
|
|
vwhelmot
|
|
« Reply #132 on: July 11, 2015, 09:52:23 am » |
|
|
|
|
|
|
Logged
|
|
|
|
|
vwhelmot
|
|
« Reply #133 on: July 13, 2015, 10:44:37 am » |
|
|
|
|
|
« Last Edit: July 13, 2015, 10:48:33 am by vwhelmot »
|
Logged
|
|
|
|
|
vwhelmot
|
|
« Reply #134 on: July 13, 2015, 12:13:10 pm » |
|
|
|
|
|
|
Logged
|
|
|
|
|
Lids
|
|
« Reply #135 on: July 13, 2015, 19:52:40 pm » |
|
I love this thread. Where did you get those mini adjustable jaws
|
|
|
|
|
Logged
|
|
|
|
|
vwhelmot
|
|
« Reply #136 on: July 13, 2015, 20:00:10 pm » |
|
|
|
|
|
|
Logged
|
|
|
|
|
Lids
|
|
« Reply #137 on: July 13, 2015, 20:49:41 pm » |
|
thank you, just ordered some  |
|
|
|
|
Logged
|
|
|
|
|
Mirco Jufer
|
|
« Reply #138 on: July 16, 2015, 19:01:10 pm » |
|
Awesome Work!! Love It |
|
|
|
|
Logged
|
|
|
|
|
leec
|
|
« Reply #139 on: July 16, 2015, 21:43:08 pm » |
|
Great work on that door. Will you work on other people's cars? |
|
|
|
|
Logged
|
|
|
|
|
vwhelmot
|
|
« Reply #140 on: July 16, 2015, 23:13:45 pm » |
|
Been thinking about doing other work when this is finished, but would have to travel to North Wales, suppose it's not the end of the world! I Would have to call it Custom Creams too. Thanks for the compliments by the way. |
|
|
|
|
Logged
|
|
|
|
|
vwhelmot
|
|
« Reply #141 on: July 17, 2015, 12:56:10 pm » |
|
Onto the front and again it was a proper mix of wrong shape panels and modifications. I`m replacing the front beam for one that doesn't need body mods so I could get rid of my previous cycle chain guards !  It seemed a good idea at the time to modify the bodywork instead of the suspension   Finding the correct replacement front clip sides would prove to be a bit of a problem. I placed various wanted ads on some sites and had a few replies. Some folk on the Samba wanted to charge me up to $1000 to ship the two side panels to the UK but fortunately I came up trumps with a near side one on VZI and then a while later Alex Taylor from Defcon3 sorted me out with both front panels off a UK car. All three panels needed work so I chose the best and took it from there. Super cycle fenders 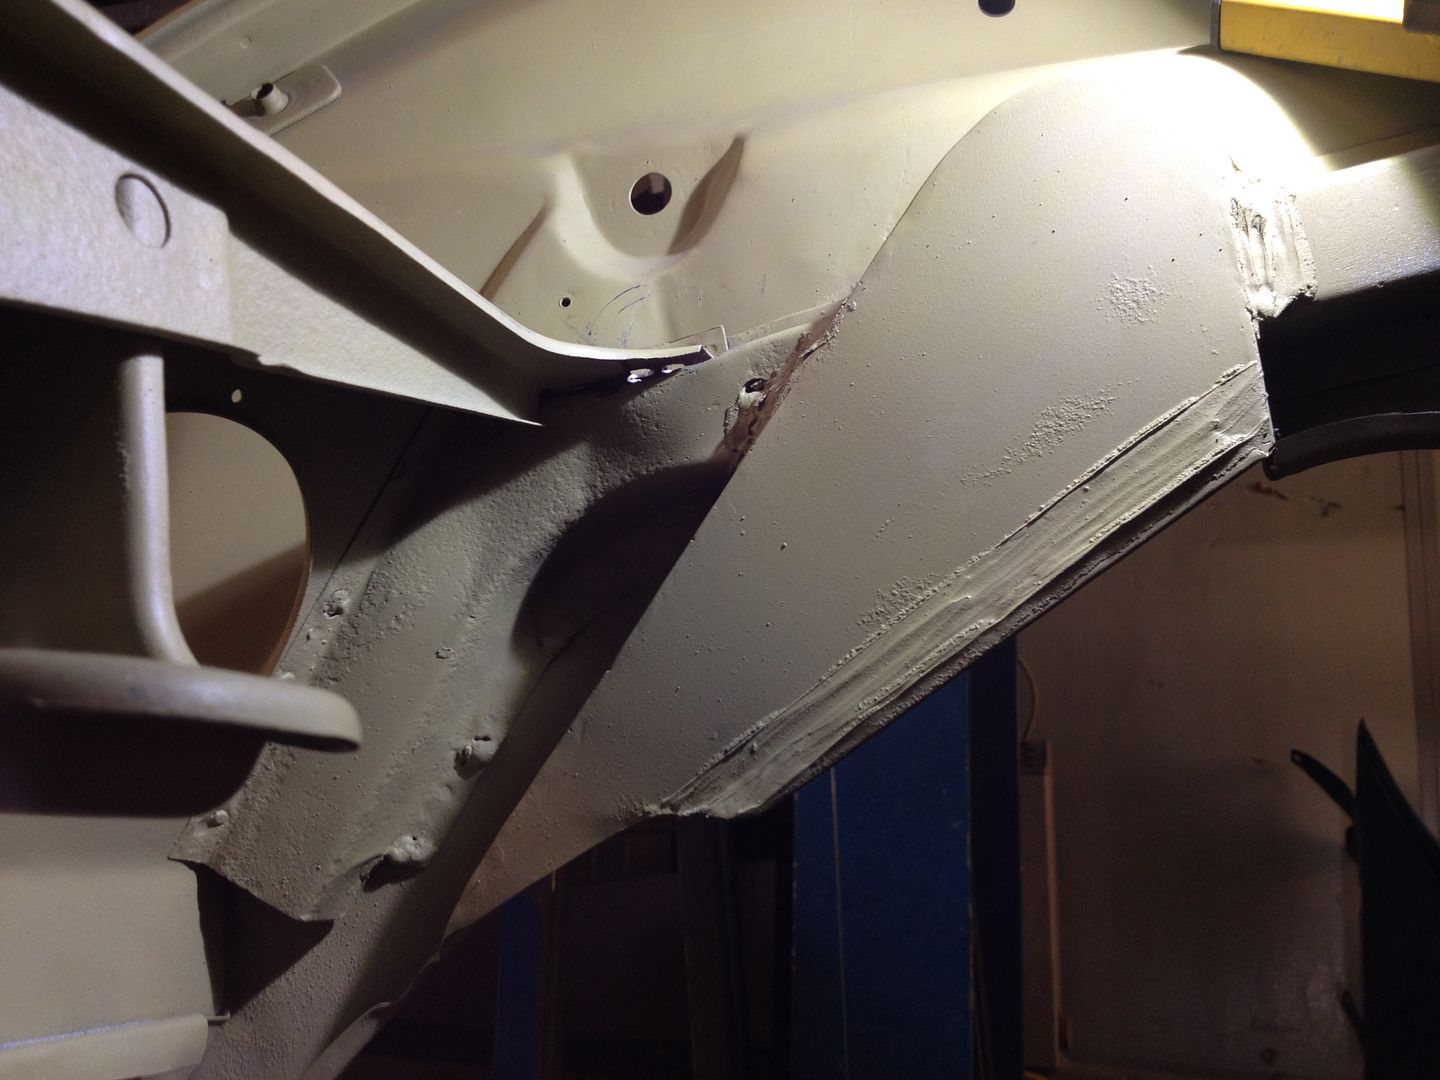 Lovely spot of welding 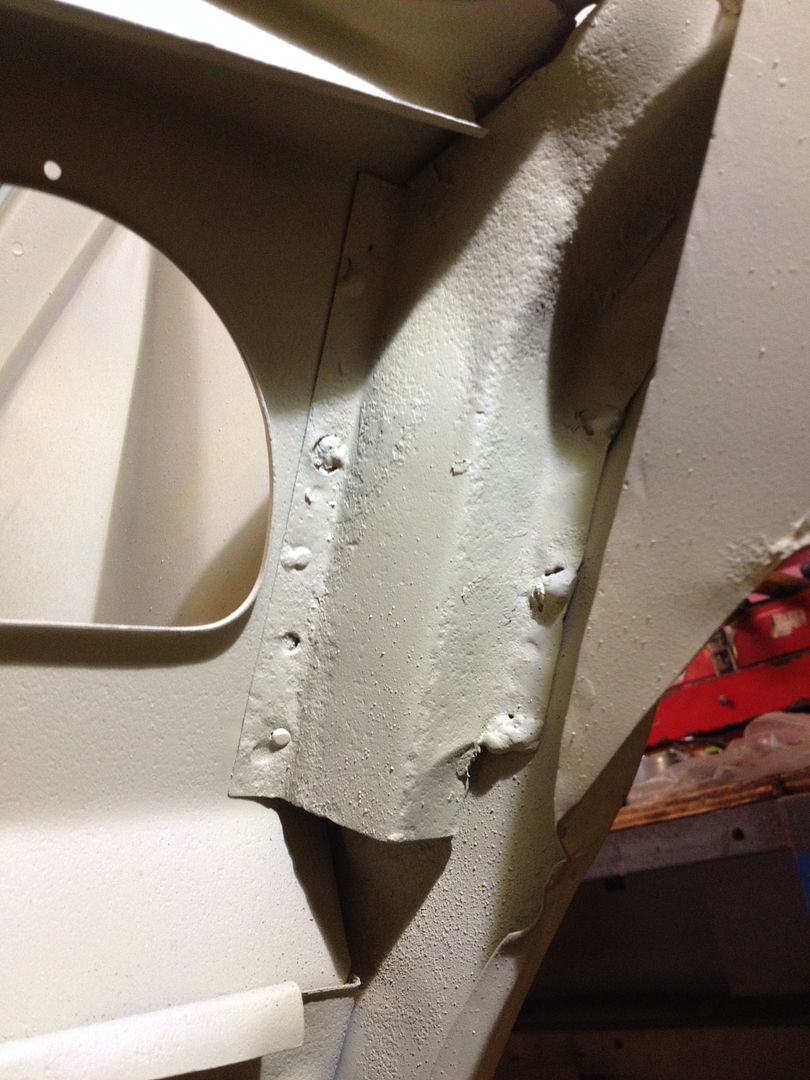 Drilling out   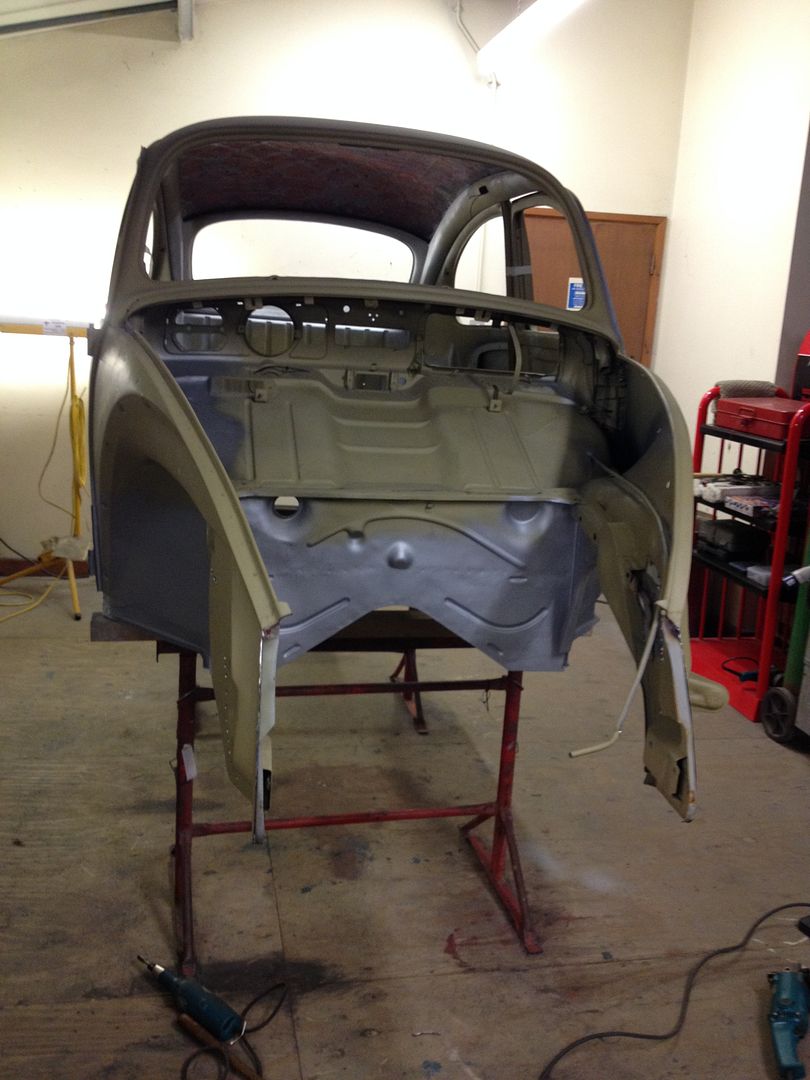 |
|
|
|
|
Logged
|
|
|
|
|
vwhelmot
|
|
« Reply #142 on: July 17, 2015, 13:07:58 pm » |
|
|
|
|
|
|
Logged
|
|
|
|
|
vwhelmot
|
|
« Reply #143 on: July 17, 2015, 13:19:17 pm » |
|
|
|
|
|
|
Logged
|
|
|
|
|
vwhelmot
|
|
« Reply #144 on: July 17, 2015, 13:28:40 pm » |
|
|
|
|
|
|
Logged
|
|
|
|
|
vwhelmot
|
|
« Reply #145 on: July 17, 2015, 13:33:00 pm » |
|
|
|
|
|
|
Logged
|
|
|
|
|
vwhelmot
|
|
« Reply #146 on: July 20, 2015, 10:01:45 am » |
|
|
|
|
|
|
Logged
|
|
|
|
|
vwhelmot
|
|
« Reply #147 on: July 20, 2015, 14:48:07 pm » |
|
|
|
|
|
|
Logged
|
|
|
|
|
vwhelmot
|
|
« Reply #148 on: July 21, 2015, 13:03:08 pm » |
|
|
|
|
|
|
Logged
|
|
|
|
|
vwhelmot
|
|
« Reply #149 on: July 21, 2015, 13:22:08 pm » |
|
|
|
|
|
|
Logged
|
|
|
|
|
 The Cal-look Lounge


 Author