Lukej
Jr. Member

Posts: 65
|
 |
« on: April 08, 2016, 21:11:29 pm » |
|
Evening guys and girls I'll use this thread first to introduce myself, secondly to share my dealings and discoveries along the way and thirdly to document what and how I'm doing stuff as much for my own reference as anything else. I'm Luke, 26 yr old maintenance engineer at a large food/chemical manufacturing plant in the East Midlands, UK. I have a 77 late bay camper as a joint project with my other half (more hers than mine, I hate the thing) but we did a full resto on that, replaced the lower 6" pretty much all round, new camper interior etc etc... Also a 72 Marathon Beetle, again, body off resto. Nothing Concours worthy but a solid daily drive. Both have had various engines in them but as they stand at the minute the camper is engineless as the 78x90.5 that was running died a horrible death... We'll not talk about that and the 1915 I built for the beetle got sold along with the 1st round of 2276 parts I had collected a couple of years ago when I bought my first house... The beetle is currently running the first engine I built for it about 5 years ago mid resto. 77BHP 1641  So now... This 2276 CB 82mm crank CB 5.4" H beams VW forged flywheel lightened and 8 dowelled CB gland nut KEP stage 1 VW Speedshop front trigger pulley CB straight cuts Web 86b AA slipper skirt 94mm P+C Mofoco 050 42x37 heads Stateside tuning springs Scat keepers and retainers Smith Bros Alu pushrods Bugpack 1.4:1 ratio rockers Big beef IDA manifolds 1 5/8" sidewinder Shooting for 10.5:1 CR So thats the long block, the EFI looks like this Megasquirt II v3.0 with relay board EDIS on a VR Bosch 044 high pressure pump K1 GSXR 600 throttle bodies A few pic... turns out I don't have many to hand. Internals 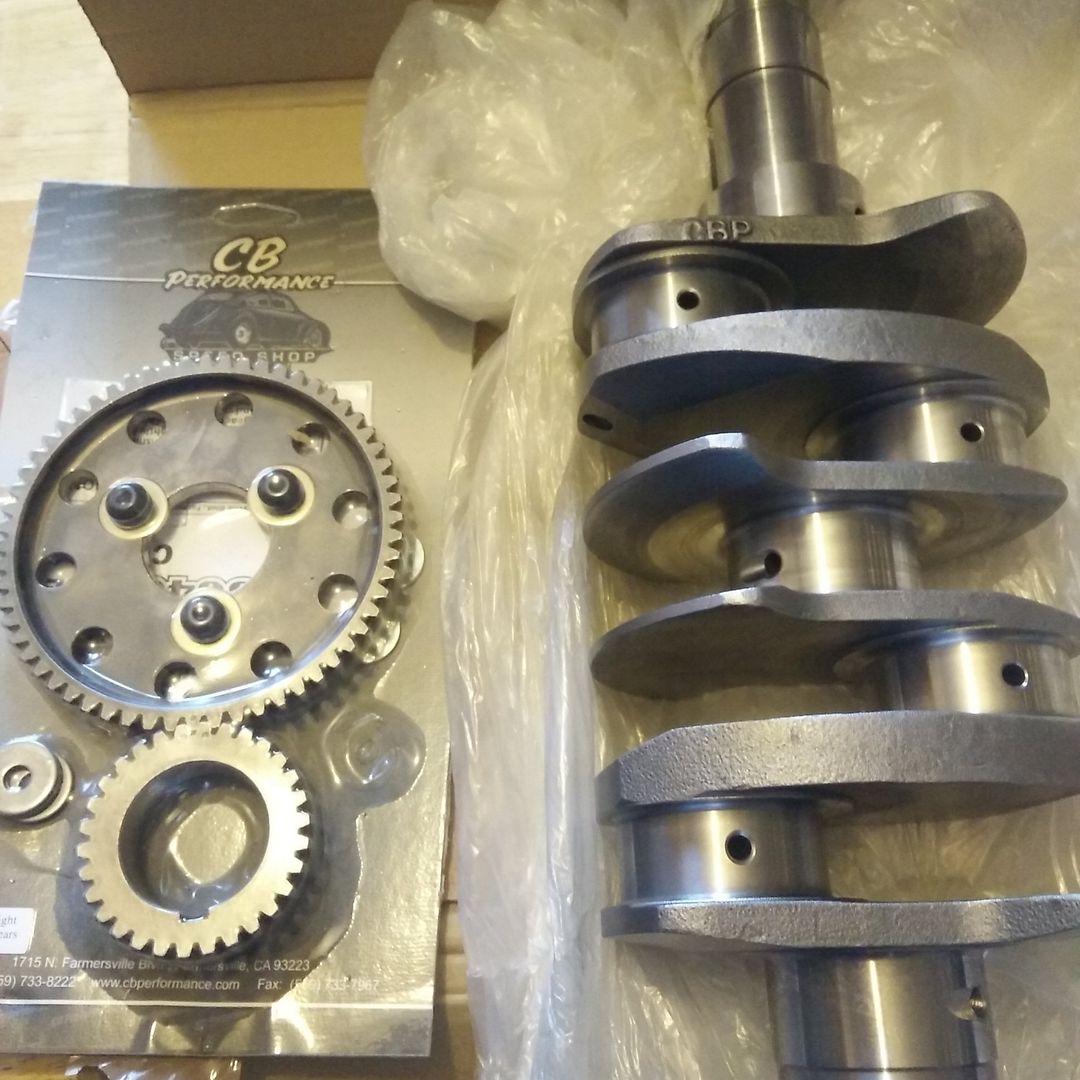 50cc in the heads  ITBs as they arrived 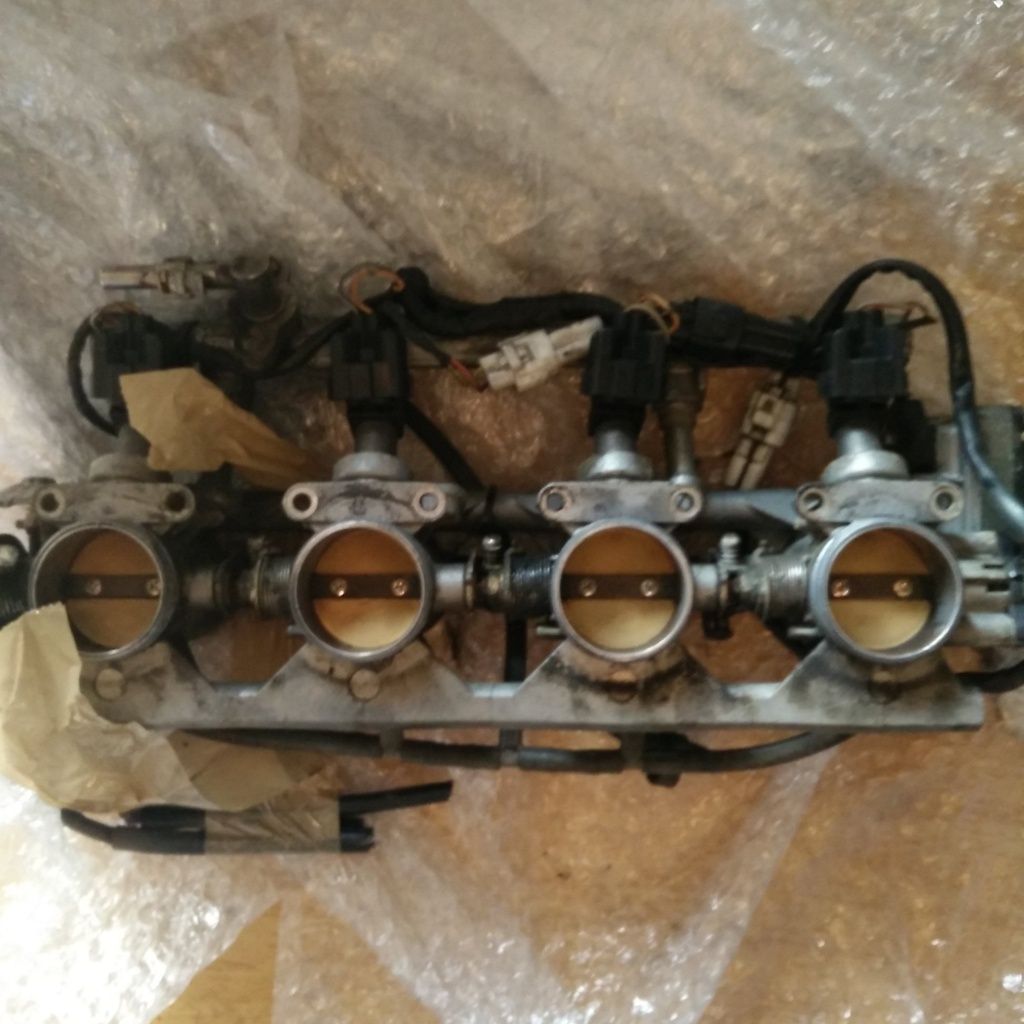 Split down... not sure whether to space them at 120mm centres to suit the IDA manifolds or to cut th manifolds down and weld them on at the point where the intake runners suit the ITB spacing a la Andy... either way it's looking like it'd be best to relocate the injectors lower down to aim at the valve... We'll see. 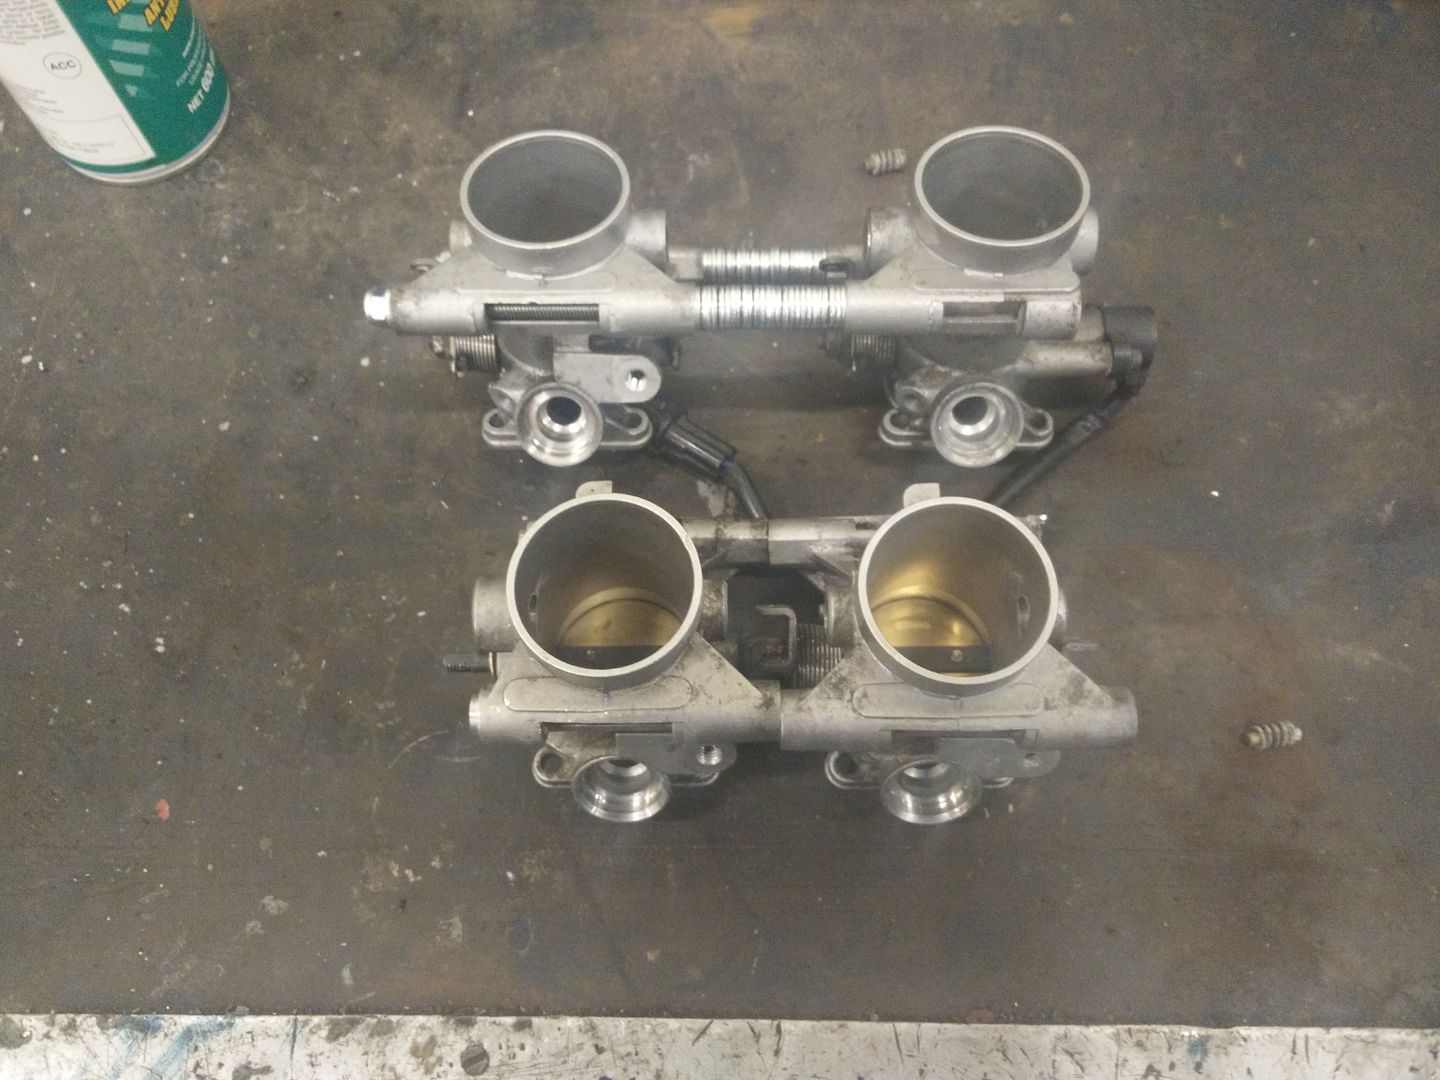 I was toying with the ide of machining my flywheel (again like Andy) but in the end plumped for this trigger wheel kit. Gotta say it does look mighty fine   Any way that's enough rambling for now... Let me know what you think and feel free to drop any advice or criticism in, much appreciated Luke |
|
|
|
|
 Logged
|
|
|
|
|
hotstreetvw
|
|
« Reply #1 on: April 09, 2016, 01:36:06 am » |
|
Cool engine build Luke, sounds like a very good street combo. You have come to the right place, a lot of experience lurking.
|
|
|
|
|
Logged
|
|
|
|
|
baz
|
|
« Reply #2 on: April 09, 2016, 02:31:29 am » |
|
Nice combo and damn close to my 2276 efi. Gonna be interesting to see how the different heads and cam compare when done.
Best of luck with the build
|
|
|
|
|
Logged
|
I will prevail.
|
|
|
Lukej
Jr. Member
Posts: 65
|
|
« Reply #3 on: April 09, 2016, 08:08:42 am » |
|
Thanks guys,
I don't like the look of a shootout with yours Baz, not with JD ported heads, Raptor cam and Speedshop ITBs...
Any estimates power wise?
|
|
|
|
|
Logged
|
|
|
|
|
baz
|
|
« Reply #4 on: April 09, 2016, 16:12:57 pm » |
|
I really don't think there'll be much difference between yours and mine. My jd heads are pretty mild and my cam is very similar to an 86b. My guess is 140 rwhp going by the numbers mine was making during its short lived dyno session |
|
|
|
|
Logged
|
I will prevail.
|
|
|
|
andy198712
|
|
« Reply #5 on: April 09, 2016, 23:37:48 pm » |
|
I've not noticed any down falls of having the injectors where they are.... Life would be easier to respect the ITBs I reckon.... Saves faffing with welding and stuff
|
|
|
|
|
Logged
|
|
|
|
Lukej
Jr. Member
Posts: 65
|
|
« Reply #6 on: April 10, 2016, 09:06:01 am » |
|
That's what these threads are great for... someone to come and save a load of faffing and hassle. Got ya Andy I'll just choppy chop the IDA manifolds down Keep the ITBs stock spacing, stock injector location and stock linkage between each butterfly. Ghetto mod the fuel rail again just like yours... I'll crack out the tig set though not epoxy  Anyway, a few more piccys. We all like pictures. Ported IDA manifolds, I think they want porting further up, they lose the wedge shape quite quickly, I'll perhaps do this once I've chopped them. 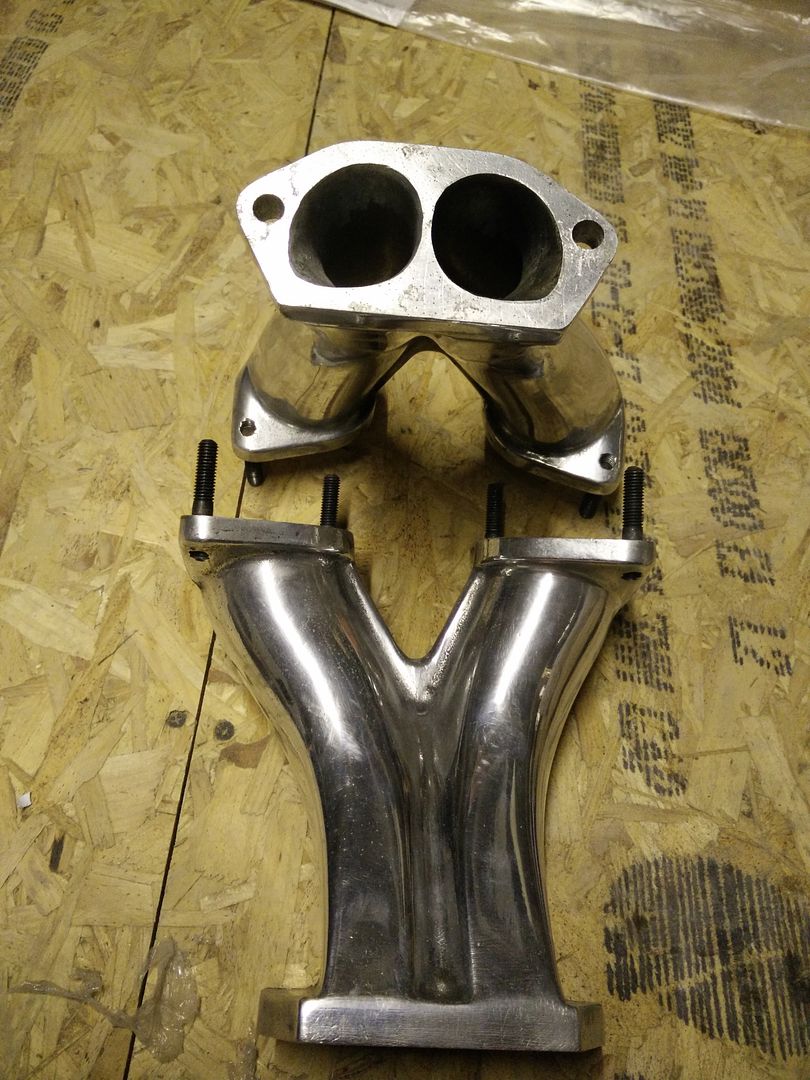 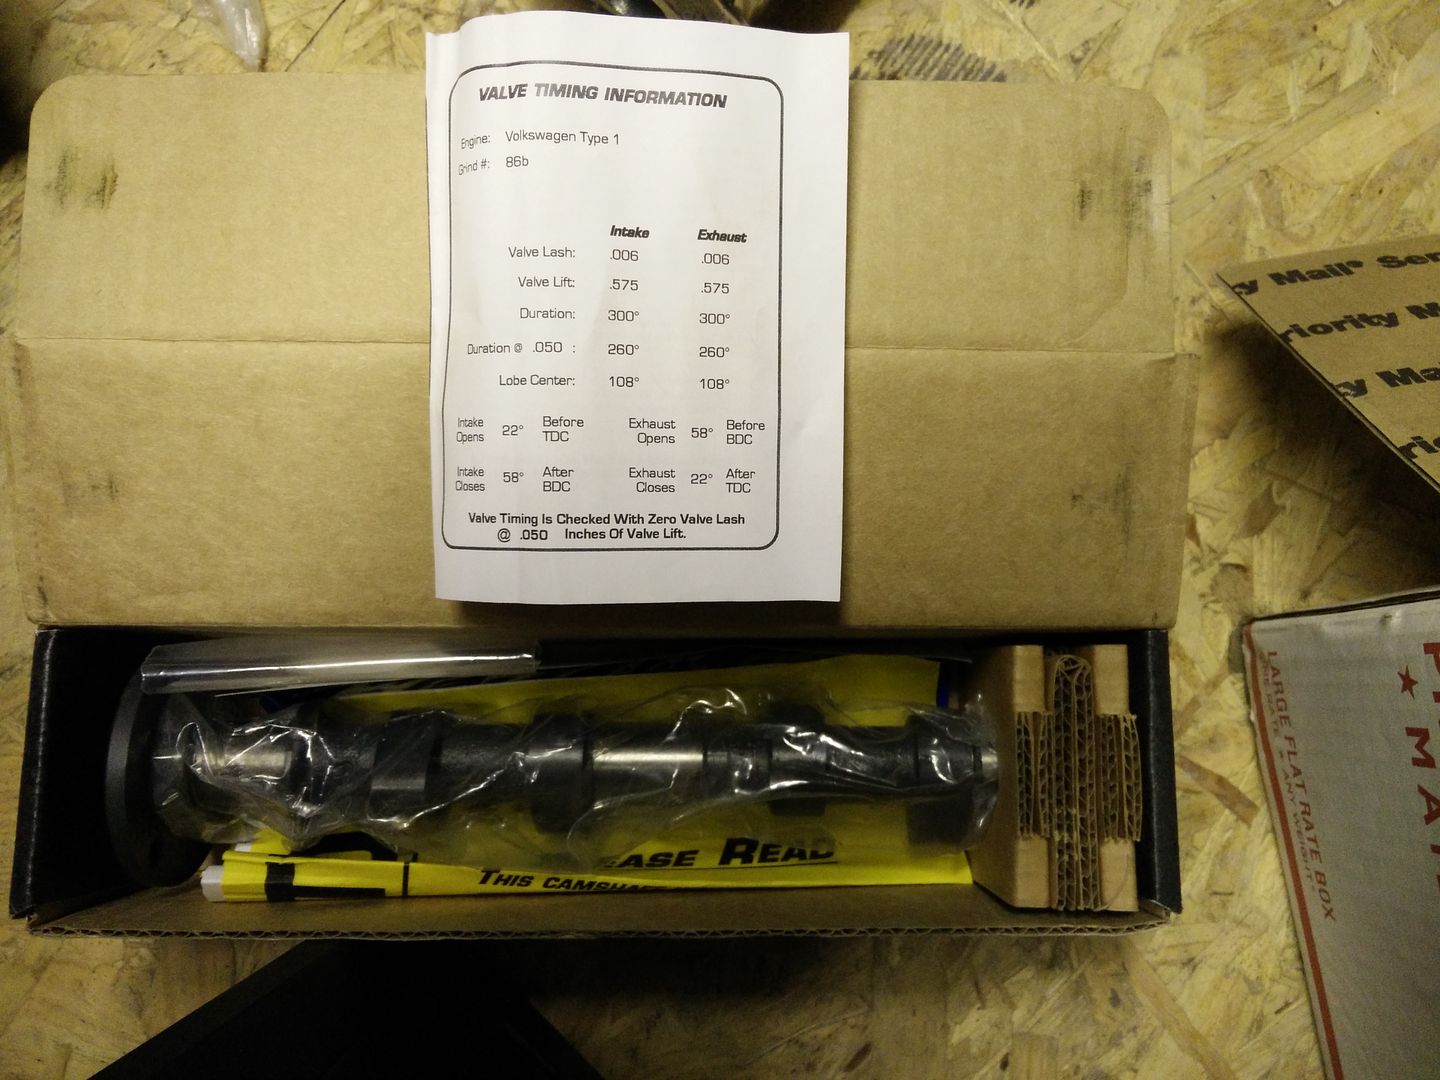 Nothing fancy, 1 5/8" stainless, with a lambda bung 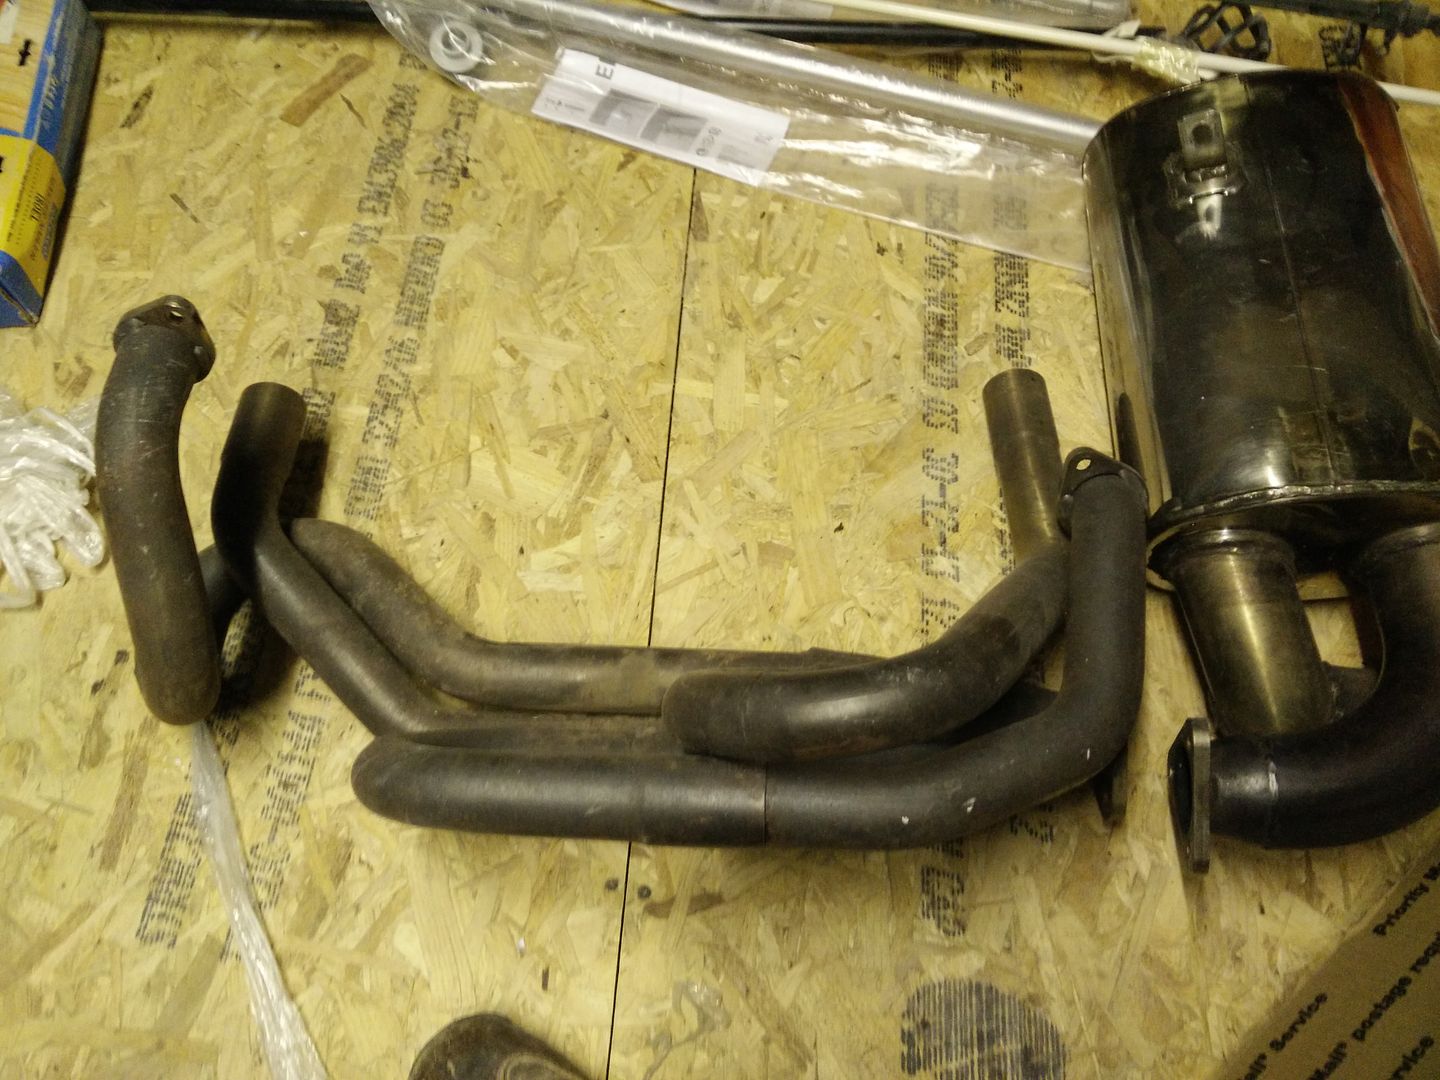 CB 8mm head stud kit and gland nut, Silverline bearings 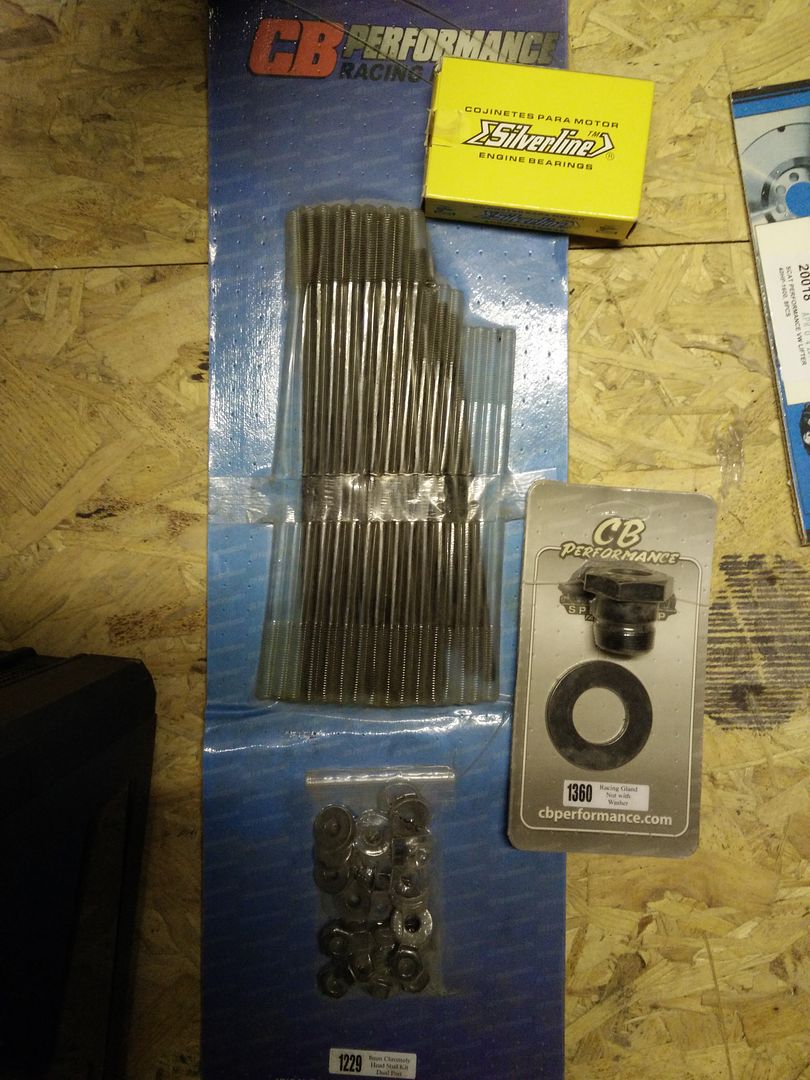 Fancy pushrods and springs from Stateside Tuning 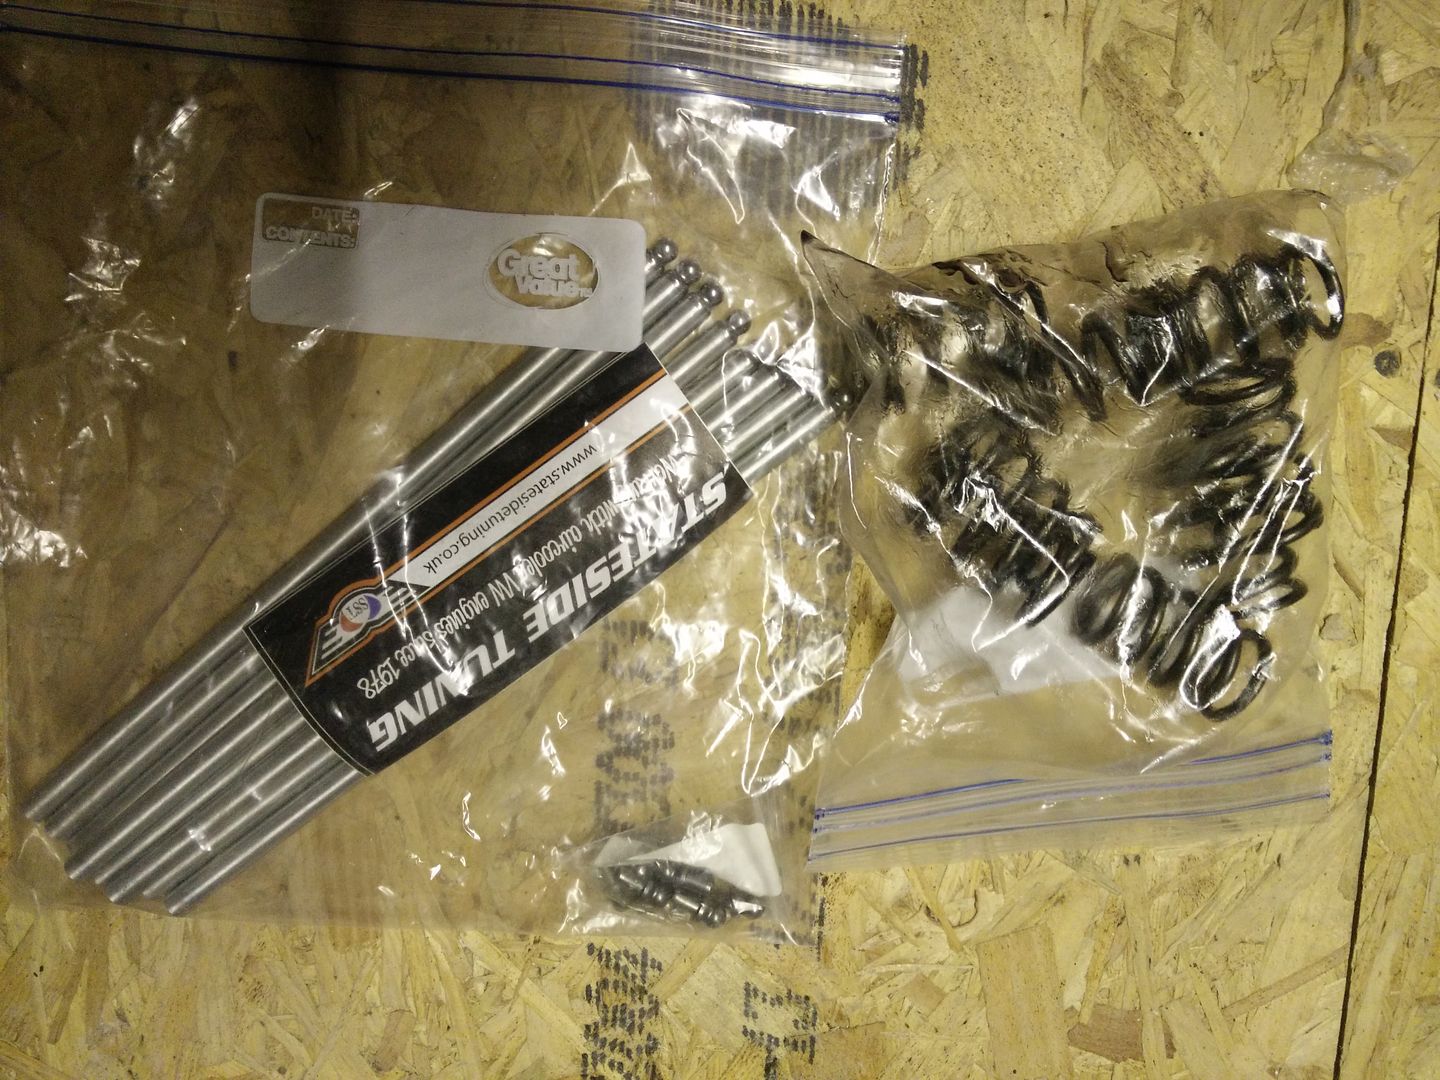 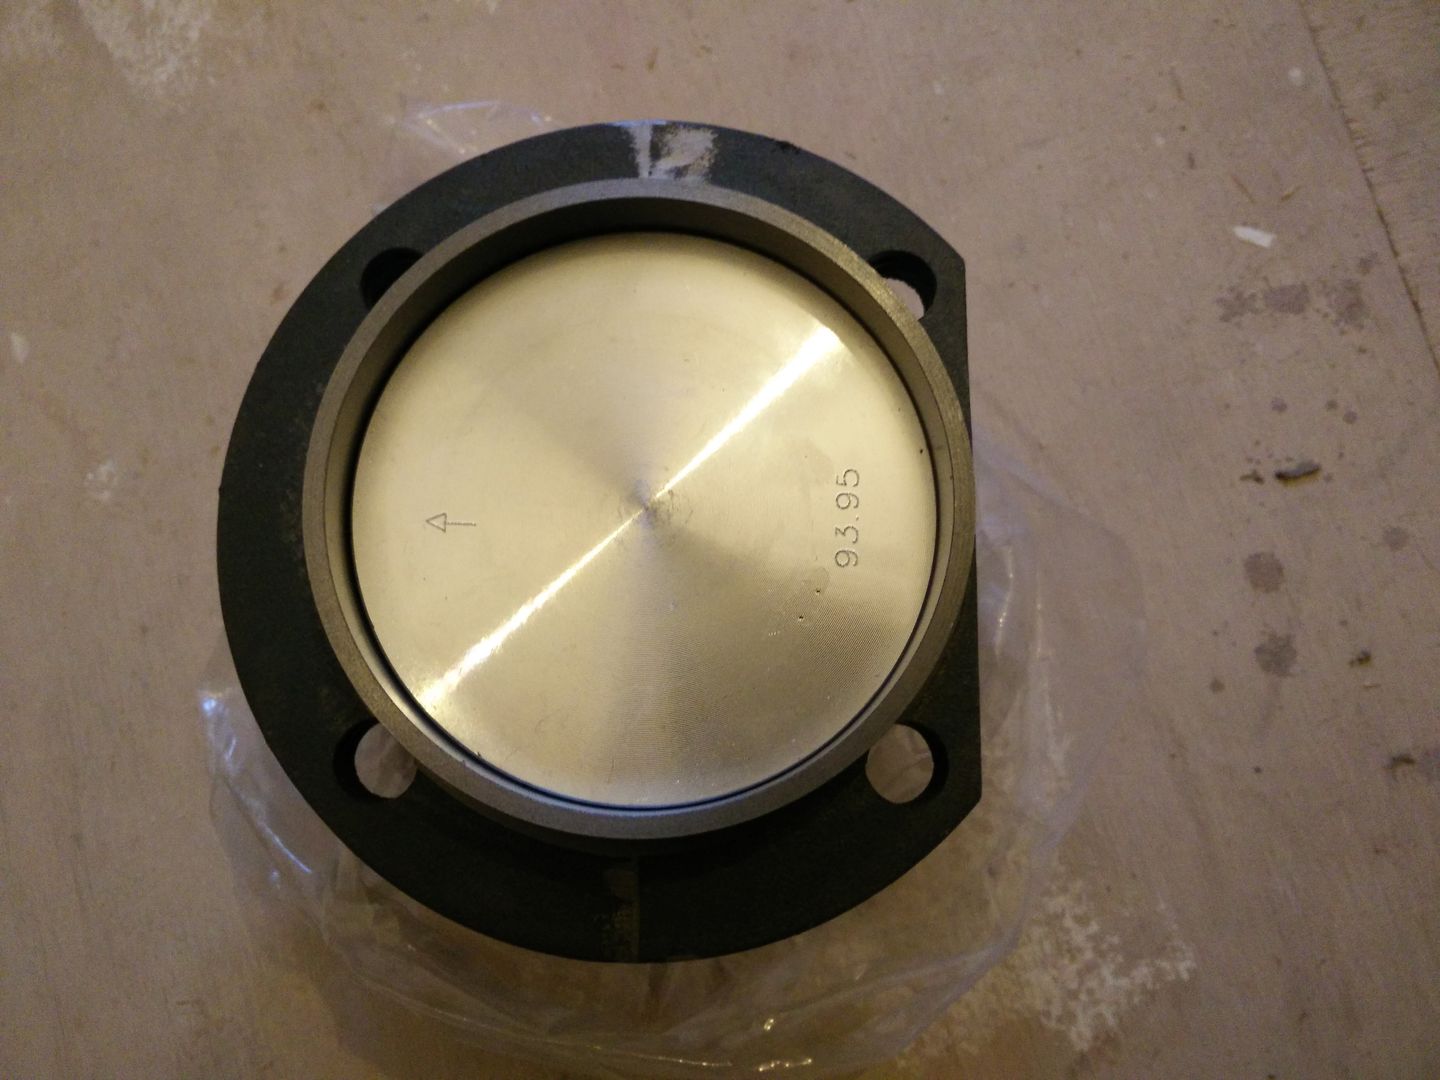 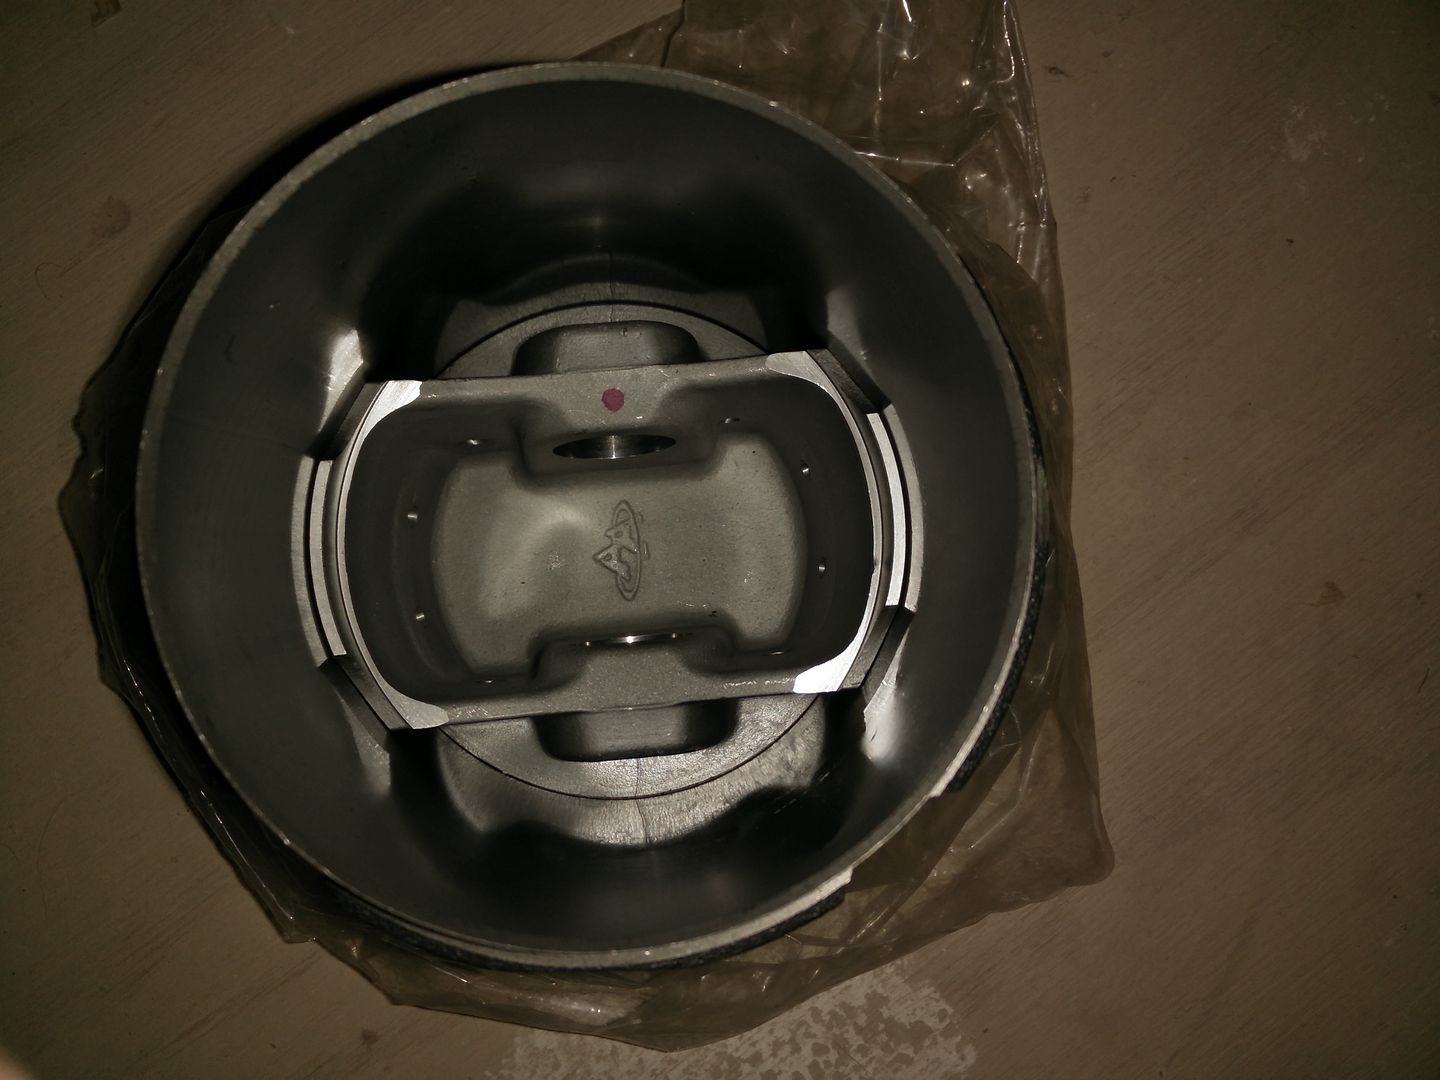 Scat lightweight lifters and gasket kit 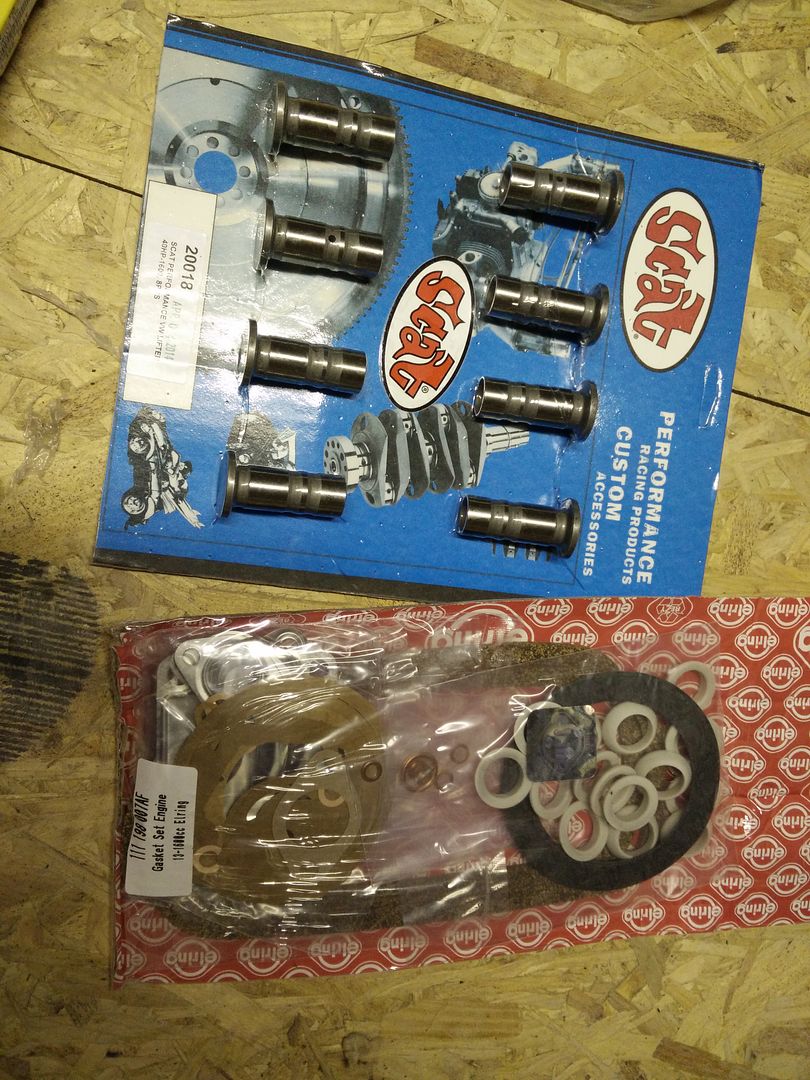 |
|
|
|
|
Logged
|
|
|
|
|
baz
|
|
« Reply #7 on: April 10, 2016, 09:19:26 am » |
|
Are they rod bearings in the yellow box?
|
|
|
|
|
Logged
|
I will prevail.
|
|
|
Lukej
Jr. Member
Posts: 65
|
|
« Reply #8 on: April 10, 2016, 10:19:13 am » |
|
Yup. Want a part number?
|
|
|
|
|
Logged
|
|
|
|
|
baz
|
|
« Reply #9 on: April 10, 2016, 10:39:34 am » |
|
Yes please Another engine builder I was talking to yesterday says he won't use them as they can be tight on the crank. |
|
|
|
|
Logged
|
I will prevail.
|
|
|
Lukej
Jr. Member
Posts: 65
|
|
« Reply #10 on: April 10, 2016, 19:30:51 pm » |
|
|
|
|
|
|
Logged
|
|
|
|
|
baz
|
|
« Reply #11 on: April 10, 2016, 19:43:17 pm » |
|
Thanks luke, is the same number stamped on the back of the shells?
|
|
|
|
|
Logged
|
I will prevail.
|
|
|
Lukej
Jr. Member
Posts: 65
|
|
« Reply #12 on: April 10, 2016, 20:24:15 pm » |
|
I took a photo but it came out crap, I'll have a look tomorrow...
Are they supposed to be tight on the journal itself ie bringing the oil clearance tighter than spec or just tight on the crank radii?
|
|
|
|
|
Logged
|
|
|
|
|
baz
|
|
« Reply #13 on: April 10, 2016, 20:52:44 pm » |
|
Tight on the journals from what I believe. Could have been a contributing factor in my lock up.
|
|
|
|
|
Logged
|
I will prevail.
|
|
|
|
andy198712
|
|
« Reply #14 on: April 10, 2016, 22:06:37 pm » |
|
I've not noticed any down falls of having the injectors where they are.... Life would be easier to respect the ITBs I reckon.... Saves faffing with welding and stuff
Silly auto correct, it meant to say it would easier to re space the throttle bodies. But if you have access to a tig.... Maybe not? |
|
|
|
|
Logged
|
|
|
|
Lukej
Jr. Member
Posts: 65
|
|
« Reply #15 on: April 11, 2016, 08:13:10 am » |
|
Looks Like if I chopped the manifolds about here I'd get the right spacing 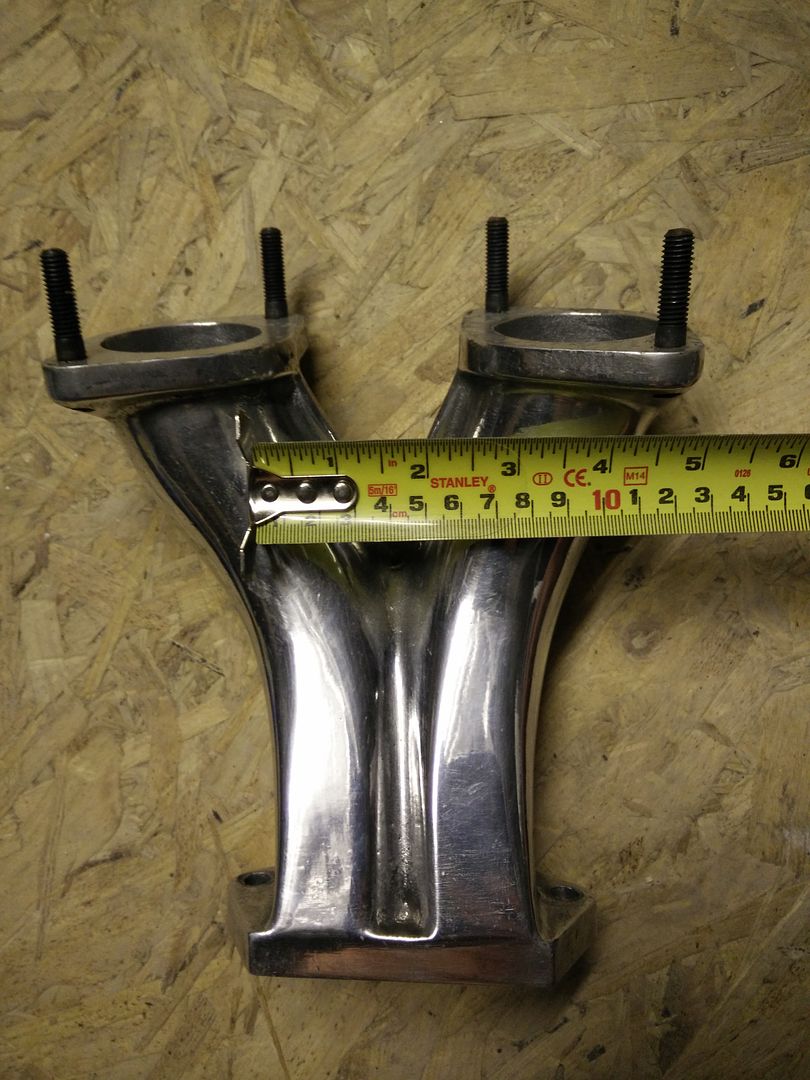 Now having though about it it would be so much easier if I could leave the throttle bodies stock spacing so that I dont have to mod the linkage or fuel injectors/rails... I have access to my brothers tig set. I'm not great at tigging though so it'll be a steep learning curve. It'd be cheating if I got Oli to weld em for me. Maybe I'll practice on some scrap first though |
|
|
|
|
Logged
|
|
|
|
Lukej
Jr. Member
Posts: 65
|
|
« Reply #16 on: April 11, 2016, 15:00:51 pm » |
|
Thanks luke, is the same number stamped on the back of the shells?
Hi Baz, that back of the shells are stamped; 0111COC 1914A STD |
|
|
|
|
Logged
|
|
|
|
|
baz
|
|
« Reply #17 on: April 11, 2016, 15:28:30 pm » |
|
Thanks luke. The last 4 digits are different to mine and different to some ritchie looked at. Could be a date thing I suppose
|
|
|
|
|
Logged
|
I will prevail.
|
|
|
Lukej
Jr. Member
Posts: 65
|
|
« Reply #18 on: April 11, 2016, 16:59:16 pm » |
|
These came from Ritchie so I would assume they're exactly the same part but like you say different batch or dates etc. What do you know? Has Richie given you his view on them? I've no doubt between him and Jo they wouldn't sell them if they weren't confident in them...
|
|
|
|
|
Logged
|
|
|
|
|
baz
|
|
« Reply #19 on: April 11, 2016, 17:13:42 pm » |
|
I'm just curious to know for sure if mine are vw journal, I was hoping part numbers would verify that but there's no part number list anywhere that i can check against.
I've no doubt rnj only sell stuff they are happy to use themselves but it's then up to the builder to measure and check everything and not assume it'll be ok.
Not all cranks are the same either so what works on one crank won't necessarily work on another.
|
|
|
|
|
Logged
|
I will prevail.
|
|
|
|
andy198712
|
|
« Reply #20 on: April 11, 2016, 22:45:09 pm » |
|
Looks Like if I chopped the manifolds about here I'd get the right spacing Now having though about it it would be so much easier if I could leave the throttle bodies stock spacing so that I dont have to mod the linkage or fuel injectors/rails... I have access to my brothers tig set. I'm not great at tigging though so it'll be a steep learning curve. It'd be cheating if I got Oli to weld em for me. Maybe I'll practice on some scrap first though When I chopped mine, the holes were slightly egg shaped if I recal, I eye balled it with the manifolds tbh, but you can always cut more down or sand down on a belt sander or the like? When I recently cut mine after breaking them I used a hack saw and did both in one cut so they were same hieght and angle and it came out well. Using some more..... Professional is what I'll think about for the mk2 manifolds though when they arrive from the states |
|
|
|
|
Logged
|
|
|
|
Lukej
Jr. Member
Posts: 65
|
|
« Reply #21 on: April 15, 2016, 07:57:49 am » |
|
Yeah I agree they will be egg shaped, my intention was to cut the flanges off and bore them to suit the itbs then reweld the flanges back on and build up the difference with the tig. Grindy grindy and away we go...
|
|
|
|
|
Logged
|
|
|
|
|
Peter
|
|
« Reply #22 on: April 15, 2016, 08:16:47 am » |
|
it would be easier to space the TB's from my opinion
|
|
|
|
|
Logged
|
|
|
|
|
andy198712
|
|
« Reply #23 on: April 15, 2016, 13:30:53 pm » |
|
it would be easier to space the TB's from my opinion
it would but the hard part then is making fuel rails, linking the throttles together wouldn't be too bad but your talking custom fuel rails, which isn't cheap. and if you have the time and a TIG, the tig method would be cheaper IMO? you could just fuck off the flanges completely(as the bolt pattern is different anyway i think) , buy some 8-10mm ally plate off eBay, offcuts are very cheap in there... cut those to suit and drill and tap for the intake rubbers. if you have separate flanges per hole just make sure there nice and square to each other, or make them out of one peice for two holes, then its going to be nice and flat.... that probably my plan, just need to buy some ally off eBay, will be about 10 quid for the plate, was thinking 6mm or thicker, and tapping it to M8. the hard bit to get at a good price is the intake rubbers and be sure you get the little clamps that come with them. i spent ages trying to find some 2006 ones, as i wasn't sure if earlier ones would fit my TBI's, but the earlier ones like yours were much more common when i was looking. i found out my injectors are 225cc if i recall right, and my max duty cycle on a gear pull to 5500RPM was 79% if i recall right so there fine. i also have 440cc ones if needed....(2006 TBIs come with two sets of injectors) |
|
|
|
« Last Edit: April 15, 2016, 13:32:41 pm by andy198712 »
|
Logged
|
|
|
|
|
modnrod
|
|
« Reply #24 on: April 15, 2016, 20:47:21 pm » |
|
the hard bit to get at a good price is the intake rubbers and be sure you get the little clamps that come with them.
http://www.sudco.com/sudco%20catalog.htmlYou're welcome. They are bound to have something that will fit. |
|
|
|
|
Logged
|
|
|
|
Lukej
Jr. Member
Posts: 65
|
|
« Reply #25 on: April 18, 2016, 19:06:57 pm » |
|
I don't like the intake rubbers, I had them on the VFR ITB set up and didn't like the look at all... I'll be welding these I got the Megasquirt out, been sat in a draw for years unused so spent a bit of time trying to familiarise myself with it all again. Plumped for Tunerstudio the other day, that'll be money well spent. Got a few of the settings worked out and played around with a spark table... (thanks Andy!) Should be close enough to run. 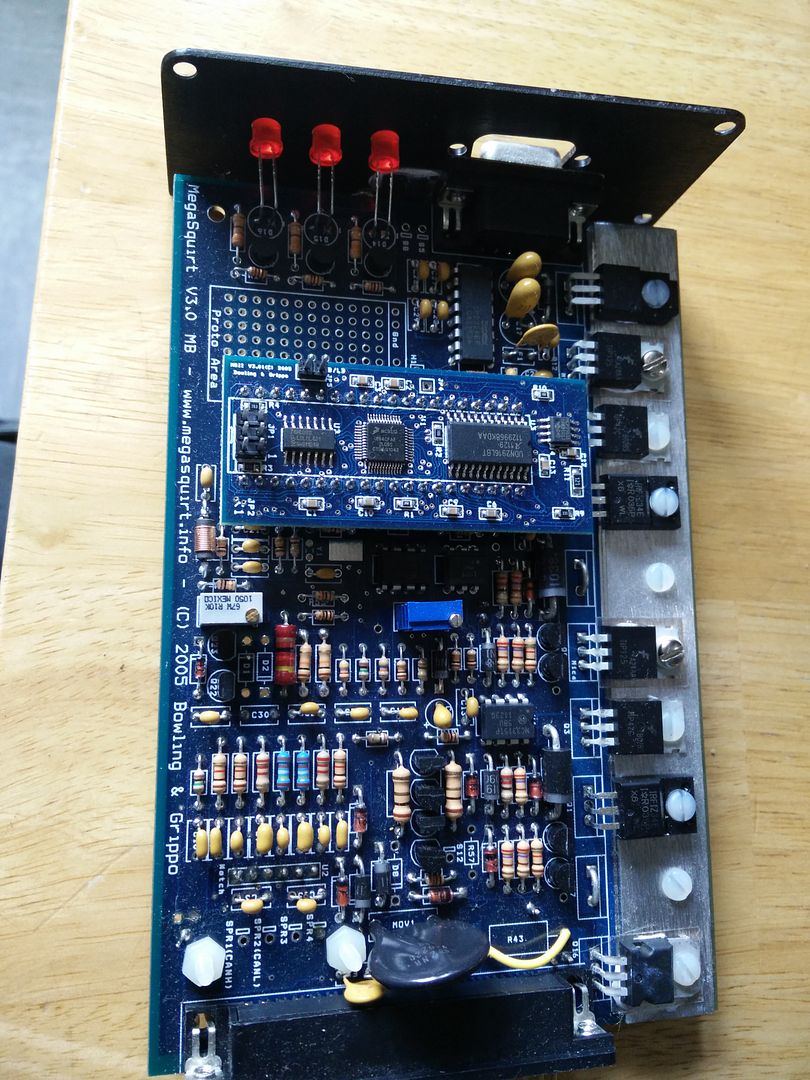 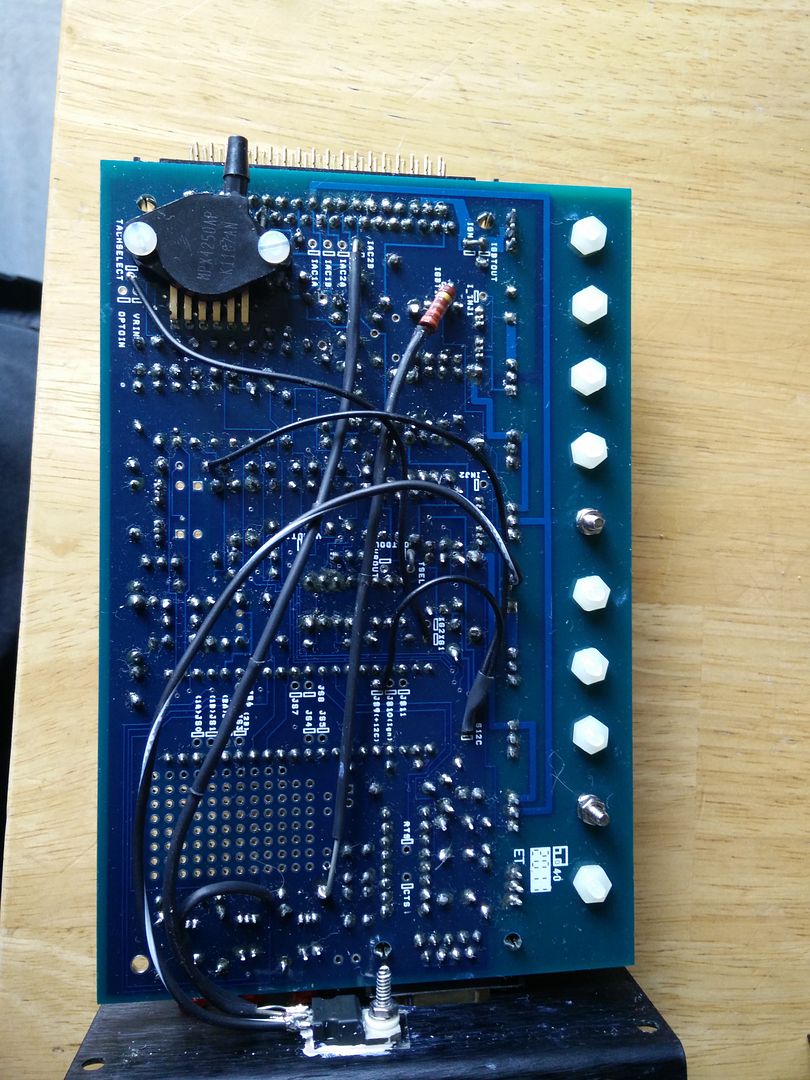 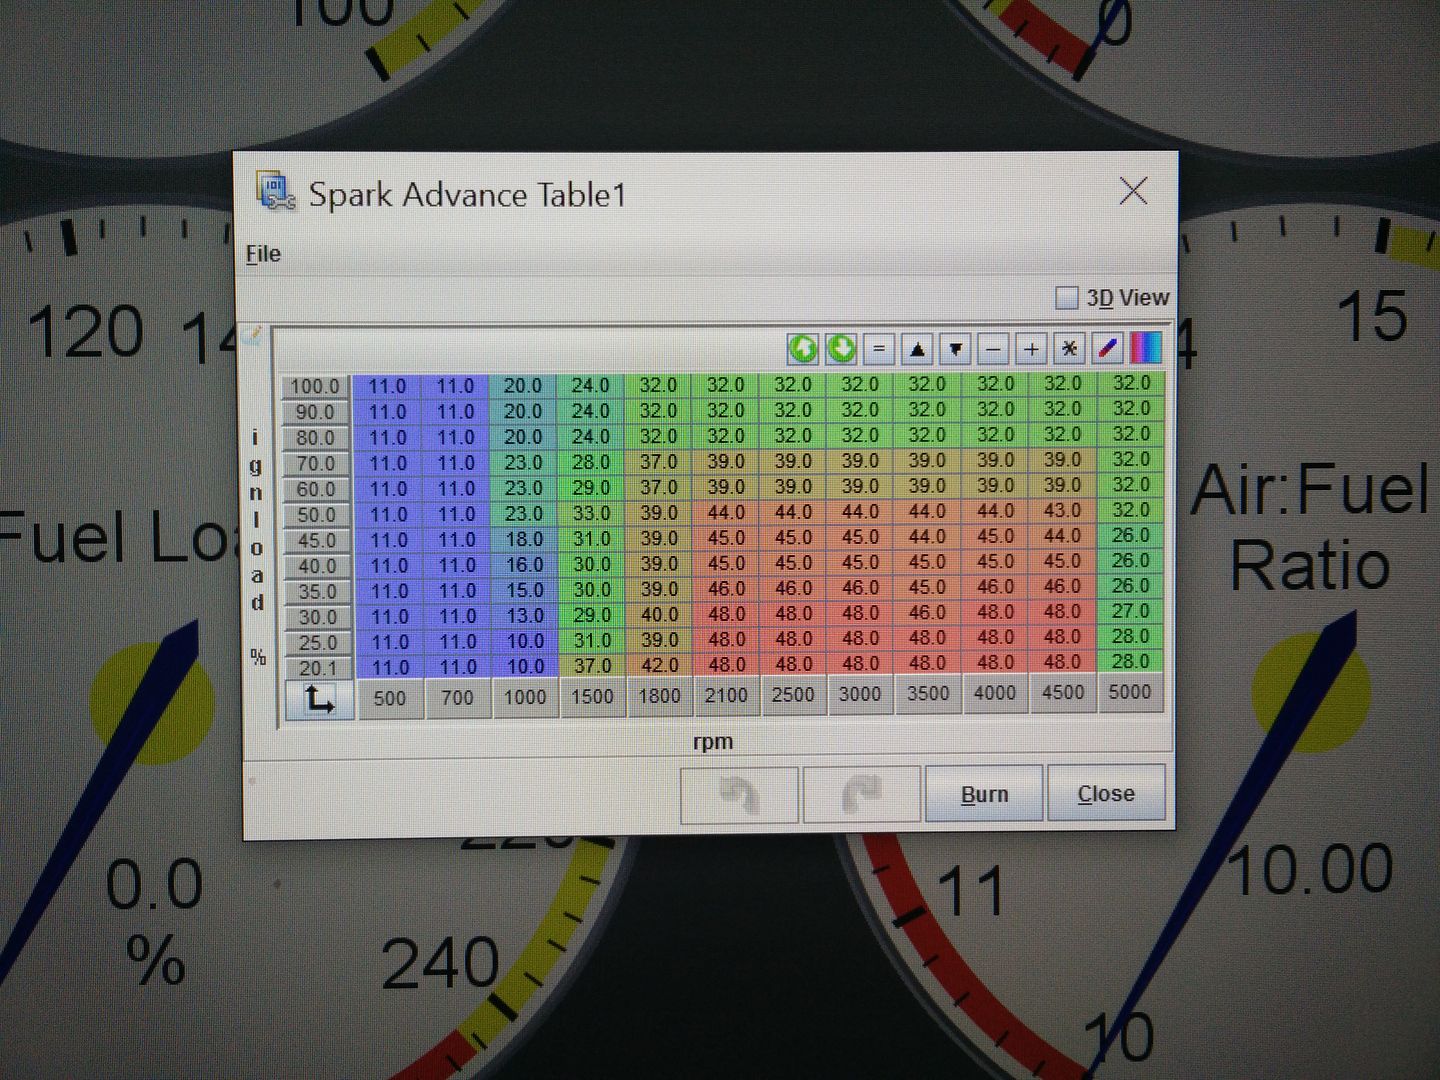 Are there many MS gurus on here? I need to mod the board but have a few Q's, might be better off over on Shoptalk? |
|
|
|
|
Logged
|
|
|
|
|
andy198712
|
|
« Reply #26 on: April 18, 2016, 21:43:54 pm » |
|
i sent you a table via instagram i'd start off a bit tamer then that just to get going.... just to be on the safe side. ahhhh welding, i was thinking that route would be best! |
|
|
|
|
Logged
|
|
|
|
Lukej
Jr. Member
Posts: 65
|
|
« Reply #27 on: April 19, 2016, 21:26:20 pm » |
|
Yep noted thanks, I'll be honest I've just copied it like for like Really need to start on the wiring to get this in the Beetle... Still not heard from the machinist yet so no news on the engine cases, not sure how long it's been now! |
|
|
|
|
Logged
|
|
|
|
Jay Aldred
Newbie
Posts: 39
|
|
« Reply #28 on: May 06, 2016, 11:58:45 am » |
|
Tight on the journals from what I believe. Could have been a contributing factor in my lock up.
I never use these bearings for the rods, I have a DPR 82mm crank with perfect journal sizes and the rods were solid using these bearings. The reason is the tollerance of the tags that locate them is poor focing the bearing out from the rod by 2 thou. I used Clevites problem gone with no further issues. Main bearings and cam bearing from silverline are fine. |
|
|
|
« Last Edit: May 06, 2016, 12:01:36 pm by Jay Aldred »
|
Logged
|
|
|
|
|
baz
|
|
« Reply #29 on: May 06, 2016, 13:29:29 pm » |
|
Yes i measured my silver lines and they give .02mm clearance, then measured clevites and nos ks at .05mm clearance.
|
|
|
|
|
Logged
|
I will prevail.
|
|
|
|
 The Cal-look Lounge


 Author