The Cal-look Lounge
Welcome, Guest. Please login or register.
Did you miss your activation email?
April 27, 2024, 16:37:20 pm

Login with username, password and session length
Thank you for your support!
Search:     Advanced search
350689 Posts in 28577 Topics by 6823 Members
Latest Member: Riisager
* Home This Year's European Top 20 lists All Time European Top 20 lists Search Login Register
+  The Cal-look Lounge
|-+  Cal-look/High Performance
| |-+  In Da Werks
| | |-+  Dude’s 58 Ragtop Beetle
« previous next »
Pages: 1 ... 7 8 [9] 10 11 12 Print
Author Topic: Dude’s 58 Ragtop Beetle  (Read 210904 times)
Deanodynosaurs
Sr. Member
****
Posts: 434


WWW
« Reply #240 on: January 22, 2014, 16:01:28 pm »

Quick bit of a update, and sadly it seems like I haven’t been doing a lot, but I really have!!

Engine has now been fully stripped down, and the tinwear etc is ready to go off and be powdercoated. So that dust, grit etc didn’t get into the motor I made some cover plates. Smiley
 

Next up I set around polishing the shiney engine parts. These are going to be laqured to stop them going dull again.
 

All fitting where possible have been replaced with stainless items. It was a pain getting these for the BERG linkage as its all imperial.
 

The carbs have also been stripped down and rebuilt.
 

These were also give a bit of a tart up with stainless fittings being used where I could as well as custom ali fittings (i.e. holding the carb trumpet down)


In terms of the shell, some of the bolt on body panels are actually being primered as we speak. There some issues with getting the doors to fit right, and this has meant I have had to buy numerous door, at extortionate prices. Sad

Here’s hoping it will all be worth it in the end. Smiley

Dude  Cool
Logged

chez2165
Full Member
***
Posts: 163


« Reply #241 on: January 22, 2014, 22:40:16 pm »

Are hey the Joe Bence velocity stack retaining clamps.
Logged
Deanodynosaurs
Sr. Member
****
Posts: 434


WWW
« Reply #242 on: January 22, 2014, 22:52:10 pm »

Are hey the Joe Bence velocity stack retaining clamps.

Yes mate, there a great bit of kit. Smiley

Dude
Logged

chez2165
Full Member
***
Posts: 163


« Reply #243 on: January 22, 2014, 23:24:54 pm »

Been considering them for mine, finishes things off nicely. Did you buy them direct from Joe.
Logged
Zach Gomulka
Hero Member
*****
Posts: 6991


Don't piss down my back and tell me it's raining.


« Reply #244 on: January 23, 2014, 04:22:23 am »

Are hey the Joe Bence velocity stack retaining clamps.

Yes mate, there a great bit of kit. Smiley

Dude

Those are nice. Where do you get them?
Logged

Born in the '80s, stuck in the '70s.
Taylor
Hero Member
*****
Posts: 576


« Reply #245 on: January 23, 2014, 07:22:53 am »

Are hey the Joe Bence velocity stack retaining clamps.

Yes mate, there a great bit of kit. Smiley

Dude

Those are nice. Where do you get them?


http://www.jbevwstore.com/48ida-velocity-stack-hold-downs-rin48.html
Logged
Deanodynosaurs
Sr. Member
****
Posts: 434


WWW
« Reply #246 on: January 23, 2014, 11:10:27 am »


Cheers Taylor, yep from here. Smiley

 Cool
Logged

Deanodynosaurs
Sr. Member
****
Posts: 434


WWW
« Reply #247 on: April 30, 2014, 11:52:55 am »

Time for a bit of an update as it really is overdue.

Turning my attention to the motor first, something I always hated about the engine was dull finish of the case due to oxidisation. It just didn’t look right with all the work I’d done on the rest of the car. Thus I decided to paint it using engine enamel.


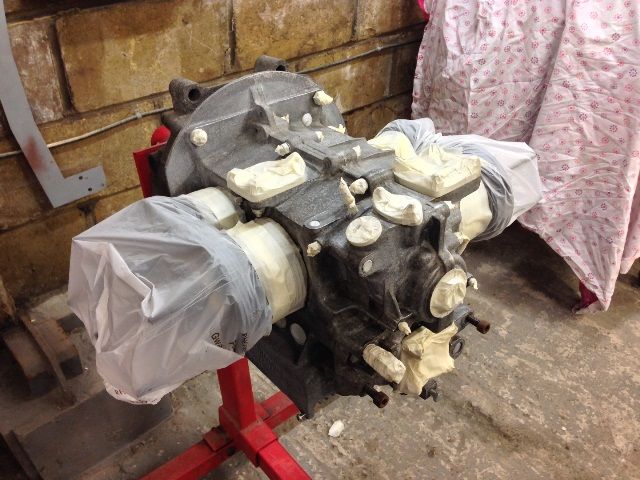
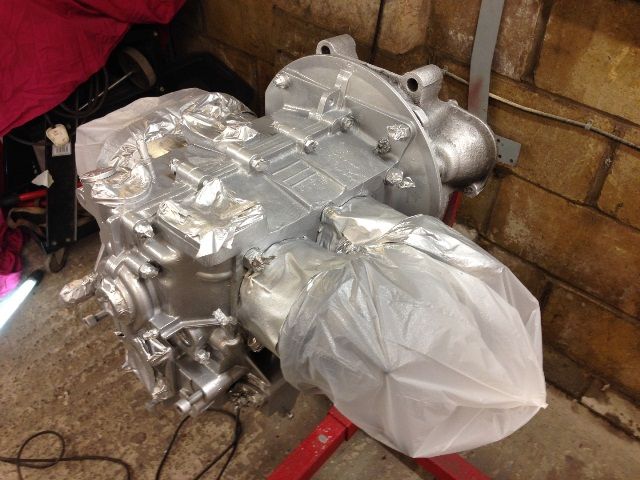
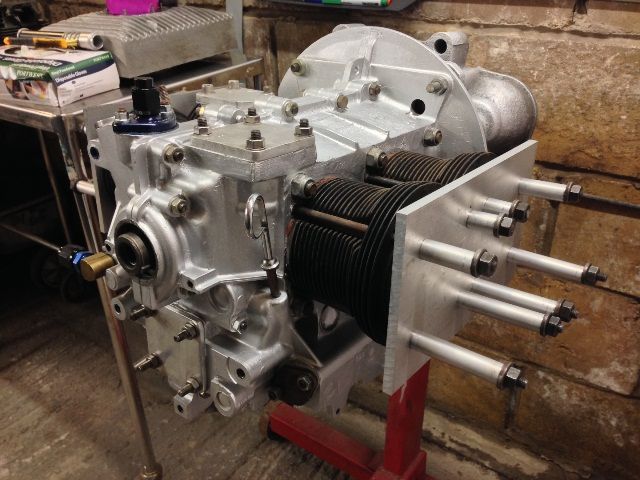
I'm really pleased with the final results. Smiley

Yes I know there is much debate about painting cases, but it done now so well see.........(n.b. heads removed so that the manifolds can be match ported)


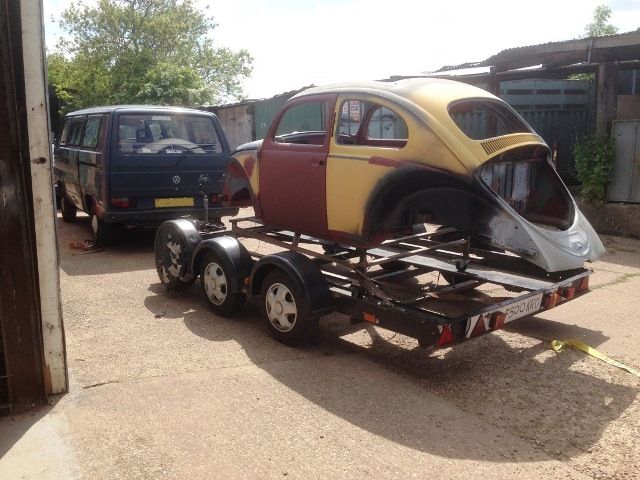
Despite a long wait, work has also begun on the body as well. Smiley

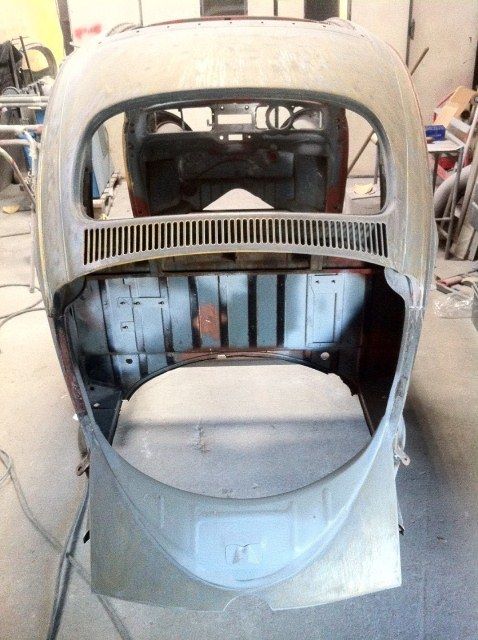
To recap (my UK friends might remember that annoying phrase from Beetle Crisis!) the body was delivered to Double H Restorations last year (the boys at Double H have a long waiting list), but it has finally began to get some love.


Now although I’d trial fitted the doors I’d always knew they’d need some adjustment as they were tight at the B pillars and were not even all the way down.

Using a panel gap gauge Nick of Double H Restorations measured the gap at the B pillars. They definitely needed some adjustment. :-s


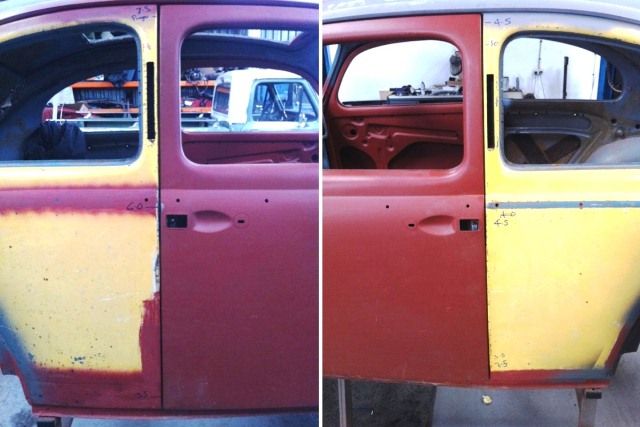
In the end we tried a couple of different doors to see if it was the doors, or the body, that was out of shape. It turned out that all the doors fitted pretty much the same, and thus we decided it was the body that would be adjusted.

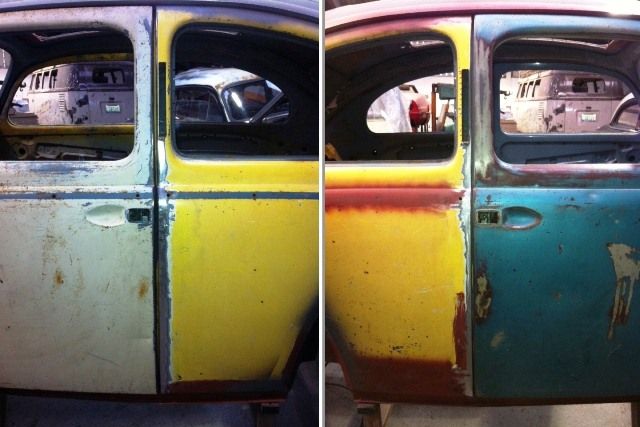
I had actually got some genuine 59 doors by this point. It had always bugged me that the door I had initially used were slightly later door (60-63), thus it was decided that we would use the 59 doors even though they had a few dents and dings in them. I must be nuts as the 60-63 doors were new old stock!!


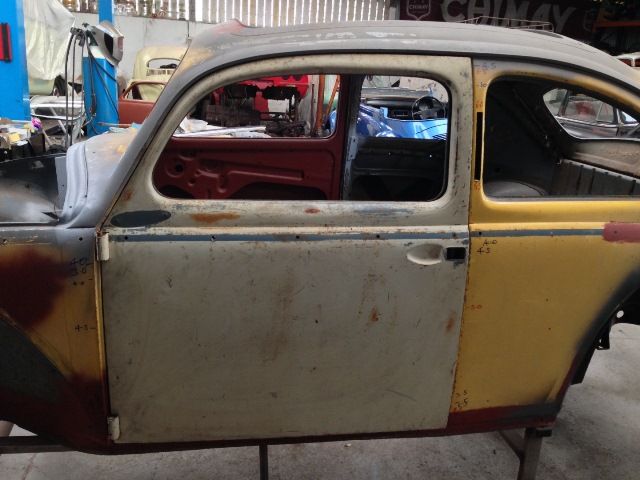
However the 59 doors would need to be adjusted as well, as they also did not fit great down the B pillar. In the end Nick awesome metal work skills saved the day with him actually slitting the edge of the B pillars and moving these in order to set the gap. Although this sounds drastic it allowed the alignment on both doors to be set perfectly.


The body was then mounted on a roll over jig so the underside could be checked out. Sadly a few patches of rust were found.Sad

Both rear body mounts needed some work. Although the passenger side was repaired by lettings in some fresh steel in, the driver’s side was going to need some more substantial repair work.


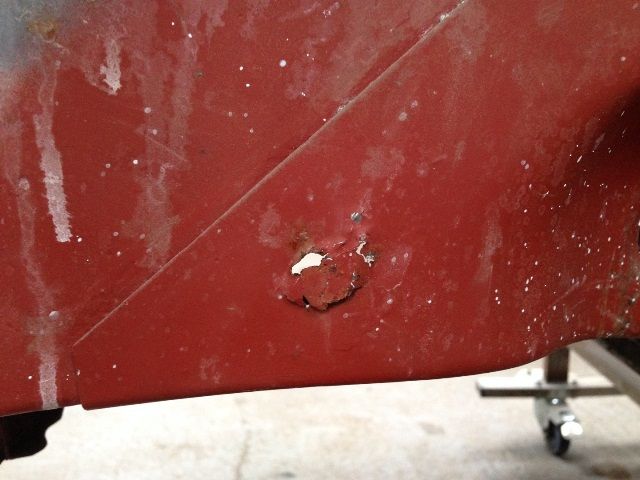
A repair panel was sourced, but the quality of this was poor with it being very different from the original panel. The shock tower hole was square not round, and the body mount was a very poor copy of the original.


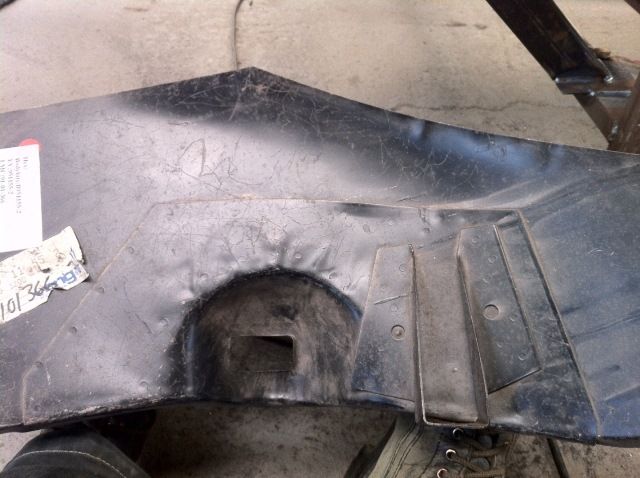
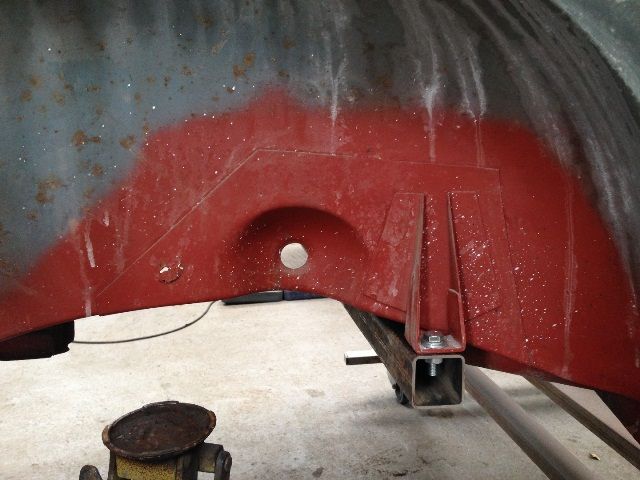
However, a spot on reproduction of the original mount was sourced from Hooky's Panel Shop, with Nick sectioning the new and the old panels together.


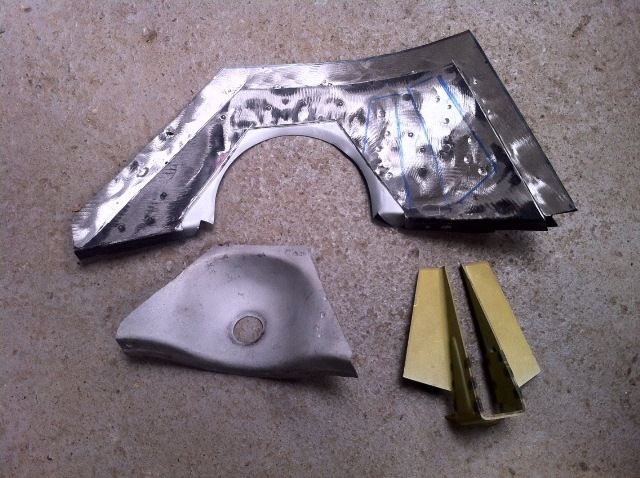
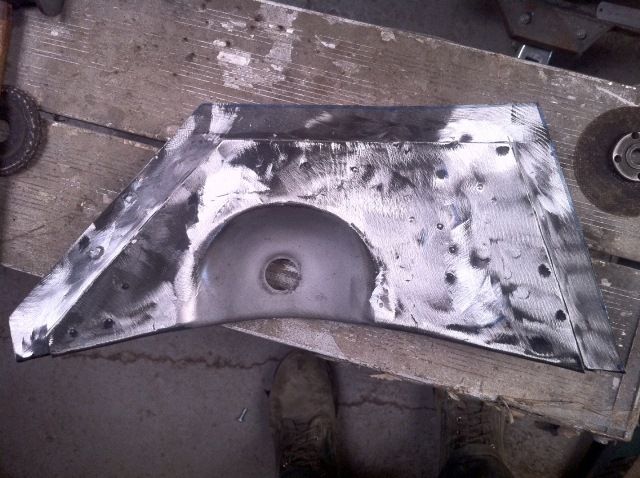
And here's the repaired panel. Massive thanks to Nick for all his attention to detail. It is impossible to tell that the panel has been repaired at all. Smiley


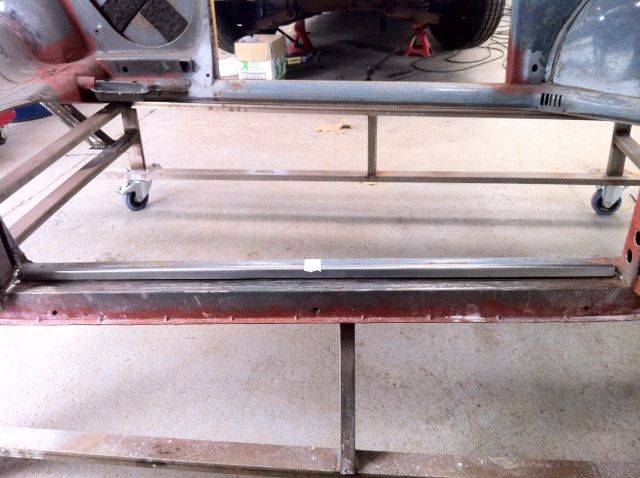
The carpet grip strips on the heater channels were also looking a bit worse for wear.


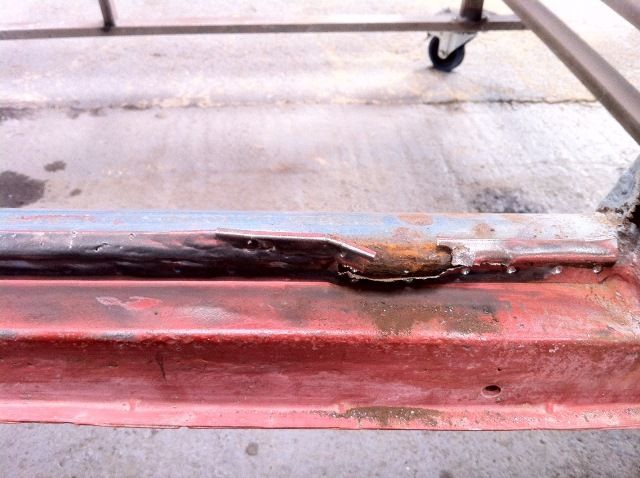
Once removed a whole lot of rust was found behind the strips.


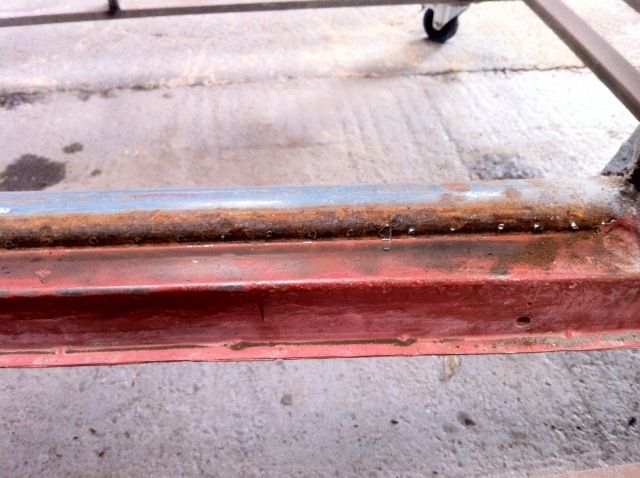
Luckily the rust cleaned away nicely leaving solid metal. Nick again saved the day by hand fabricated new carpet grip strips as none are available for early cars. Thanks again dude. Smiley


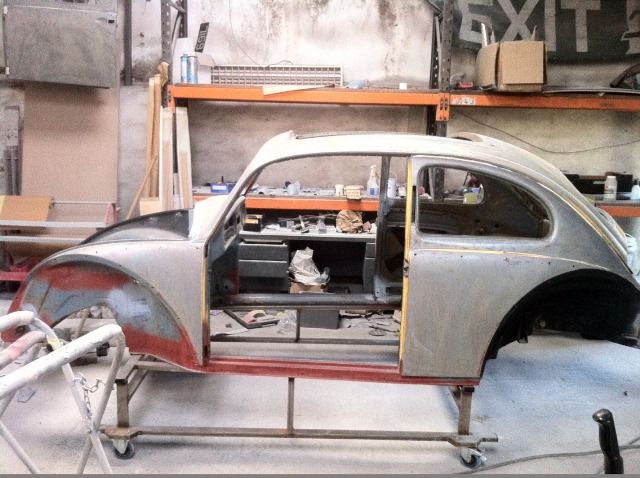
Once the doors were fitted and the repair work was completed Nick began to strip the paint off the body. Luckily most of the outer panels were pretty solid.


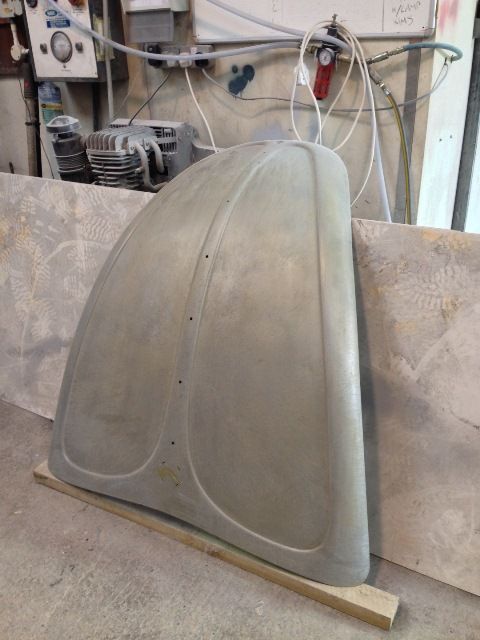
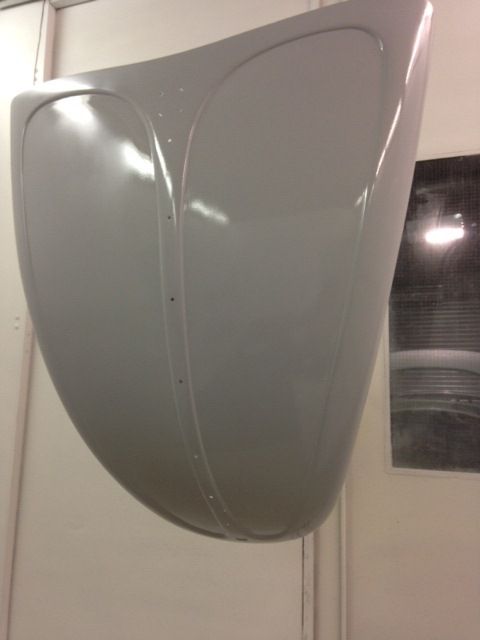
Work has also begun on the other panels. The bonnet has been blasted, filled and primered.


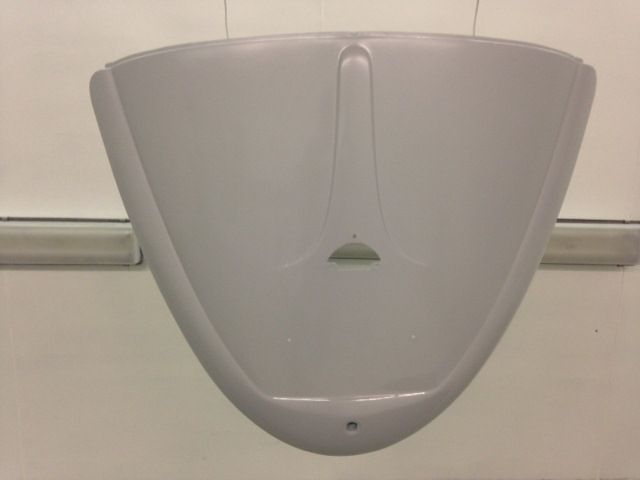
Both the vert and standard decklids have also been fillered and primered. Really pleased with the vert decklid, as it was in really bad shape when I first got it.


The wings are also now in primer.


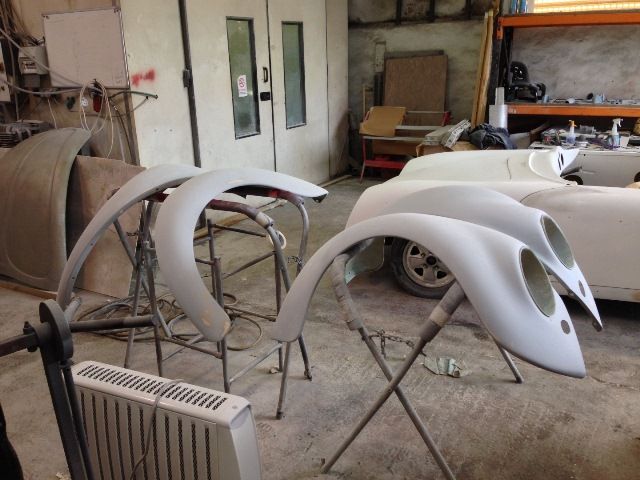
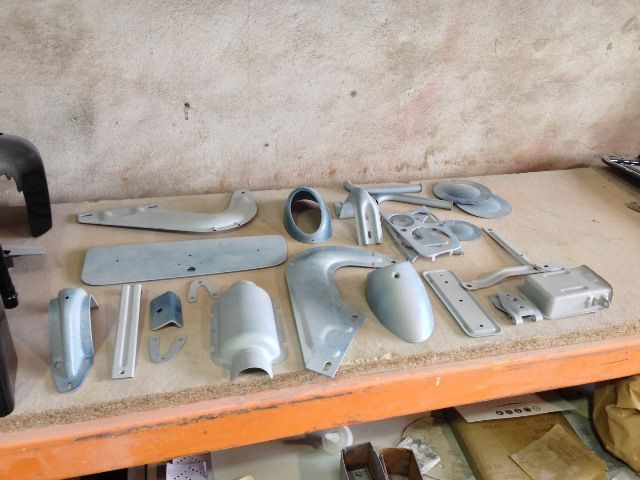
As are many of the smaller parts.


So that’s where the car is at the moment. Smiley

Hopefully more updates soon. Smiley

Dude  Cool
« Last Edit: April 30, 2014, 12:19:13 pm by Deanodynosaurs » Logged

Deanodynosaurs
Sr. Member
****
Posts: 434


WWW
« Reply #248 on: June 25, 2014, 15:17:44 pm »

Quick update

Stevo has really got on with the bodywork of the car now. The first thing that was done with the body shell was it was shot blasted and all the old paint was stripped off.


Luckily not much additional rust was exposed, and the body was given a coat of etch primer.


Next Stevo lead loaded the join were the ragtop was installed. I am super pleased with the finish on this. Smiley


And finally after some filling work, the first coat of filer primer and a guide coat were applied.


Stevo even prepped and filled any imperfections in the engine bay and under the bonnet. Smiley


During the prep work Stevo even found a mysterious number 7 stamped into the front wheel panel by one of the inspection plates. No idea what it is, but it’s being kept!! Smiley


Well its finally starting to look like a car.  Smiley

Dude  Cool
Logged

Deanodynosaurs
Sr. Member
****
Posts: 434


WWW
« Reply #249 on: September 01, 2014, 16:47:49 pm »

Well finally time for a bit of an update.  Smiley

The car body has had all the filler work done, and is now ready for a final coat of primer before the top coat is applied. I cannot thank Stevo enough, the finish, even in primer is excellent. Smiley


You’d never know it didn’t come with a ragtop from the factory! Smiley


The modified pressing in the wheel well also now looks factory. Smiley


Here some of the body panels waiting for final coat also. Smiley


Talking of final coat, here’s the heater tube cover thingies in Capri blue. I can’t wait to see the rest of the car painted in this colour. Smiley


Stevo has also painted and polished the rocker cover. I love these. Smiley


And here’s a hint of the next engine part to get painted (Please note, this was an earlier colour match, we have now got it a lot closer).


Whilst were still on paint, I have painted and detailed a few of the cars internal parts myself. Here’s the wiper motor mechanism, and the SWF washer bottle.


I have also been fettling with other bits. I was never happy that the 912 seats as they do not allow the use of crotch strap. Thus I modified them so they can be fitted. Smiley


Dude  Cool
Logged

Andy Sykes
Hero Member
*****
Posts: 1203


« Reply #250 on: September 01, 2014, 21:36:37 pm »

I cant wait to see this done  Grin Grin Grin Grin Grin Grin Grin Grin Grin Grin Grin Grin Grin Grin its going to look ace x10
Logged

I love the haters they make me famous.

im building this not just putting parts together, they are two totally different things

Your only here once turn it up to 11
butterskotch
Jr. Member
**
Posts: 56


« Reply #251 on: September 02, 2014, 13:25:20 pm »

Looking good dude.  Looks like Steveo and Nick are doing a cracking job as always.
At this rate you'll have yours finished before me  Roll Eyes

Makes me want to try and find time to finish mine off!!!
Logged
stretch
Sr. Member
****
Posts: 297


« Reply #252 on: September 02, 2014, 14:16:48 pm »

I cant wait to see this done  Grin Grin Grin Grin Grin Grin Grin Grin Grin Grin Grin Grin Grin Grin its going to look ace x10

I agree.
Logged
vwhelmot
Hero Member
*****
Posts: 687


« Reply #253 on: September 02, 2014, 22:01:26 pm »

Looking fab!
Logged
Good-Old-Ragtop60
Full Member
***
Posts: 239


« Reply #254 on: September 03, 2014, 07:01:15 am »

I like the idea with the seats. It´ll look great!  Smiley
Logged
andy198712
Hero Member
*****
Posts: 1063


« Reply #255 on: September 04, 2014, 22:34:57 pm »

that lead work is amazing! looks great!
Logged
vwhelmot
Hero Member
*****
Posts: 687


« Reply #256 on: November 22, 2014, 12:40:28 pm »

Progress?
Logged
Deanodynosaurs
Sr. Member
****
Posts: 434


WWW
« Reply #257 on: November 24, 2014, 15:12:39 pm »

Well, finally the update I been waiting to put up. The car is painted! Smiley

I cannot thank Stevo at Double H Restorations enough for all his hard work, the paint is amazing!! Smiley This is not even polished yet, this is straight out the gun. Dude you’re a legend. Smiley


Dude  Cool
Logged

vwhelmot
Hero Member
*****
Posts: 687


« Reply #258 on: November 24, 2014, 15:57:54 pm »

Seen these pics on FB. Very nice amigo, looks stunning. Smiley
Logged
Zach Gomulka
Hero Member
*****
Posts: 6991


Don't piss down my back and tell me it's raining.


« Reply #259 on: November 24, 2014, 16:54:56 pm »

Indigo?
Logged

Born in the '80s, stuck in the '70s.
Deanodynosaurs
Sr. Member
****
Posts: 434


WWW
« Reply #260 on: November 24, 2014, 18:25:50 pm »

Indigo?

Close.................. Capri Blue, the pictures just make it look a bit darker. Smiley

Dude  Cool
Logged

Matty c
Full Member
***
Posts: 241


« Reply #261 on: November 26, 2014, 01:16:33 am »

Looks good dude, it been a long time a comin  Cool
Matty
Logged

67heaven
smurf67
Full Member
***
Posts: 199


« Reply #262 on: November 26, 2014, 10:10:01 am »

Looks great.
Logged
jick
Hero Member
*****
Posts: 1252


« Reply #263 on: December 03, 2014, 09:52:33 am »

Damn Dude.... That's looking fantastic!

Logged

Deanodynosaurs
Sr. Member
****
Posts: 434


WWW
« Reply #264 on: December 03, 2014, 11:47:20 am »

Cheers all. Smiley

See proof you can polish a turd!!  Grin

Dude :cool:
Logged

jamiep_jamiep
Hero Member
*****
Posts: 1587


« Reply #265 on: December 04, 2014, 15:48:31 pm »

Just wow!
Logged

Lee.C
Hero Member
*****
Posts: 6458


I might be an Idiot but I'm not an Arsehole!


« Reply #266 on: December 04, 2014, 19:39:55 pm »

Love the colour  Smiley
Logged

You either "Get It" or you don't......
BossHogg76
Sr. Member
****
Posts: 317


« Reply #267 on: December 04, 2014, 22:28:14 pm »

Looks lovely  Grin

Can't wait to see all those great touches you've done being put back on
Logged
RobtheManx
Hero Member
*****
Posts: 584


« Reply #268 on: December 04, 2014, 23:04:11 pm »

Looks excellent , and a great finish . Stevo's a good old boy !
Logged

SPG Roller Cranks rarely live long!
GASBNR
Full Member
***
Posts: 166


« Reply #269 on: December 16, 2014, 04:24:30 am »

Looks great. Well done.

Keep the pics coming for those who might not see it the flesh. Smiley
Logged

SUPPORTING CAL-LOOK DOWN UNDER
Pages: 1 ... 7 8 [9] 10 11 12 Print 
« previous next »
Jump to:  

Powered by MySQL Powered by PHP Powered by SMF 1.1.21 | SMF © 2015, Simple Machines Valid XHTML 1.0! Valid CSS!