The Cal-look Lounge
Welcome, Guest. Please login or register.
Did you miss your activation email?
November 23, 2024, 02:50:21 am

Login with username, password and session length
Thank you for your support!
Search:     Advanced search
351205 Posts in 28655 Topics by 6853 Members
Latest Member: Hacksaw Racing
* Home This Year's European Top 20 lists All Time European Top 20 lists Search Login Register
+  The Cal-look Lounge
|-+  Cal-look/High Performance
| |-+  In Da Werks
| | |-+  Fubar 64
« previous next »
Pages: 1 [2] 3 4 ... 13 Print
Author Topic: Fubar 64  (Read 185192 times)
vwhelmot
Hero Member
*****
Posts: 687


« Reply #30 on: June 11, 2015, 12:02:54 pm »

Logged
vwhelmot
Hero Member
*****
Posts: 687


« Reply #31 on: June 11, 2015, 12:19:53 pm »

So after the big clean up which took hours and hours, the fork lift was put to use again to take the shell to the corner of the yard so I could blast it.


A whole day and a half later I had this. Not a nice job but well worth it!


Logged
vwhelmot
Hero Member
*****
Posts: 687


« Reply #32 on: June 11, 2015, 13:15:44 pm »

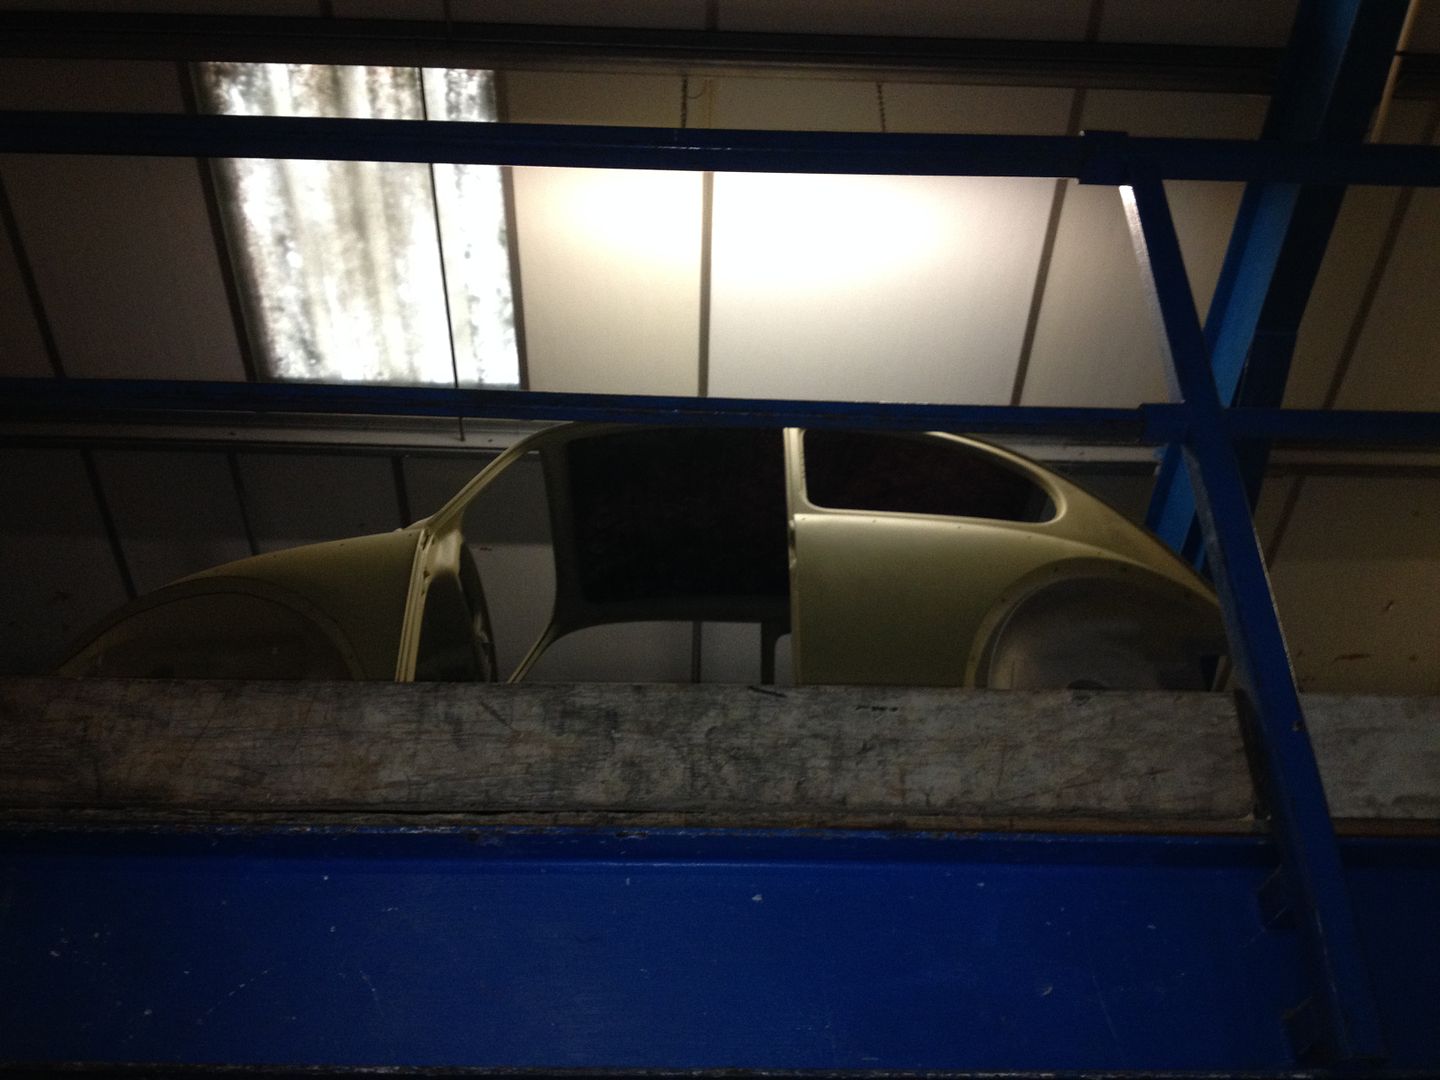
Next it was forked up again to its home and the start of the metal work. This thread will concentrate just on that and not any of the detail shiny stuff that I have been doing in between as I want some of it to be a surprise for the debut in 2017.


I have worked from the back to the front  so I started with the incorrect bumper mounts. I used Hookys panels for these.  The first problem I encountered was the fact that there was no return lip on the inside as this had been lost in the previous rebuild, so I had to first guess how much of a lip there should be.


The engine corner back panel was also very thin, and needed replacing so I removed the whole thing.


Logged
vwhelmot
Hero Member
*****
Posts: 687


« Reply #33 on: June 11, 2015, 13:22:51 pm »

Tacked in place


It didn't line up at the rear but I sorted that not long after as you will see
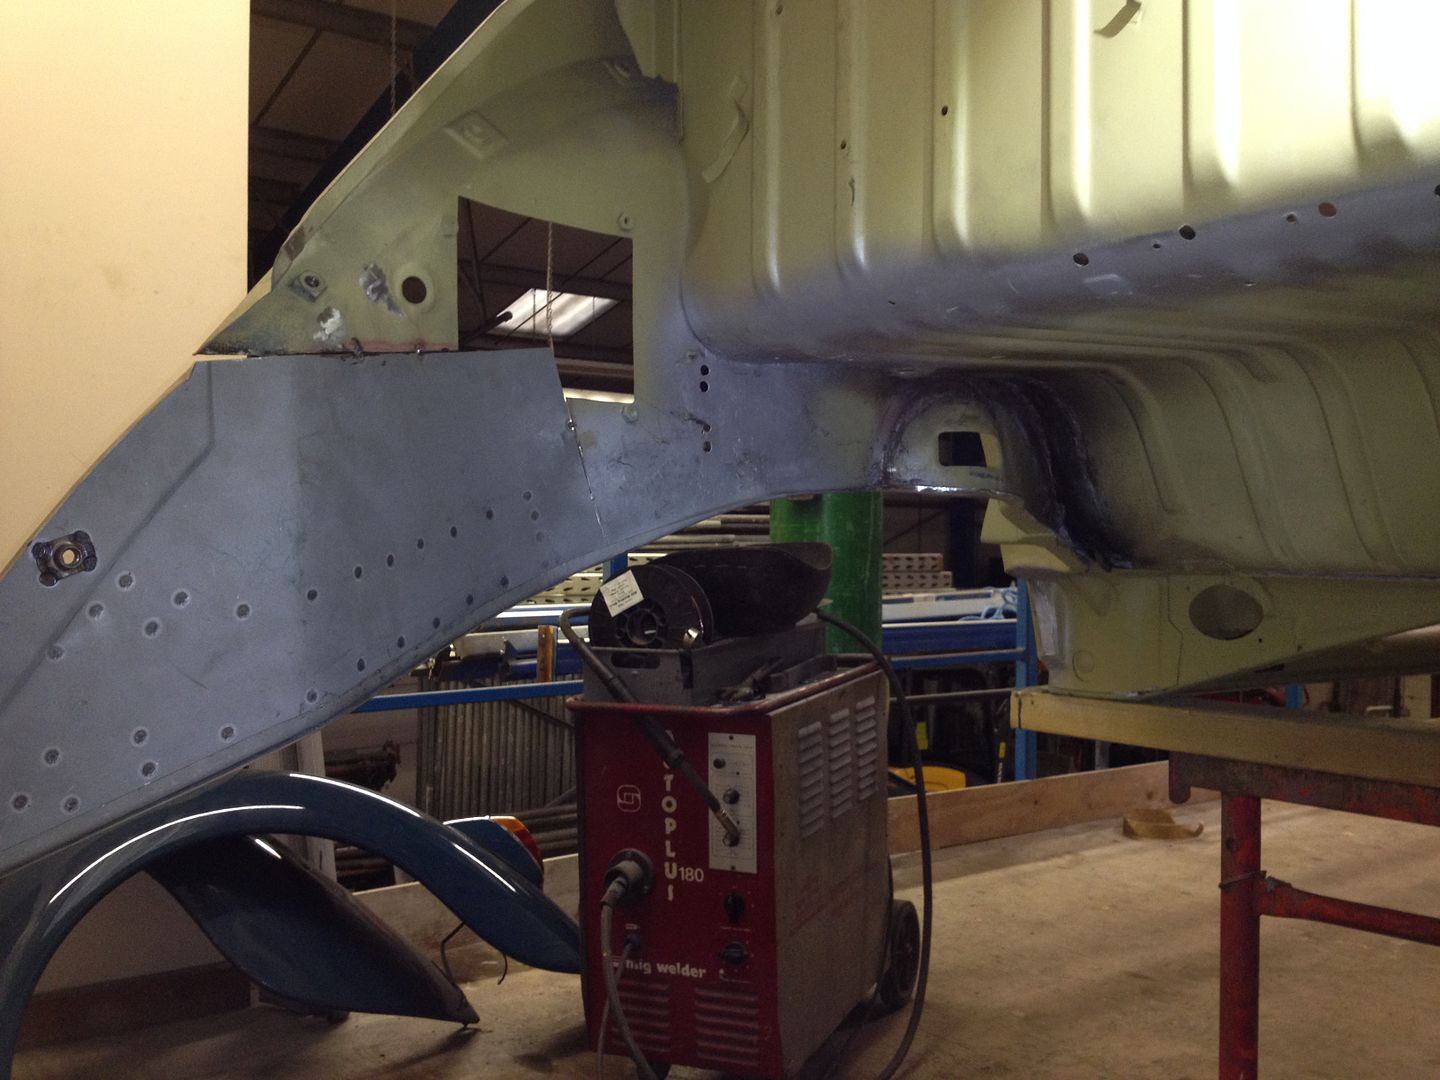


Semi welded
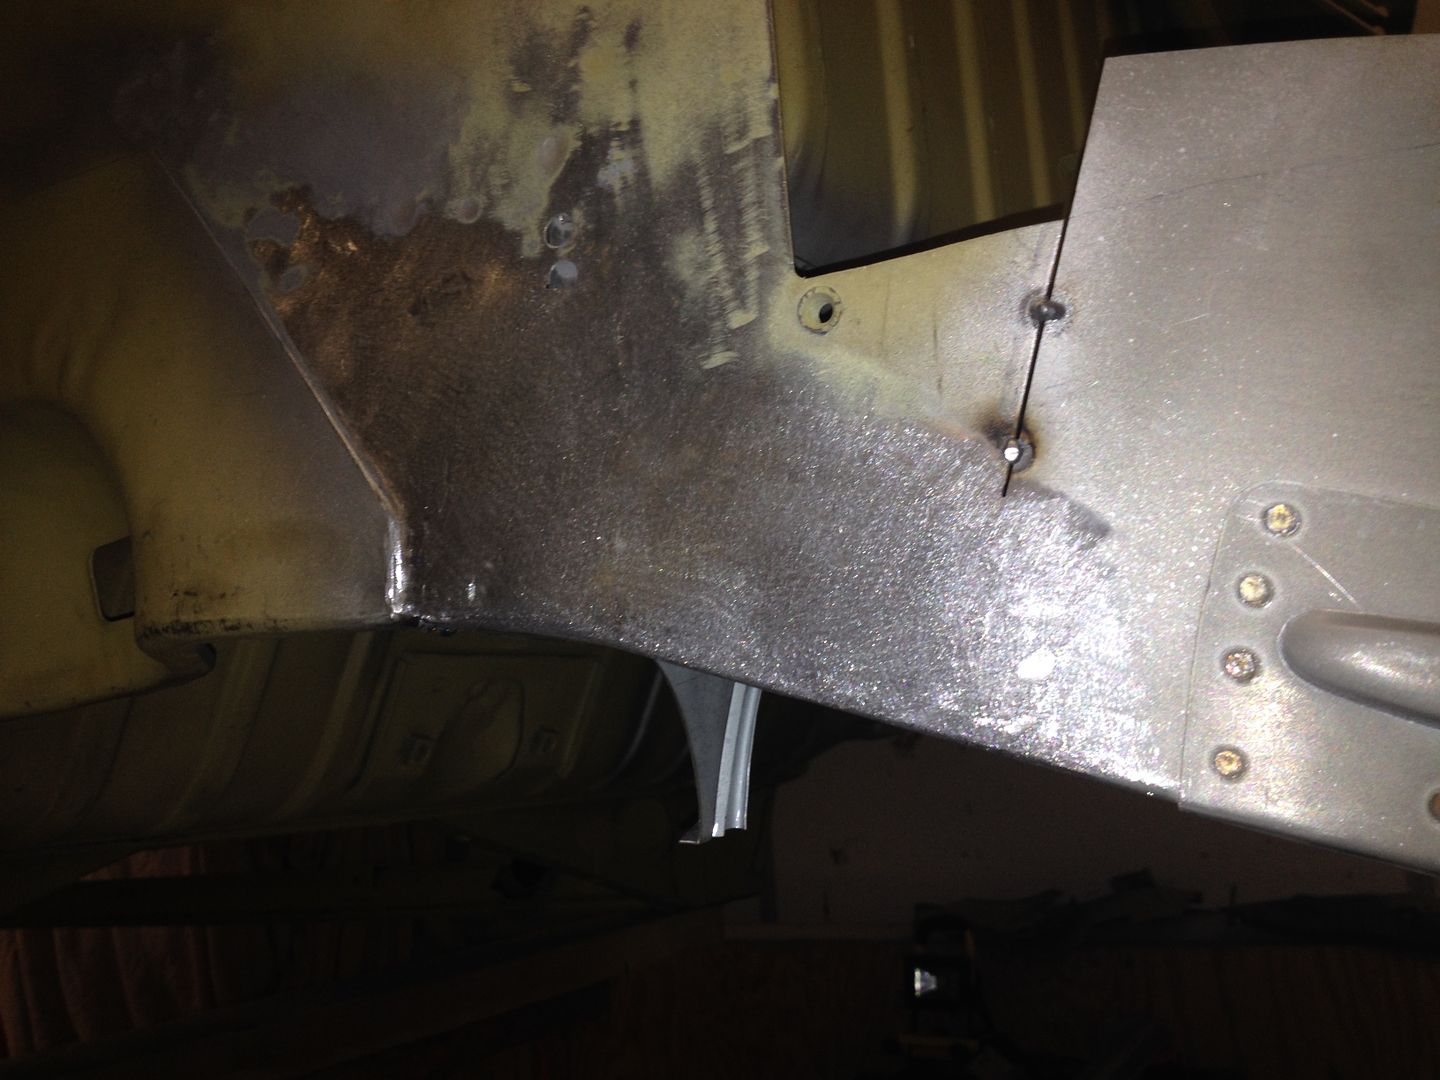


The lip wasn't really the correct shape at this stage either.
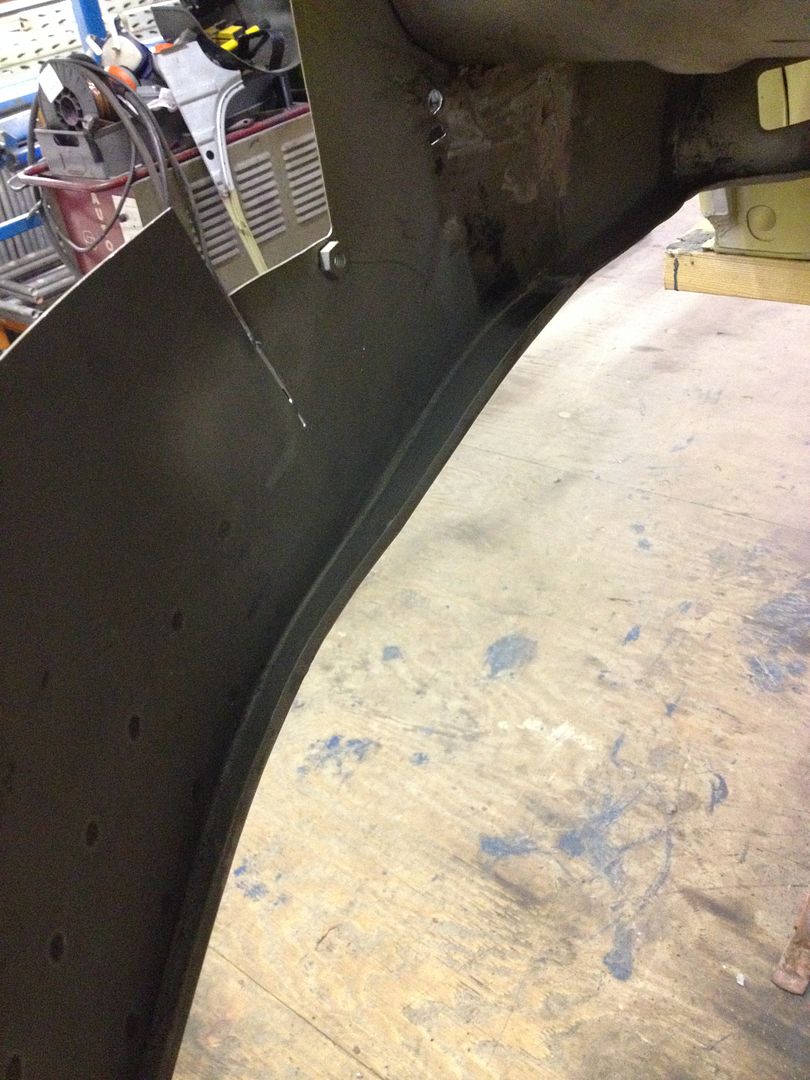
Logged
vwhelmot
Hero Member
*****
Posts: 687


« Reply #34 on: June 11, 2015, 13:29:44 pm »

Part way through welding the corners.


I then blasted it as the joining lip had some surface rust too


I spot blasted the body too as there was rust in between the two panels

Logged
vwhelmot
Hero Member
*****
Posts: 687


« Reply #35 on: June 11, 2015, 13:33:35 pm »

More. Notice the shit welding under the floor. Best of show my arse!  Grin


Welded back in place. The tar board clips will be removed


« Last Edit: June 11, 2015, 13:35:46 pm by vwhelmot » Logged
vwhelmot
Hero Member
*****
Posts: 687


« Reply #36 on: June 11, 2015, 16:29:18 pm »

This is the lip I`m talking about. Finished after I had installed the engine tray.


« Last Edit: June 12, 2015, 12:19:32 pm by vwhelmot » Logged
leec
Hero Member
*****
Posts: 2599


« Reply #37 on: June 11, 2015, 18:23:18 pm »

Top work.
I really liked the work you did on your oval that I saw on vzi.
This car will be awesome
Lee
Logged
vwhelmot
Hero Member
*****
Posts: 687


« Reply #38 on: June 12, 2015, 12:04:00 pm »

Thanks matey.
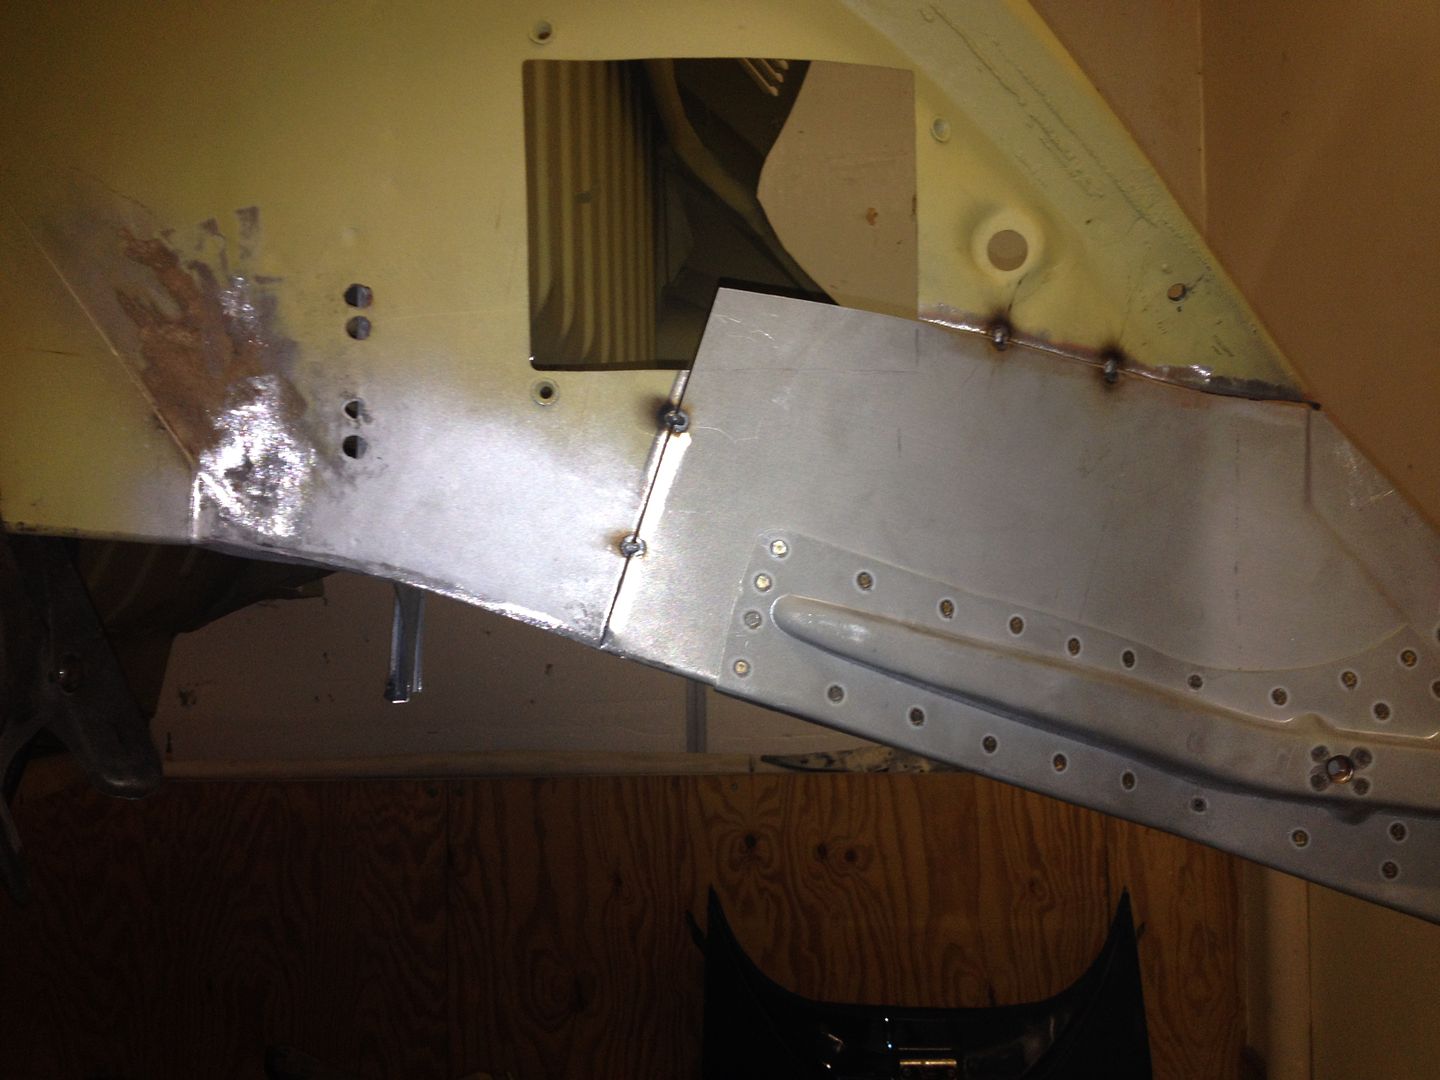
 The other side needed the same treatment in that I had to create a new lip.
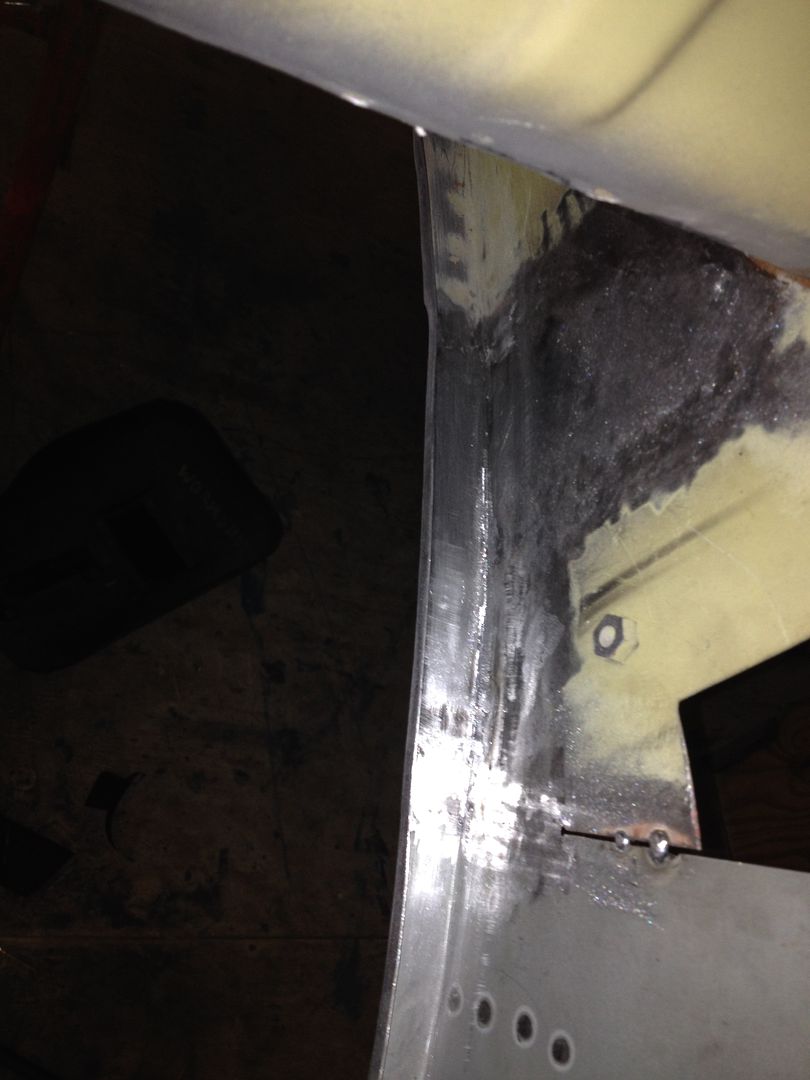


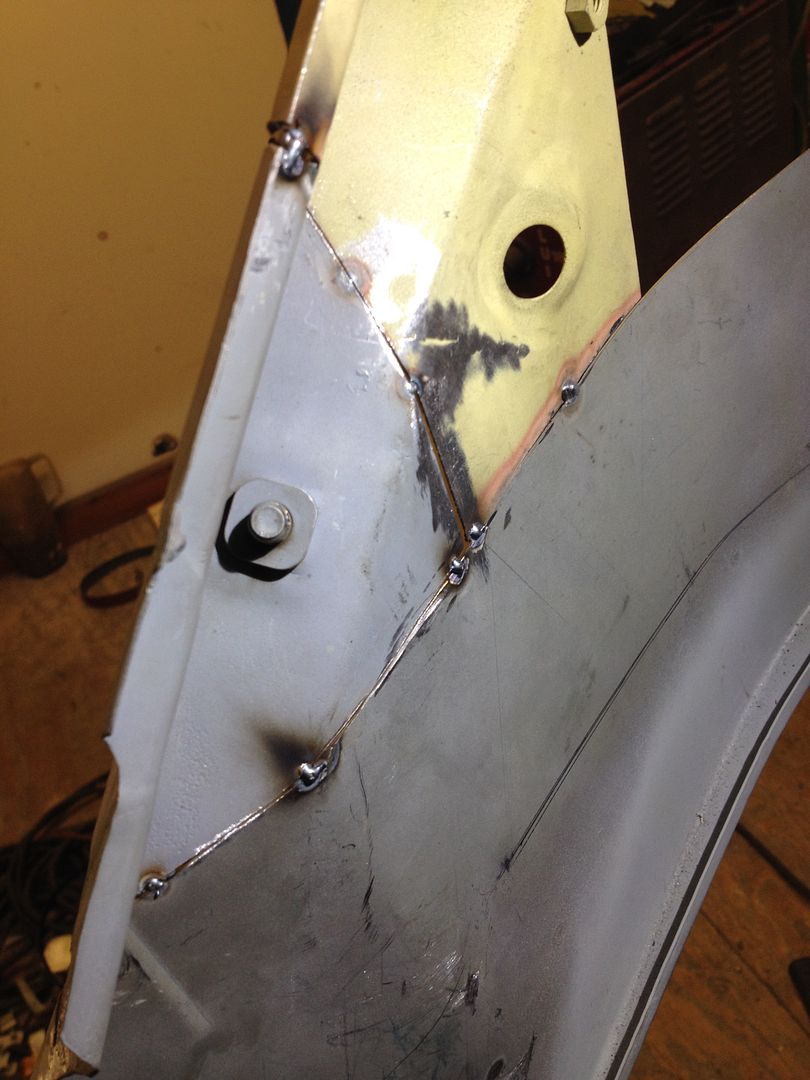
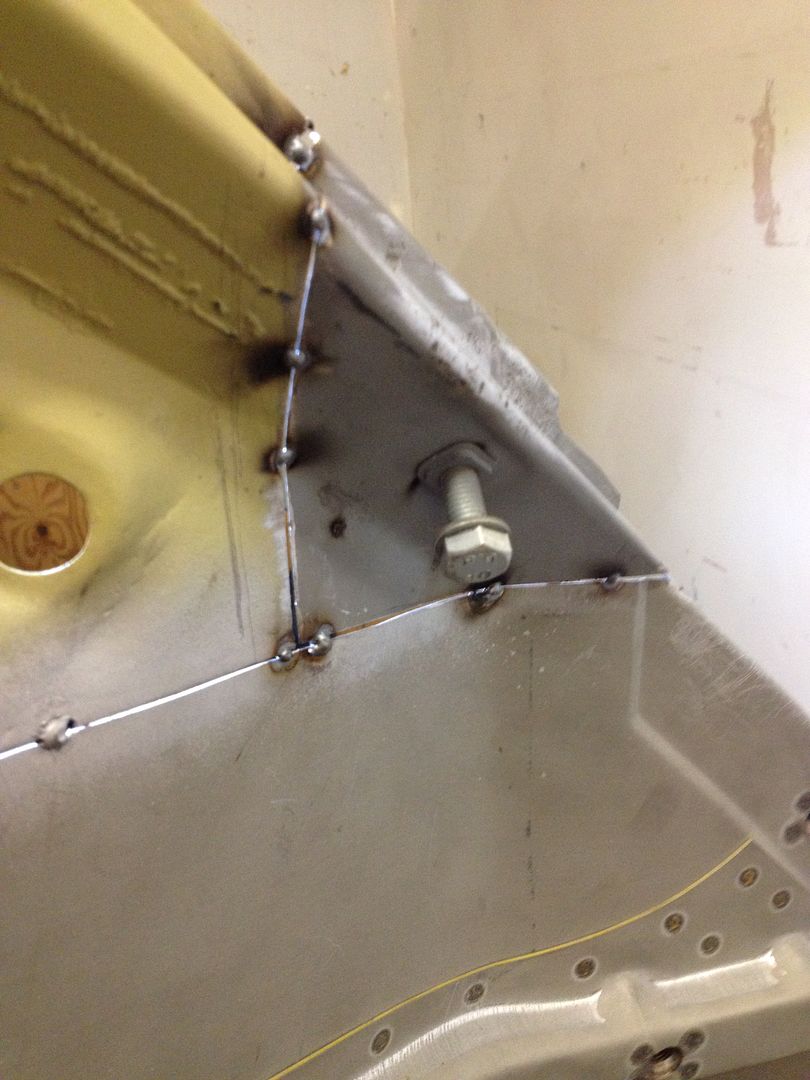
Now to weld in the rear panel and the two side trays , you need a valence to line things up. I managed to source a NOS one which was nice but I had to do something with the wing mounting nutserts first. Now VW in their infinite wisdom decided to use two different types of captive nuts. Unfortunately for me mine has the square recessed type and my car was a right mismatch of types as all these areas had been worked on previously.   
    I bought another valence on egay which included the sections I was after but it was bent and crusty.

Crusty
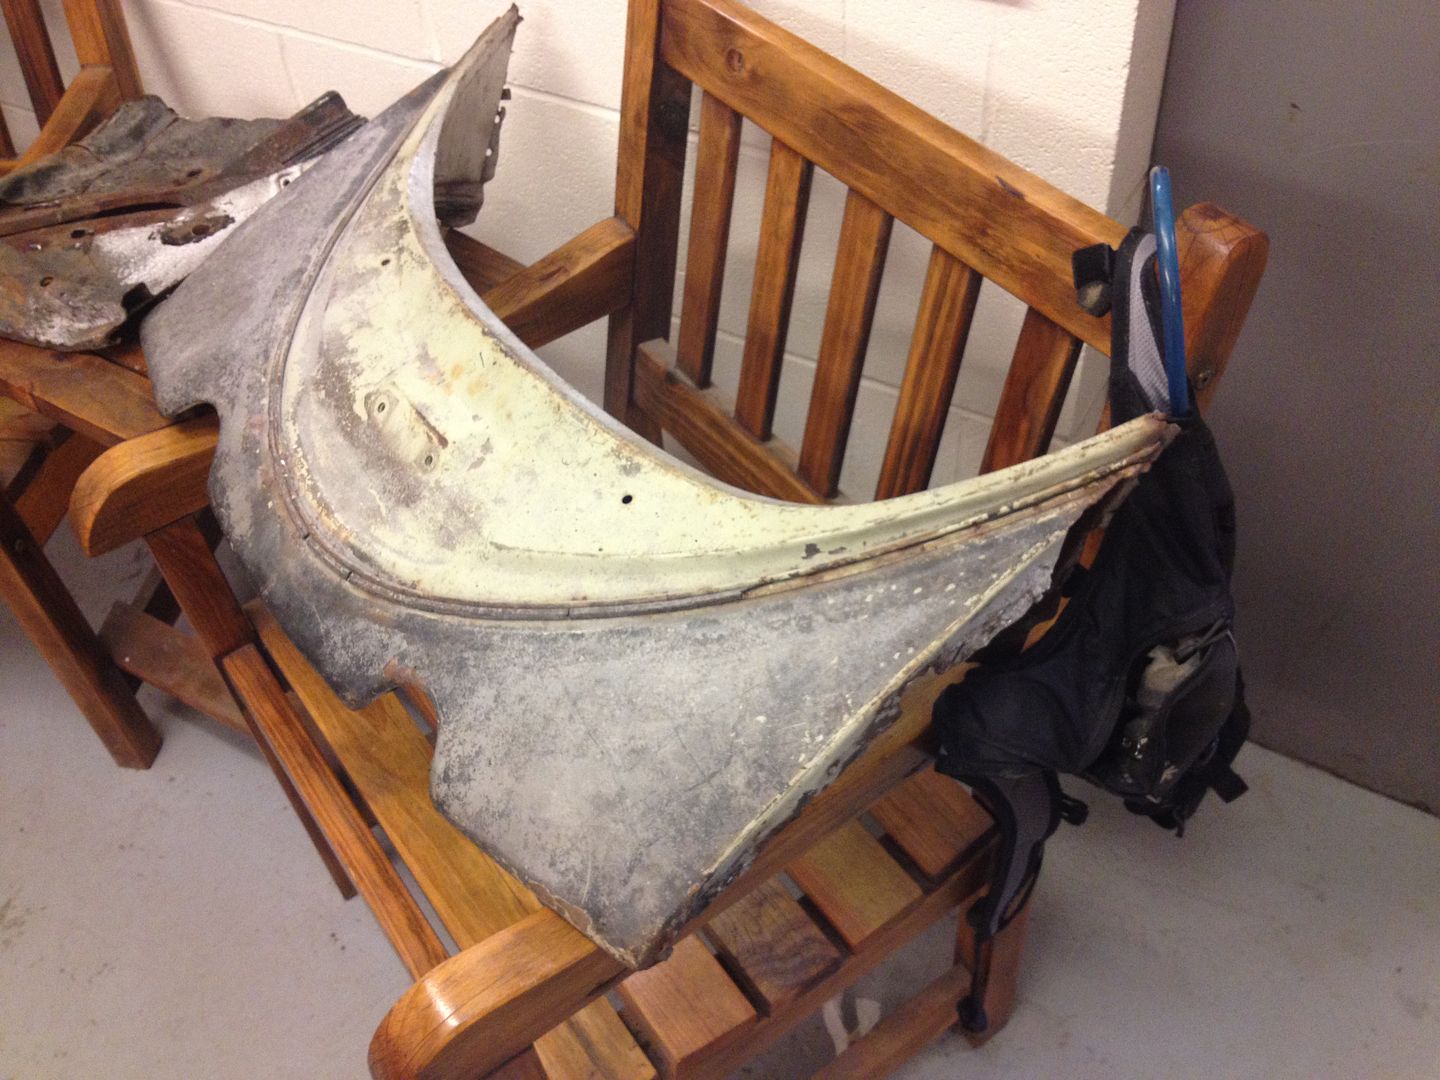


This is the section I was after with the correct nutsert
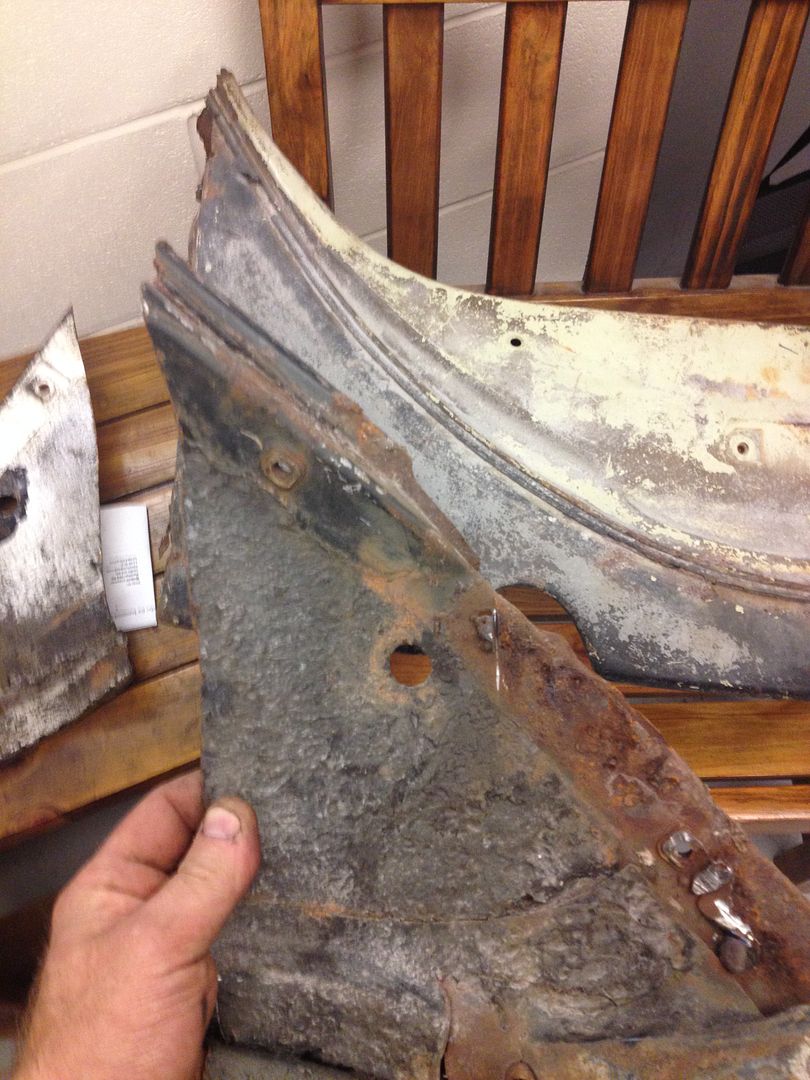


Cut the section out
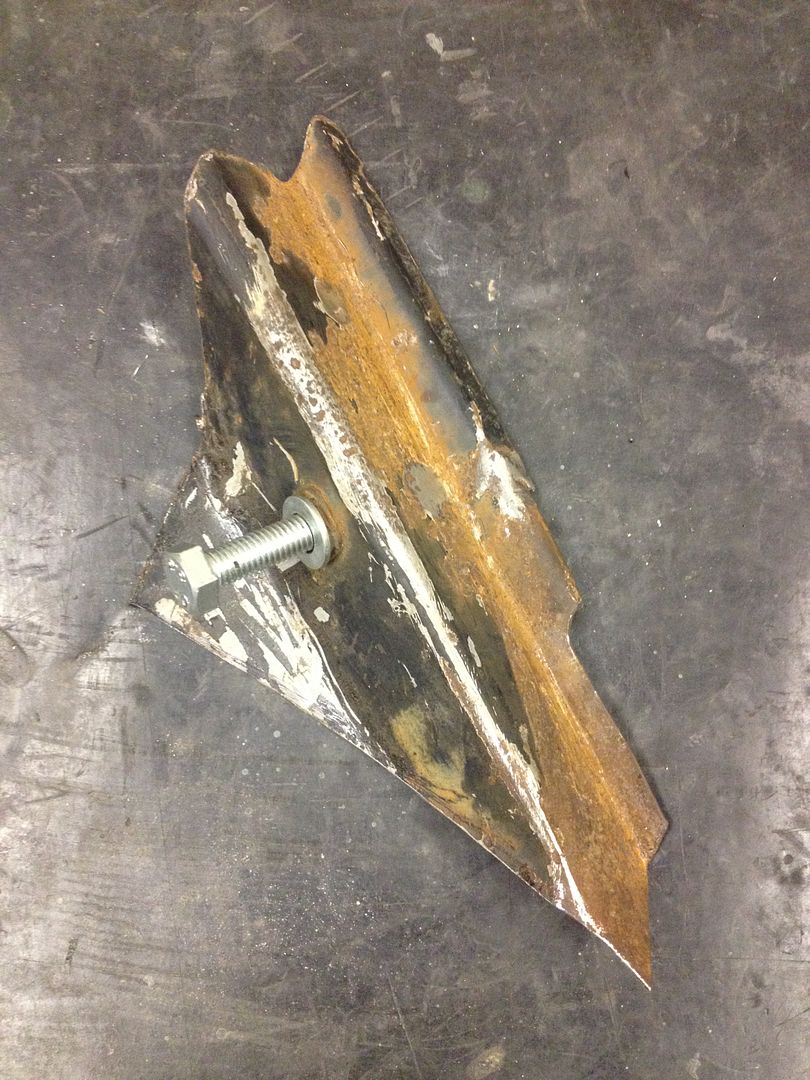


Blasted
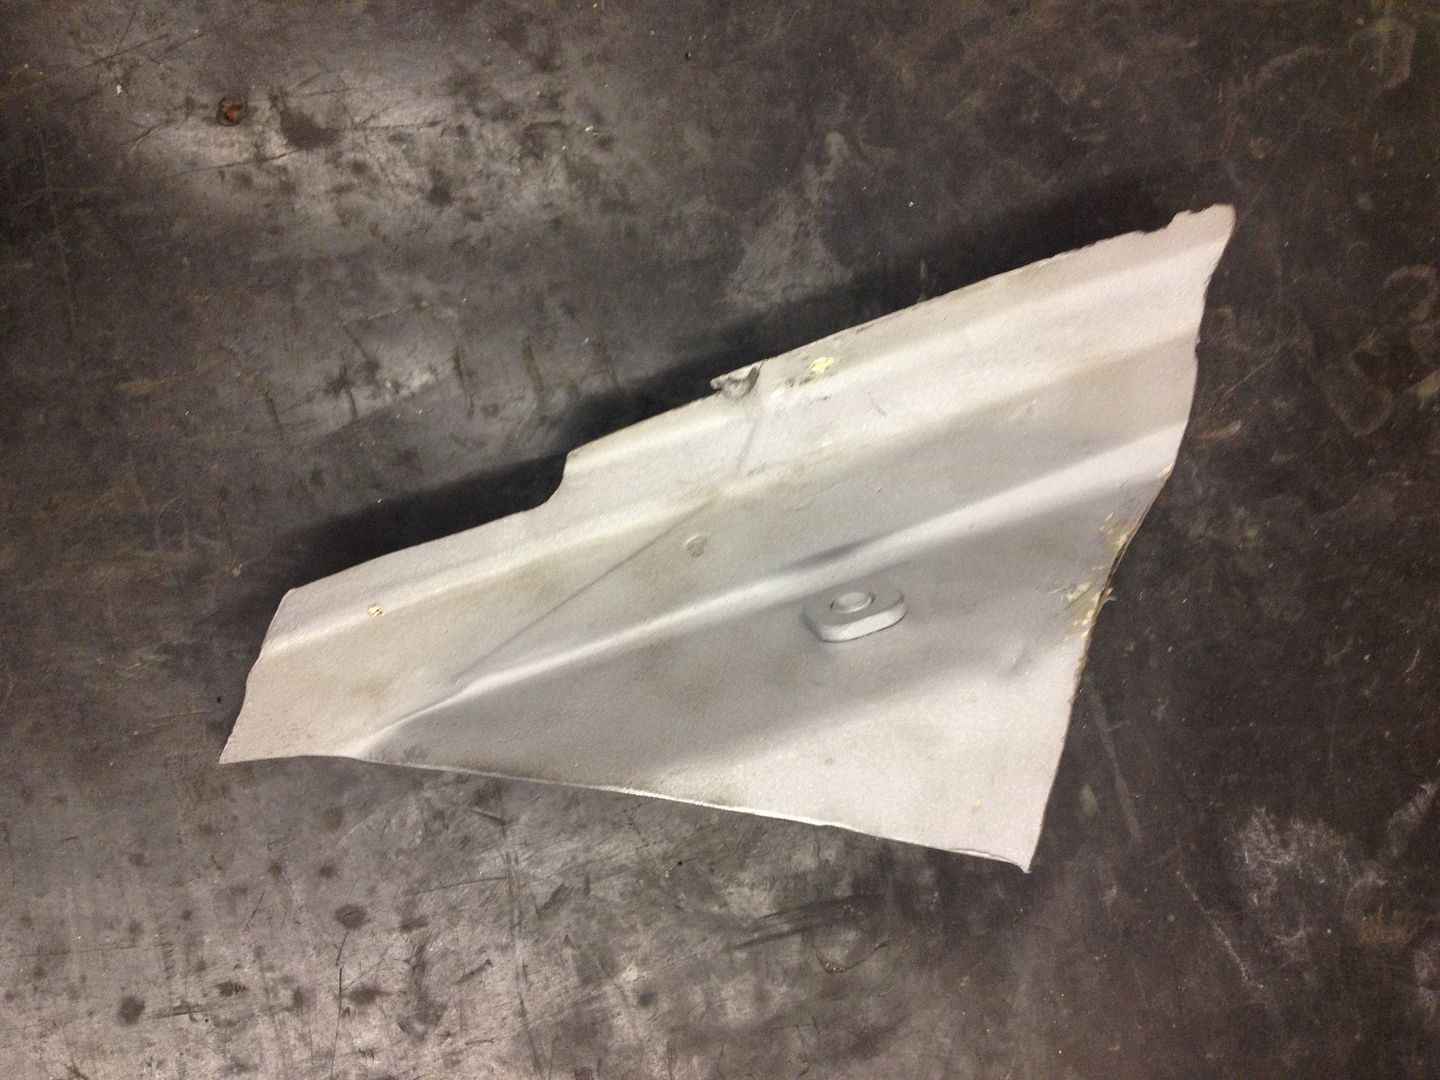


Tacked


Logged
vwhelmot
Hero Member
*****
Posts: 687


« Reply #39 on: June 12, 2015, 12:17:17 pm »


Using the NOS valence for fitment


These square serts would become a pain in the arse later as you will see

Logged
vwhelmot
Hero Member
*****
Posts: 687


« Reply #40 on: June 15, 2015, 09:34:29 am »

Moving on to the other side and it was a similar story, the correct nutsert was missing so a section was cut out and genuine metal was let in.


Again the NOS valence was used for reference.


Nearly there


I used an old steel wing , lines up nice


Logged
vwhelmot
Hero Member
*****
Posts: 687


« Reply #41 on: June 15, 2015, 09:57:15 am »

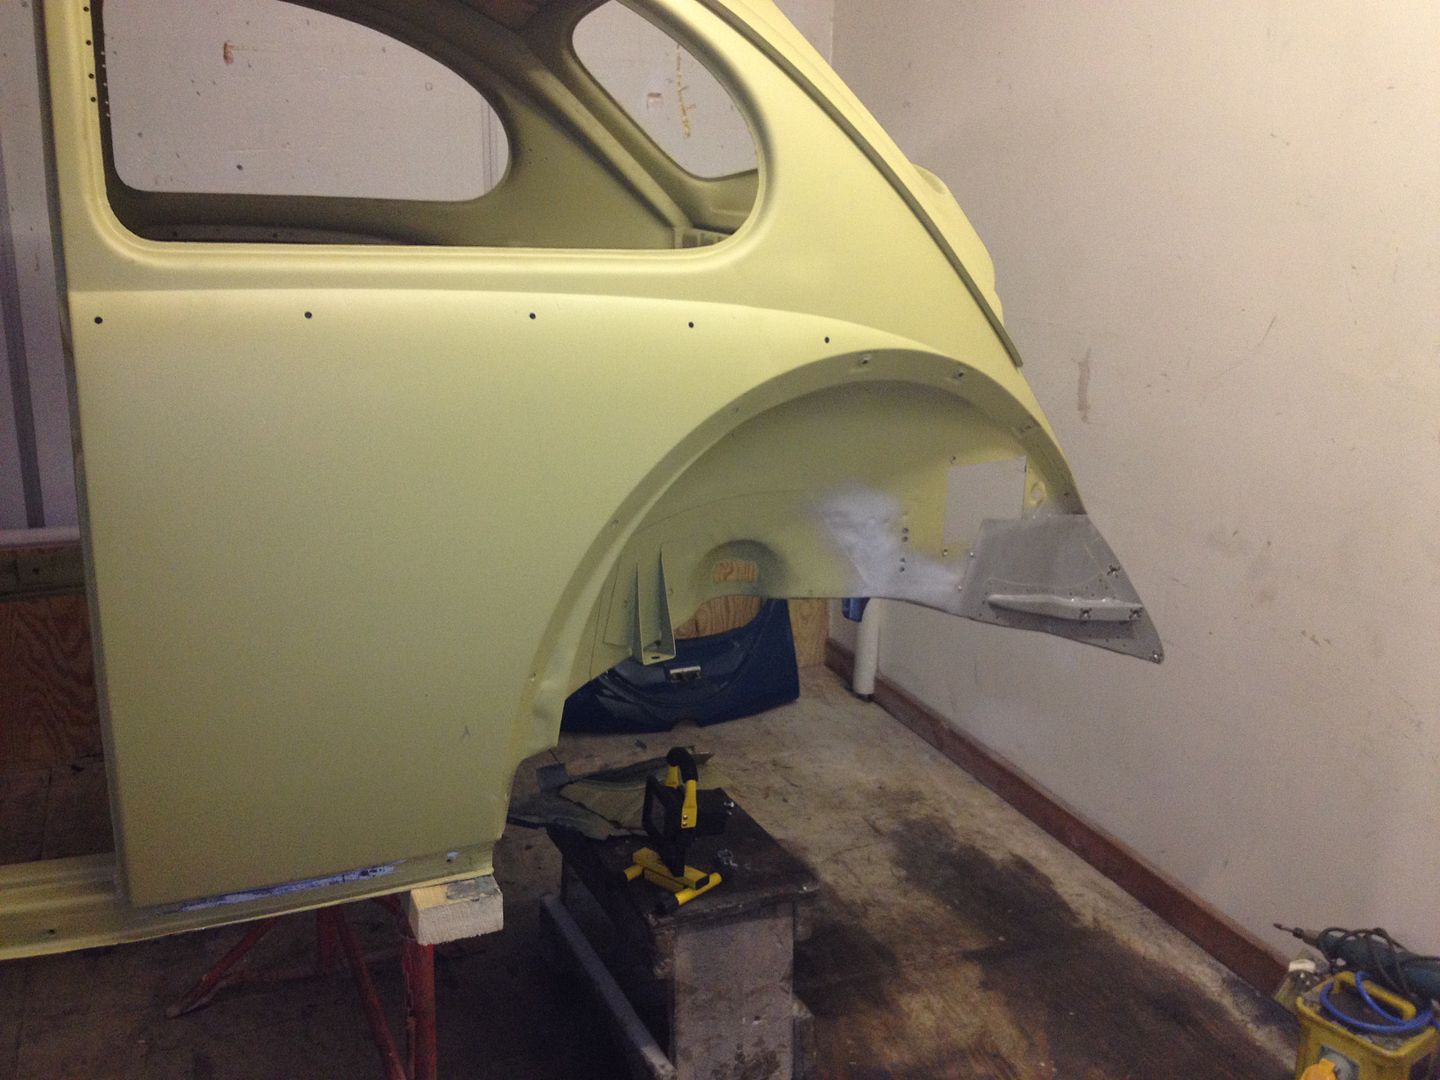
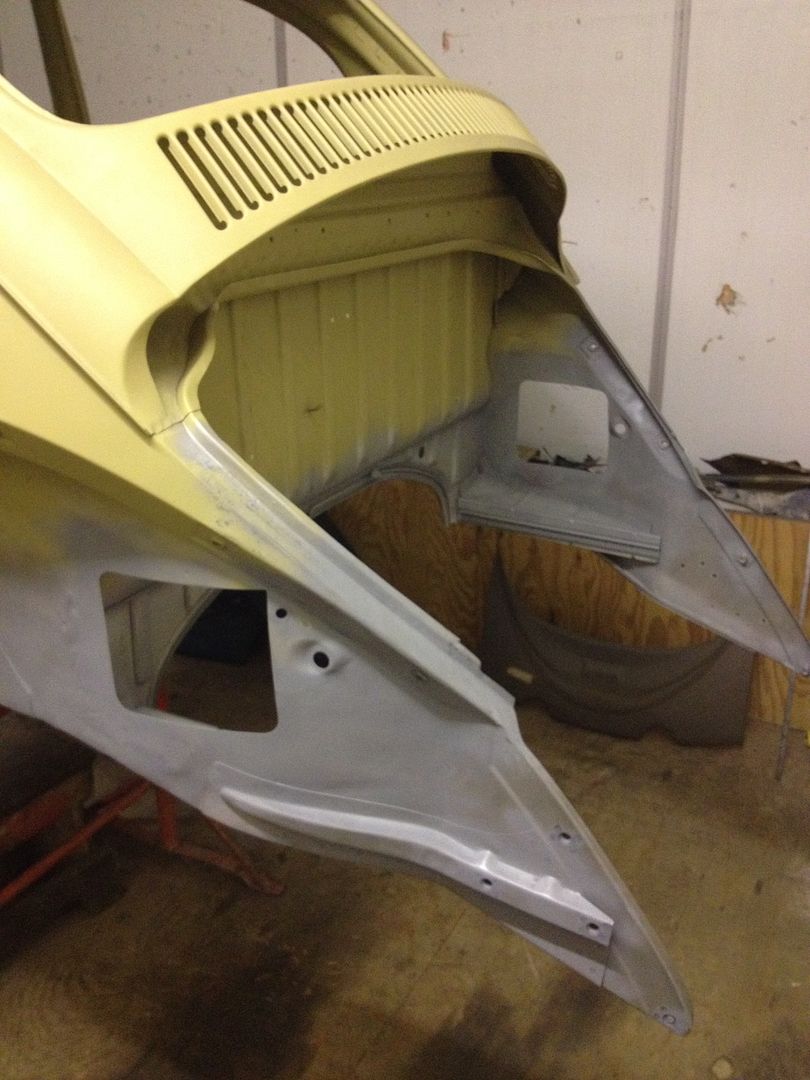
Engine tray time. These are hookys ones which he made narrower for me as I`m running a bigger motor. At first there was a fitment issue but I sorted it without too much trouble. Welded from the outside so its a neater cleaner fit.


Far neater


Other side the same


Made the access holes bigger for the 48IDAs , I`ve  made a pair of aluminium covers


Logged
vwhelmot
Hero Member
*****
Posts: 687


« Reply #42 on: June 15, 2015, 12:02:47 pm »

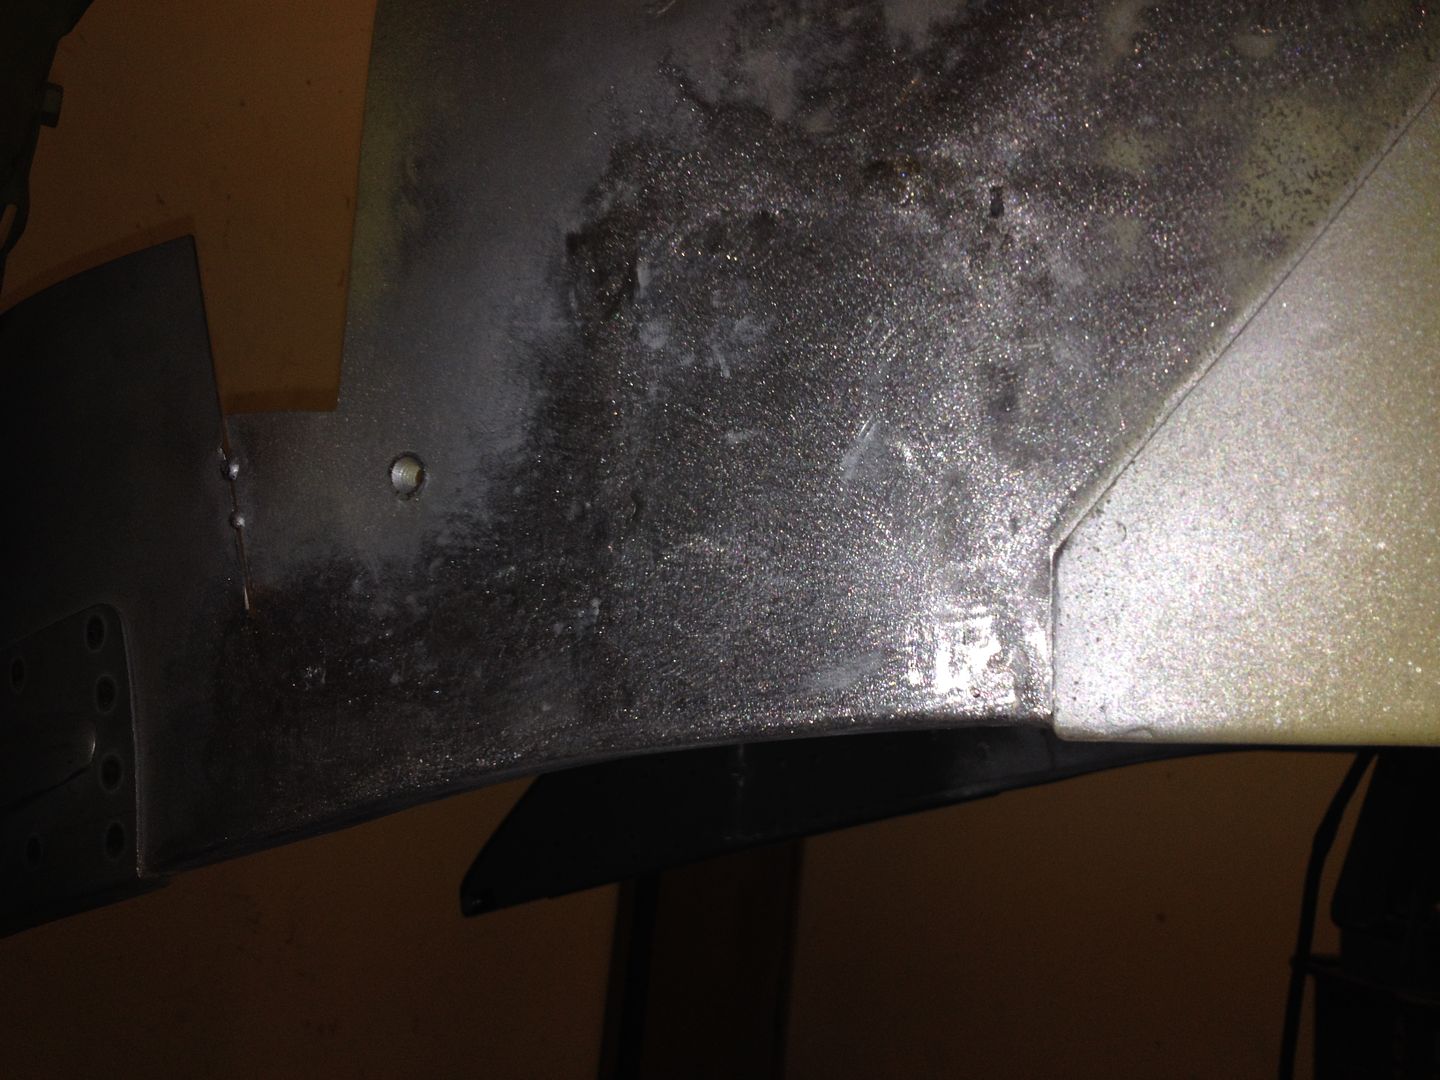
So both sides nearly done, the square top corner of the LH weber hole was adjusted after I welded in a section to make a curve.


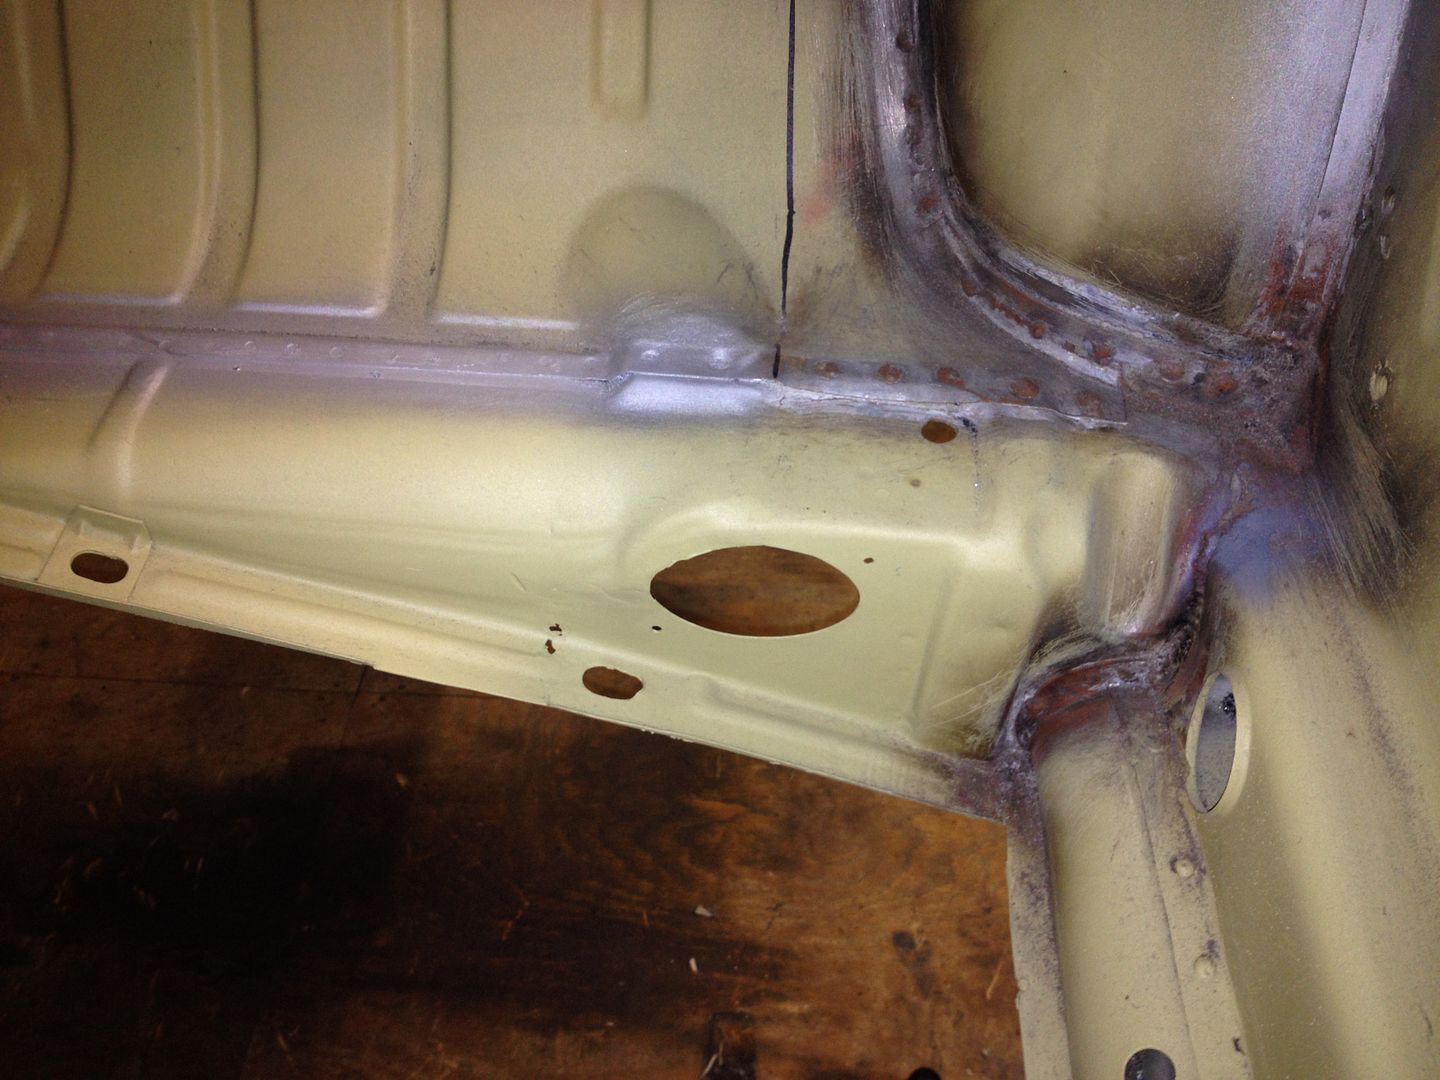
The next on the list was the rear cross members. Now as far as I`m concerned the only was to repair these are to cut them out completely and make them good before welding them back in again, rather than just trying to repair them in place. Its a neater job.  I had repaired mine before using a later square type member and it looked far from good.
« Last Edit: June 15, 2015, 12:12:12 pm by vwhelmot » Logged
vwhelmot
Hero Member
*****
Posts: 687


« Reply #43 on: June 15, 2015, 13:20:14 pm »

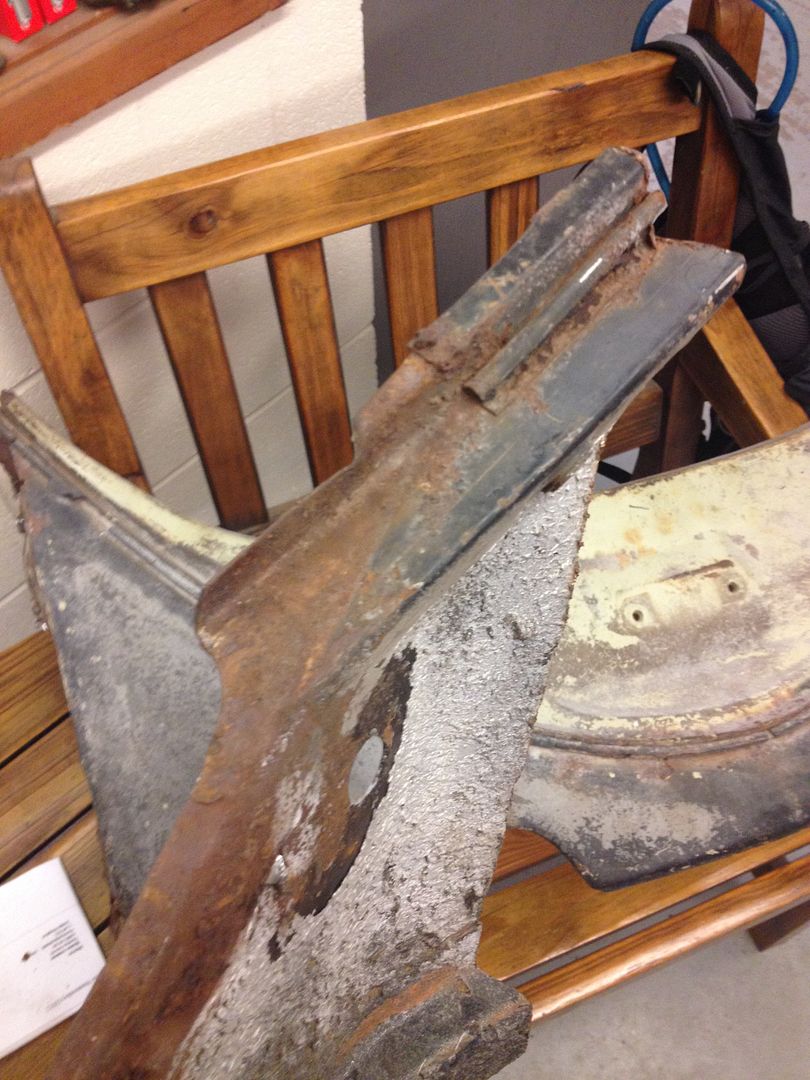
I managed to get a pair of members off the samba and got them sent over. I think 90% of the member arrived and unfortunately the missing 10% is pretty hard to replicate but its better than what was in the car.


There was part of the boot floor included which turned out to be a bonus


Started cutting out the old one


Gone

Logged
vwhelmot
Hero Member
*****
Posts: 687


« Reply #44 on: June 15, 2015, 13:38:52 pm »

Straight away I tried the new old member and even the factory spot welds lined up


Now as it stands, no one makes correct repair cross members sections for mid sixties bugs so I ordered a pair of Virtanen oval repair sections as that was the next best thing. I could have made my own but to save time I went down this road.


It was quite a bit different


Single mount hole as opposed to the dual mount of the earlier cars.


I drilled out the spot welds to separate them which wasn't easy.....


.... and then cut the Virtanen panel almost in half and tacked the old and new together


Trial fitting


fully welded and smoothed although not spot welded back in place yet.


I then had a guide to make the outer from sheet


I blasted the rust off before layering plenty of weld through primer , then welded the two pieces back together.


I would later go back and slightly modify it later but I don't have any pics


Checking fitment


« Last Edit: June 15, 2015, 13:44:54 pm by vwhelmot » Logged
vwhelmot
Hero Member
*****
Posts: 687


« Reply #45 on: June 15, 2015, 14:14:05 pm »

I had to next think about the flange where it meets the body. Again there are no repair sections available so I had to fab this myself. I never liked the way the original panel was attached to the member, it didn't flow properly, you will see what I mean  Wink....


Smoothed


Semi welded, flows nicer now


Blasted the rest of the member and trial fitted.

Logged
karl h
Hero Member
*****
Posts: 931


« Reply #46 on: June 15, 2015, 16:03:34 pm »

VERY nice work!
Logged

vwhelmot
Hero Member
*****
Posts: 687


« Reply #47 on: June 16, 2015, 09:26:54 am »

Thanks  Smiley
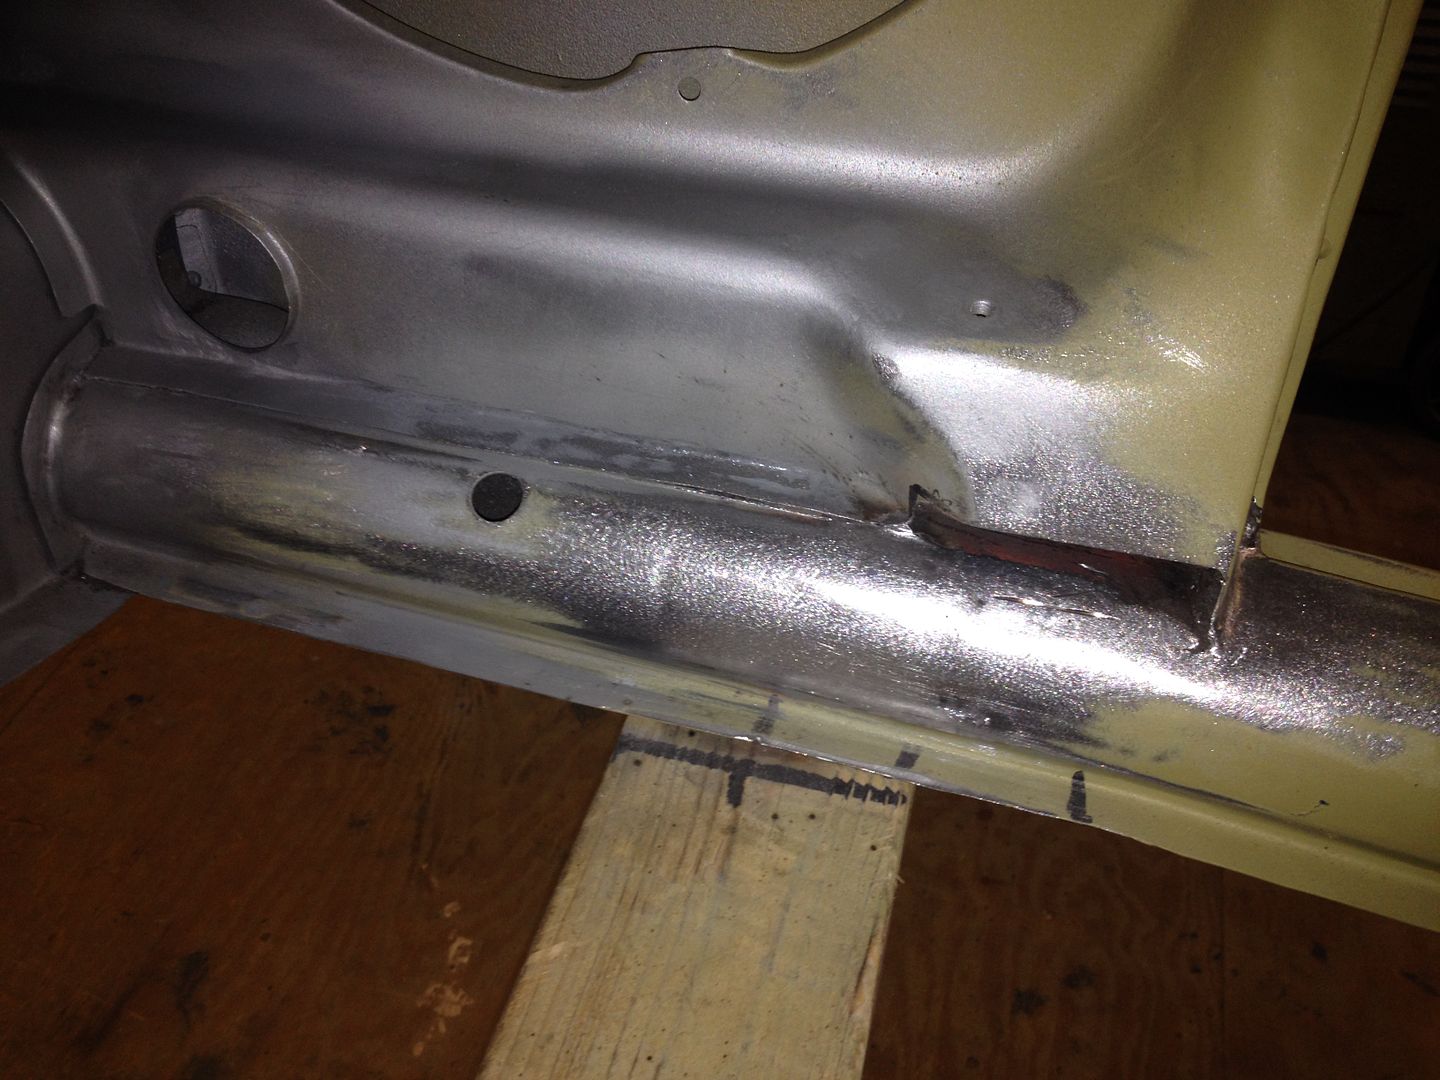
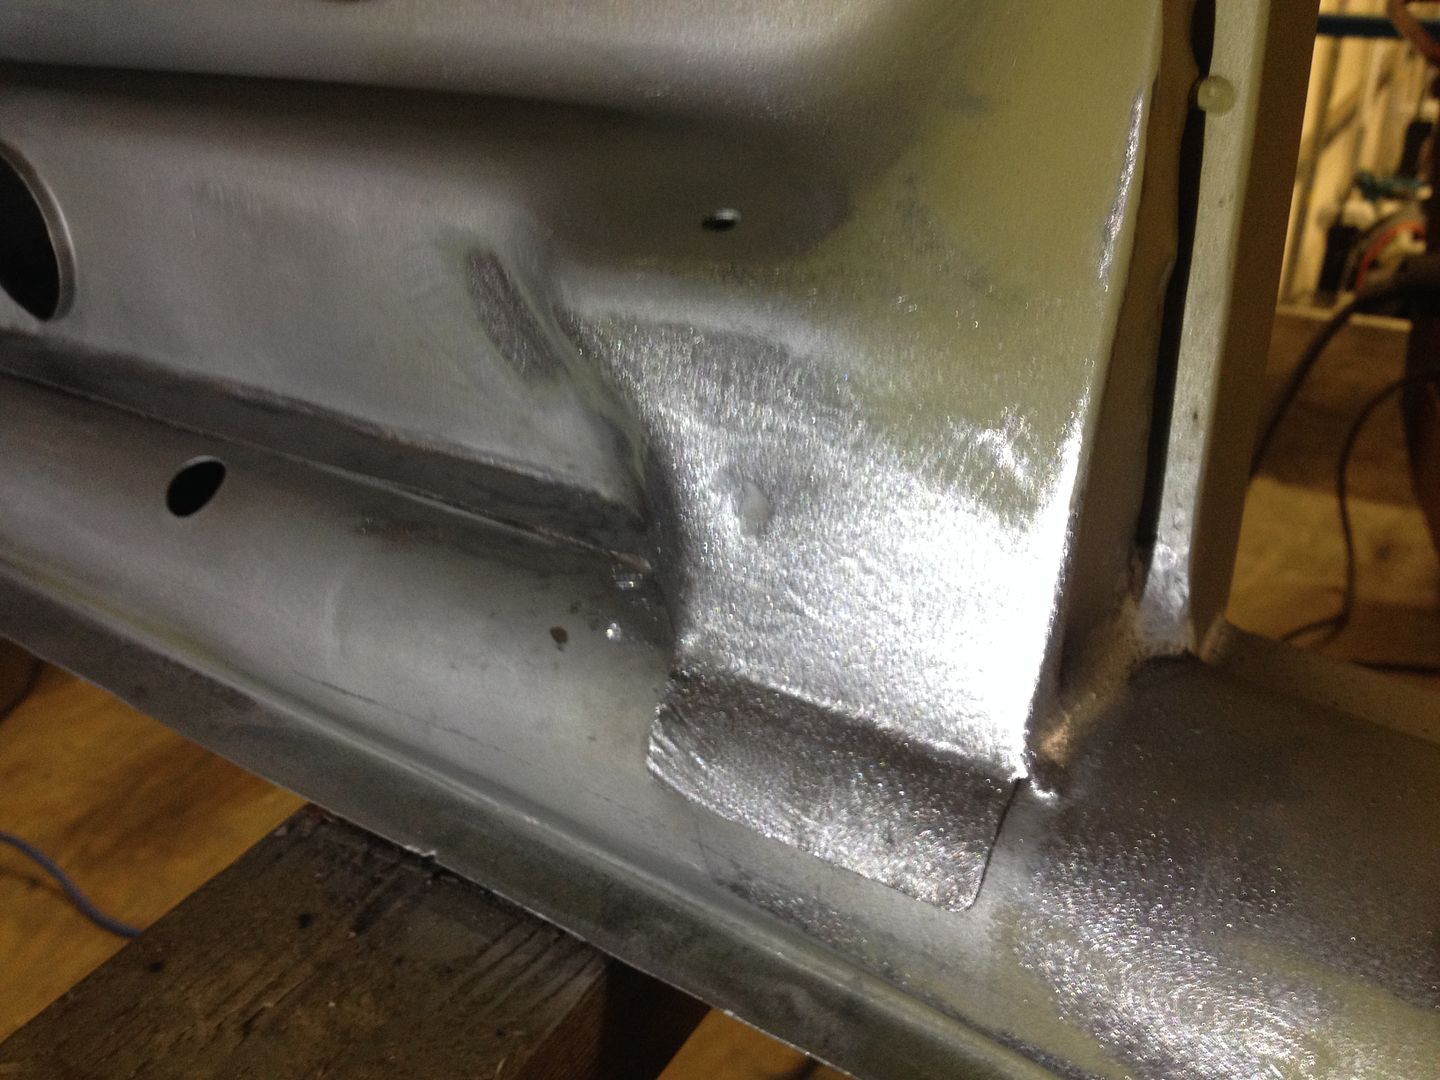
This is a small section of the boot floor that was still spot welded to the cross member. Its got a complex pressing so I was happy I had it!


Blasted the whole member too


I didn't weld the member in yet as the boot floor needed fixing first. Again, there are no accurate sections available for this so I had to make my own. Sixties bugs have a strange raised area half way down , just above the body mounting section. Now I wasn't quite sure how this area looked as the other side wasn't right either so al I had was internet pics. I`m still not happy with what I made and since these pictures were taken I managed to source a genuine section , so I will cut it out and refit with OG metal. 


Not welded in yet


Logged
vwhelmot
Hero Member
*****
Posts: 687


« Reply #48 on: June 16, 2015, 09:35:13 am »


Before welding it in I made a new lip and I made it big so I could cut it down to the correct size / height after.


Logged
vwhelmot
Hero Member
*****
Posts: 687


« Reply #49 on: June 16, 2015, 10:01:51 am »

Eventhough the floor is all welded in and smooth, I`m going to replace a section of it with this after I`ve repaired it.


Logged
vwhelmot
Hero Member
*****
Posts: 687


« Reply #50 on: June 16, 2015, 10:41:42 am »

Part way in


No filler


Corner slowly getting there


Logged
vwhelmot
Hero Member
*****
Posts: 687


« Reply #51 on: June 16, 2015, 10:46:34 am »

Finished welds underneath


Corner needs finishing

Logged
vwhelmot
Hero Member
*****
Posts: 687


« Reply #52 on: June 17, 2015, 11:40:59 am »

Rewelded and smoothed off the welds here
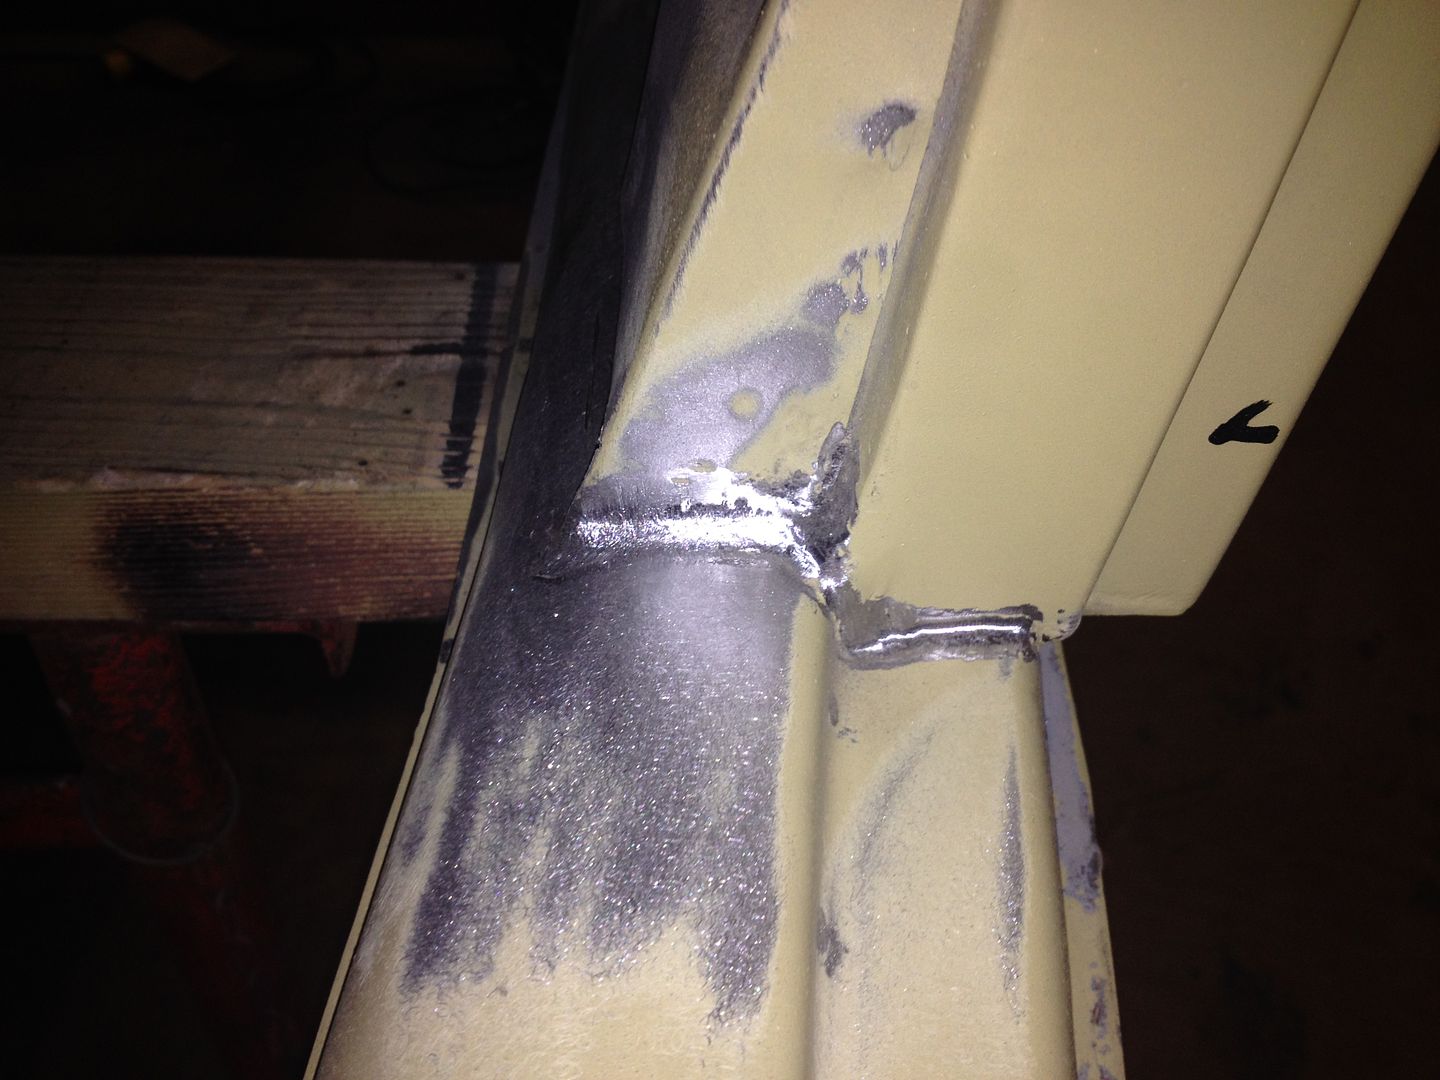


I`m not going to be running heaters so I cut off the pipe inlet and filled in the hole.
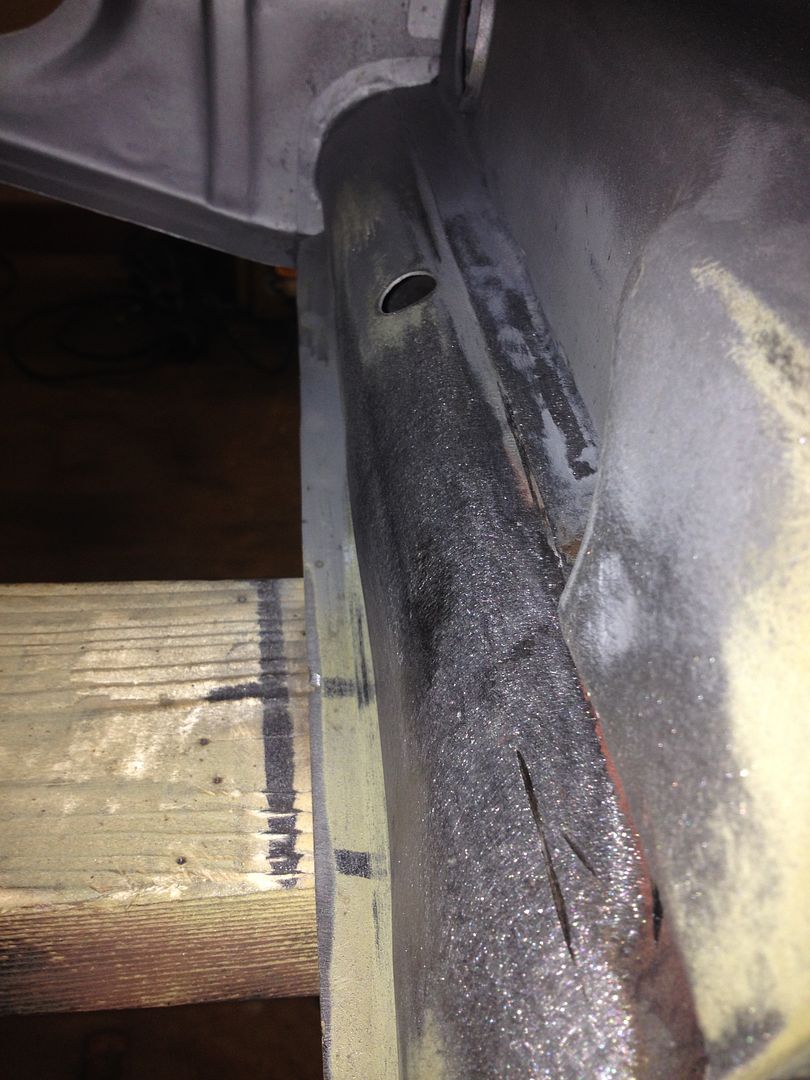


Made a new piece
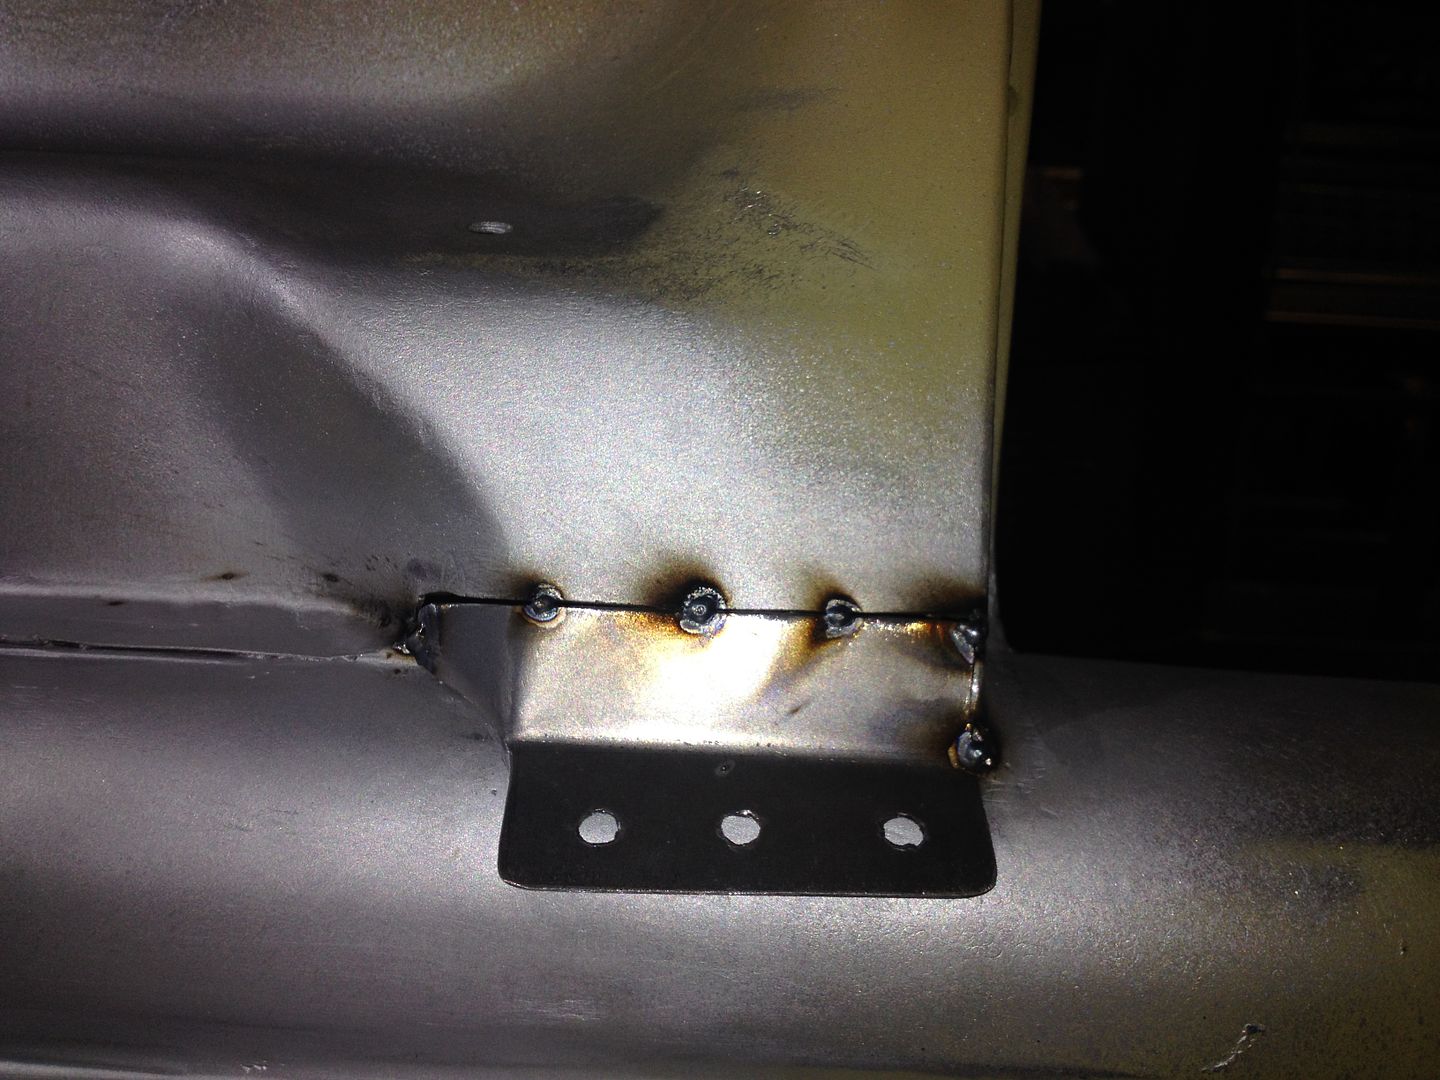


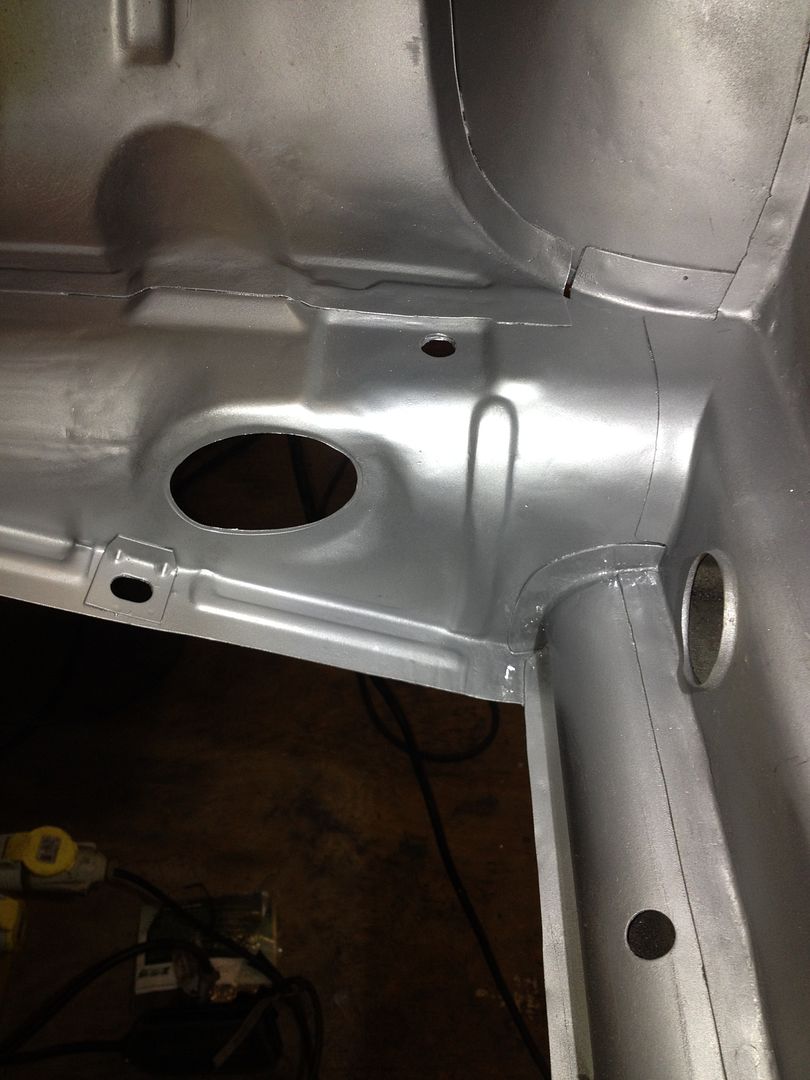
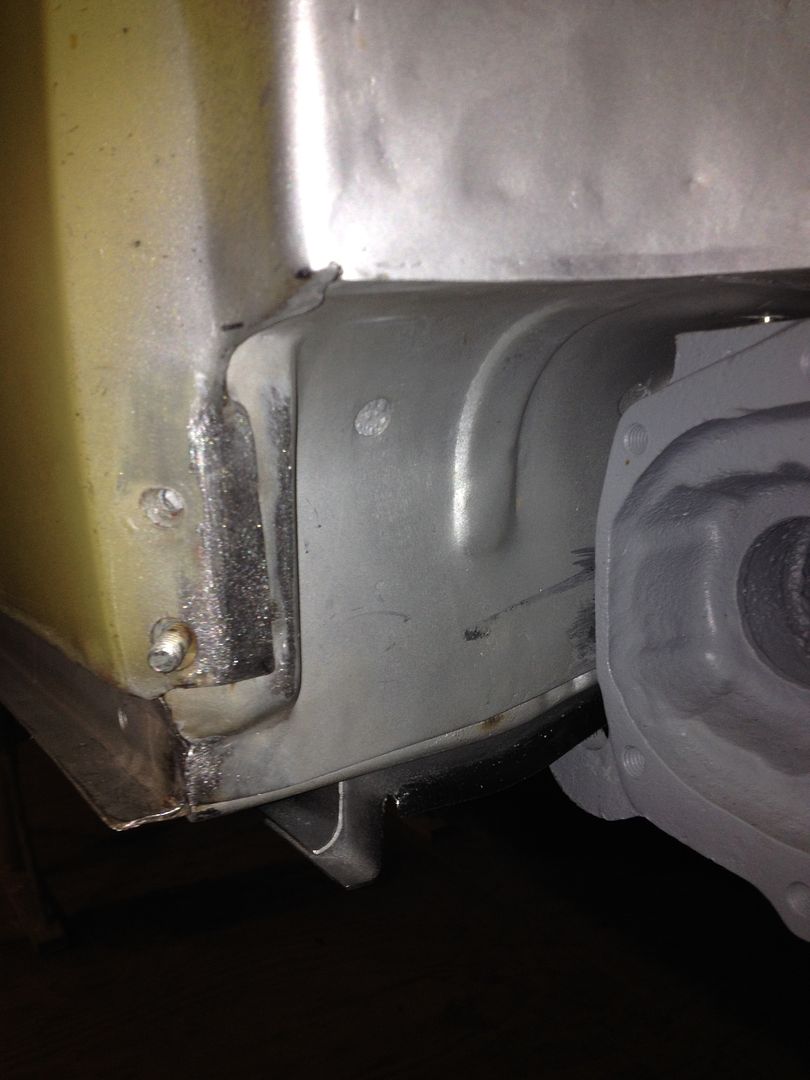
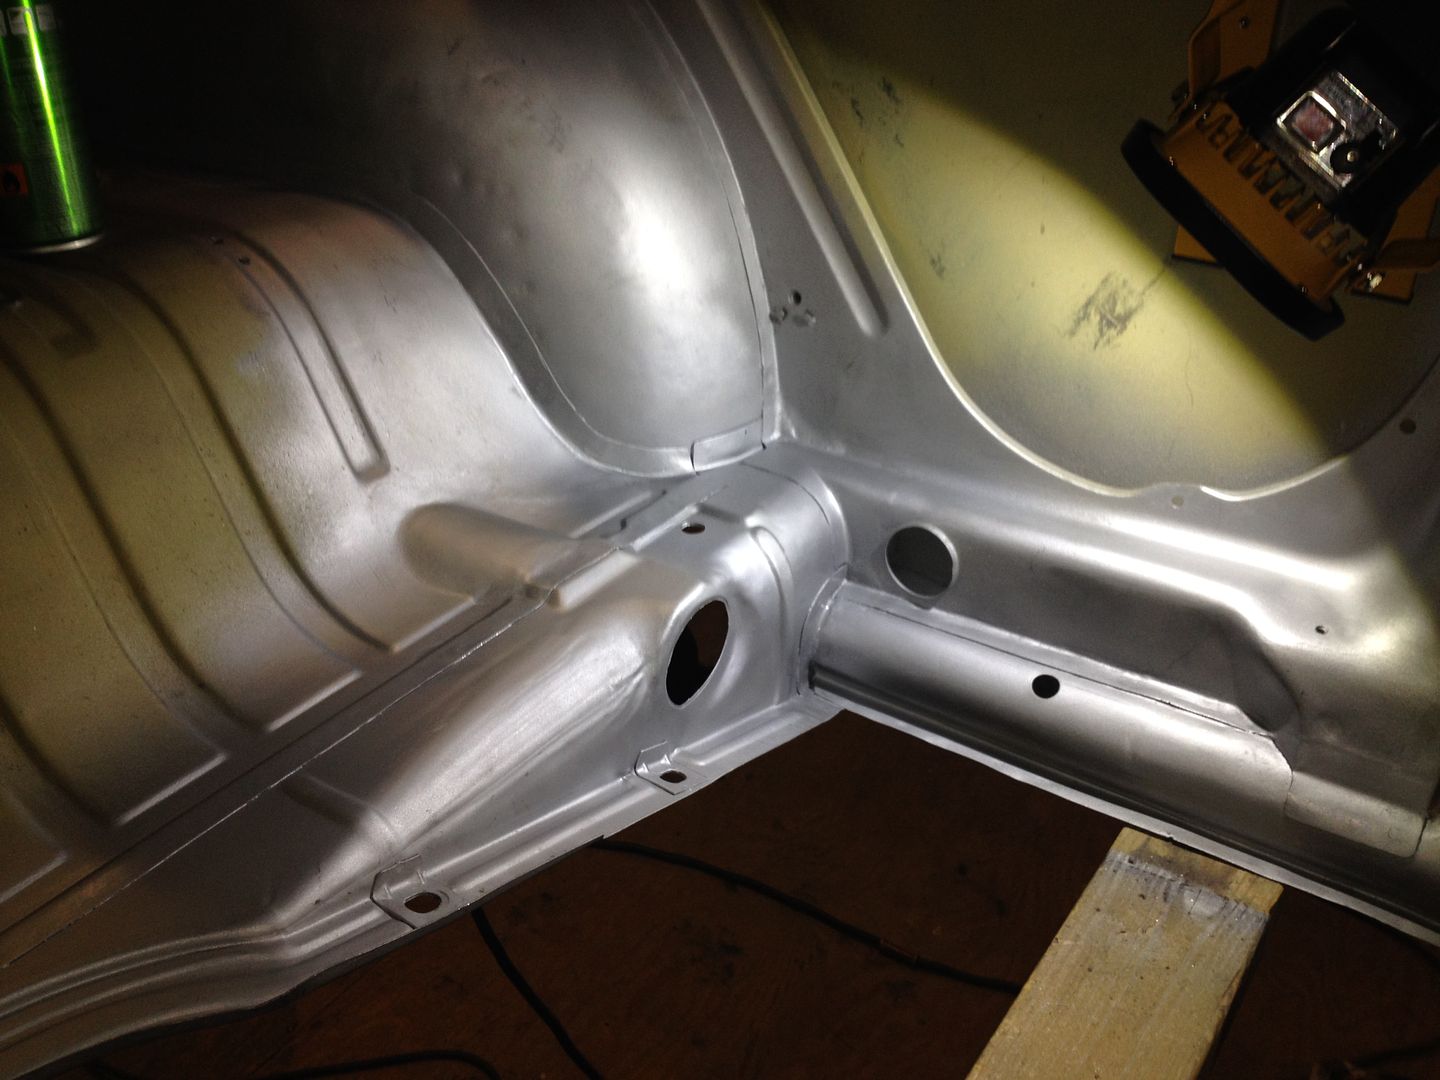
I then refitted the body to align and fully weld in the cross member


Pre welded


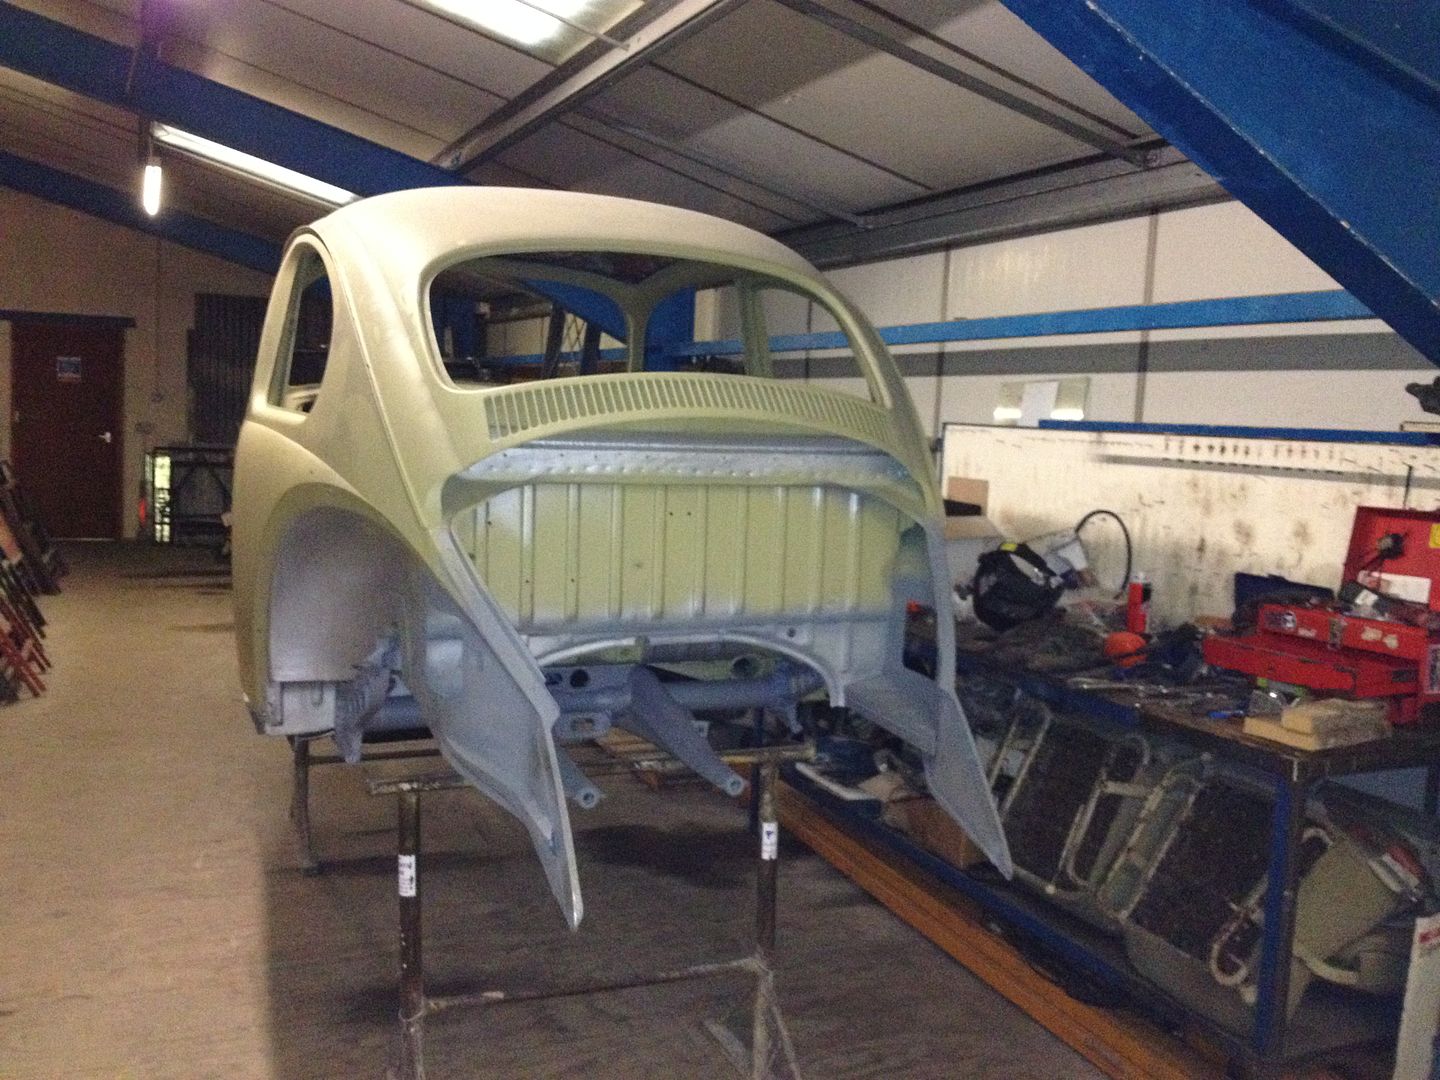
Cool


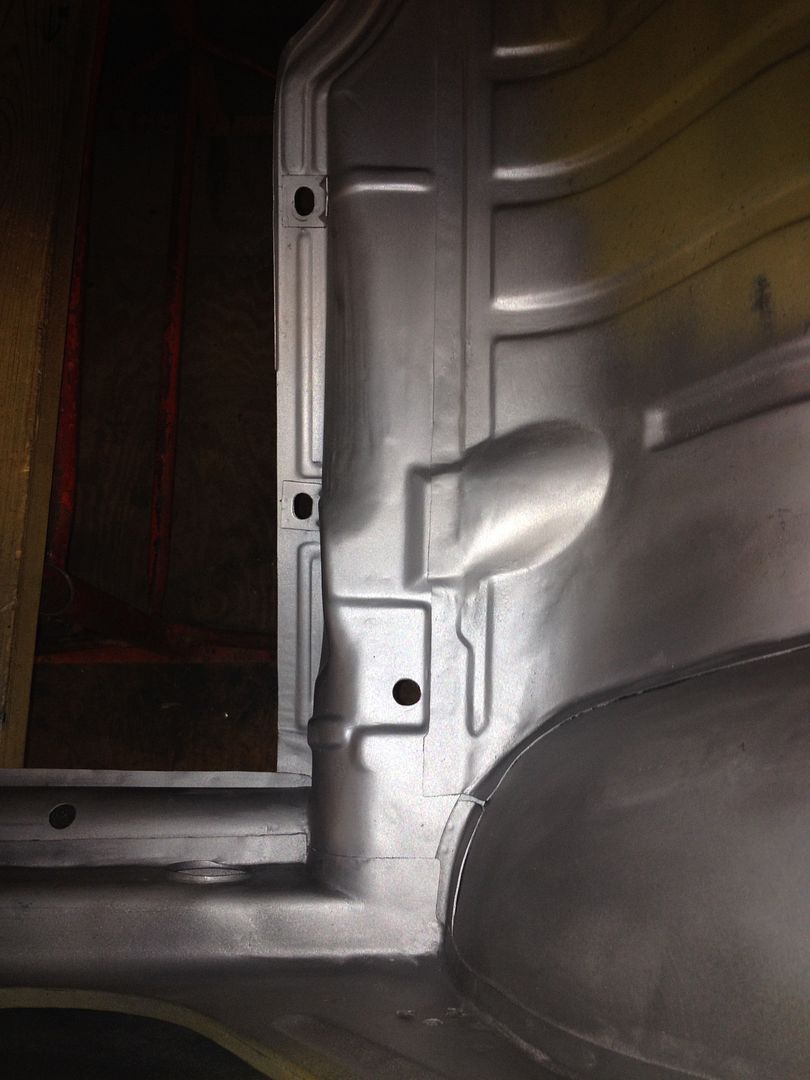
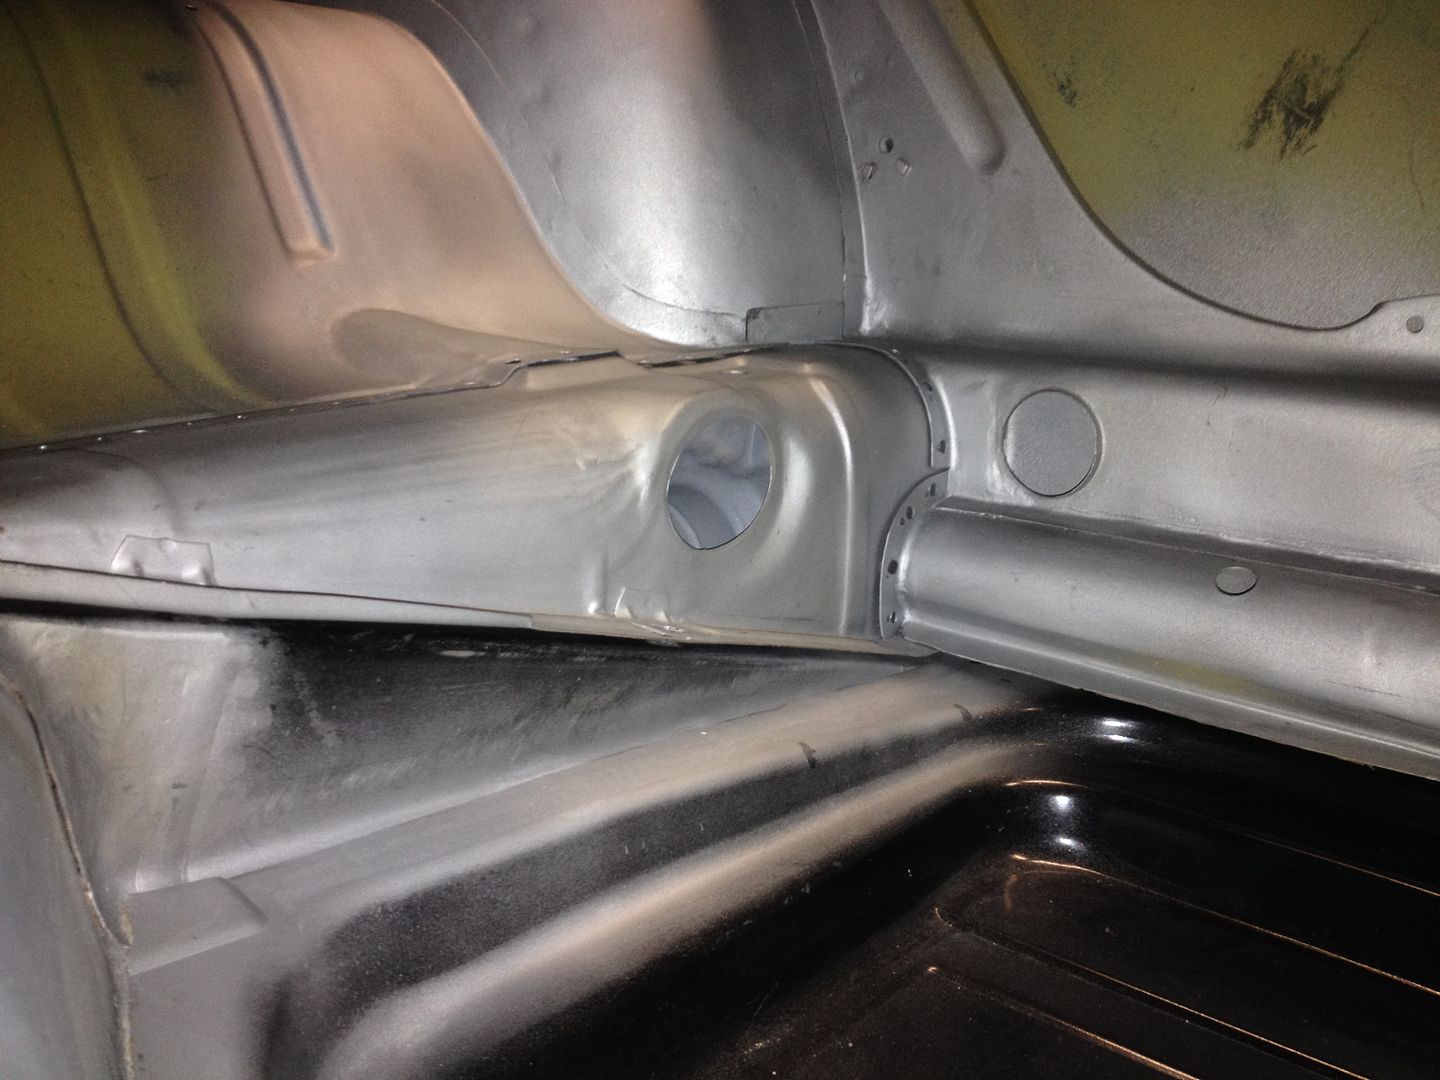
All welded in and smoothed


Bit still to do here


Happy days

Logged
richie
Hero Member
*****
Posts: 5687


« Reply #53 on: June 17, 2015, 12:06:03 pm »

That's some seriously impressive work you are doing Cool You must have a lot of patience to make it all fit so well, looking forward to seeing how it turns out

cheers Richie
Logged

Cars are supposed to be driven, not just talked about!!!   


Good parts might be expensive but good advice is priceless Wink
vwhelmot
Hero Member
*****
Posts: 687


« Reply #54 on: June 17, 2015, 12:15:03 pm »

Cheers Ritchie, as I`m getting older, the more anal I`m getting!  Grin

This is the other side. Not happy days. This took a lot more work.


My previous fabulous Stevie Wonder fabrication.  #-o


« Last Edit: May 03, 2017, 23:21:05 pm by vwhelmot » Logged
vwhelmot
Hero Member
*****
Posts: 687


« Reply #55 on: June 17, 2015, 12:58:44 pm »

The joining panel was truly goosed too. I`m not saying it wasn't solid and useable, but if you are building a show car, this is far from good enough.


The boot floor was a mess too.


Cut it out


I could have repaired the original cross member but I decided to install the one I had from SoCal.


My hoodride parts project is coming along nicely  Wink


Logged
vwhelmot
Hero Member
*****
Posts: 687


« Reply #56 on: June 17, 2015, 13:17:21 pm »

Again, I started off with this.


Using Mikas panel again


This was a bit more tricky in that the cut went through the corner of the pressed rib.


See what I mean


Smoothed


Started to make the outer


Took a bit of time . I modified the other side to the same as this.


Separate workshop was a bit full.


Check the fit


Ready for blasting


guide coat to show the highs and lows


Bare metal


Weld through primed


Finished

Logged
jick
Hero Member
*****
Posts: 1252


« Reply #57 on: June 17, 2015, 21:02:36 pm »

well, I suppose with a little more practice and effort you might just get things to an okay kind of standard...

haha.....seriously dude....absolutely incredible workmanship and detail, I don't believe anyone else has come close to this.

VERY much looking forward to seeing more of this .

Jick
Logged

Erlend / bug66
Global Moderator
Hero Member
*****
Posts: 958

SCC Event


WWW
« Reply #58 on: June 17, 2015, 21:53:13 pm »

I'll box up my car and ship it, just need the address   Grin

This is excellent!

My boss saw me snooping this thread at work today. Not a car guy, but totally impressed!  Cheesy
Logged

The '67:
10.626 @ 132mph, SCC 2016
10.407 @ 134mph, SCC 2017
10.221 @ 135mph, SCC 2018

The '59:
Not yet..
Pedalpusher
Full Member
***
Posts: 103


« Reply #59 on: June 18, 2015, 06:16:35 am »

Yes, guys are totally right!

Danny Gabbard and now You have set the bar for metalfinishing for me at least! Pleasure to follow a build with this kind of detailwork
Logged
Pages: 1 [2] 3 4 ... 13 Print 
« previous next »
Jump to:  

Powered by MySQL Powered by PHP Powered by SMF 1.1.21 | SMF © 2015, Simple Machines Valid XHTML 1.0! Valid CSS!