Finally done a bit more work on the 58 that's worth putting up!
![Smiley](http://cal-look.no/lounge/Smileys/default/smiley.gif)
Firstly a job I wasn’t looking forward to, I sorted out the passenger’s side gutter.
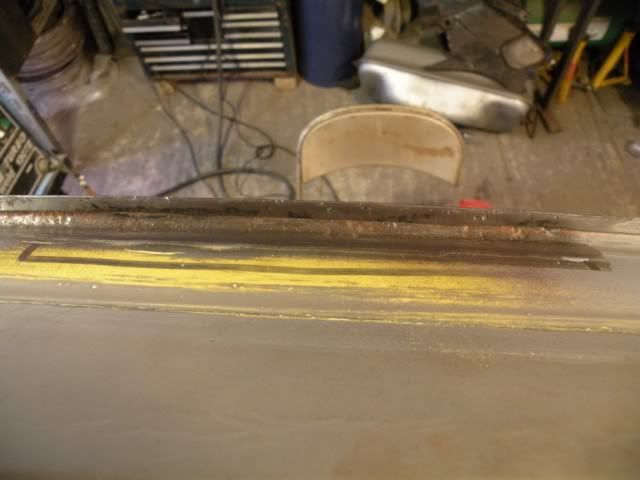
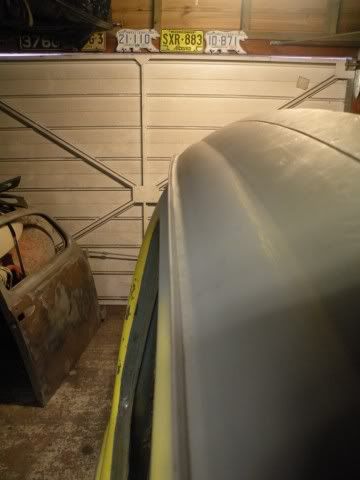
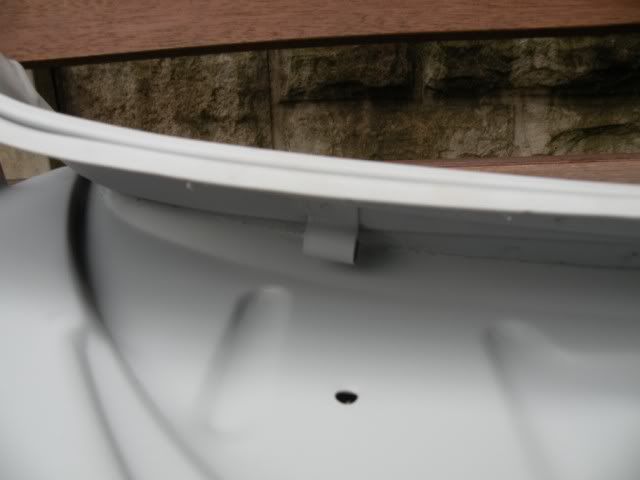
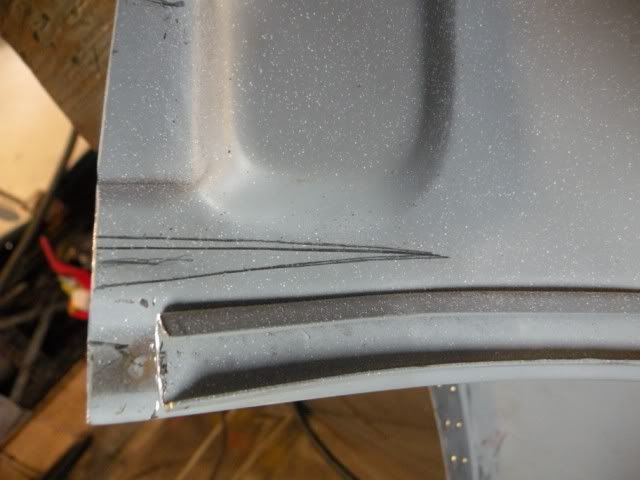
Here's a shot of the gutter.
![](http://i89.photobucket.com/albums/k228/deanodynosaurs/58%20Resto/Gutters01.jpg)
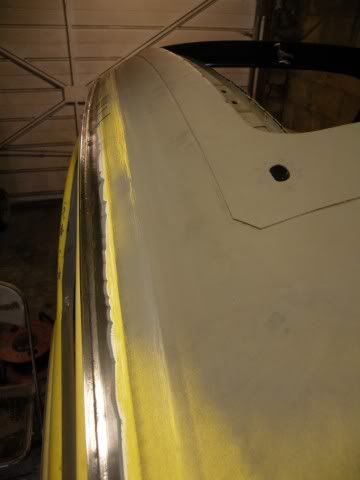
Although it was generally pretty good, there were two bits that needed sorting out. Here’s how I sorted out one of the said 'bad spots'.
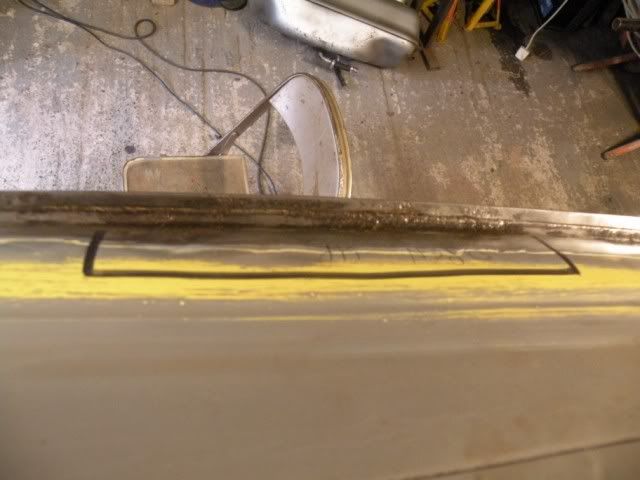
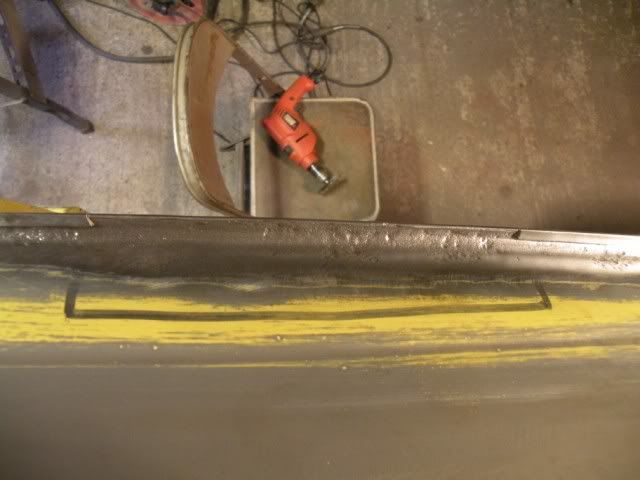
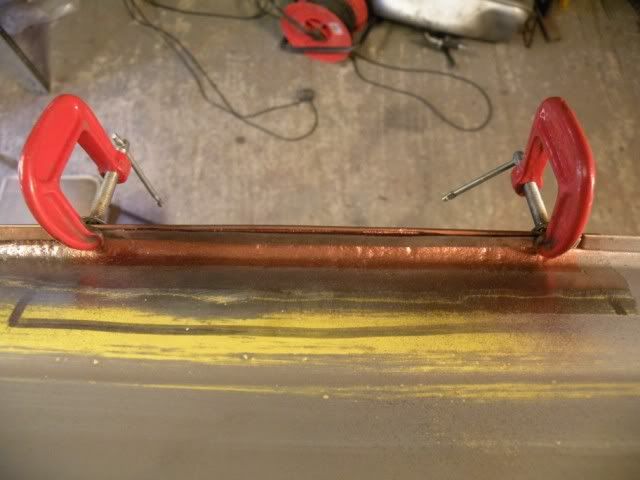
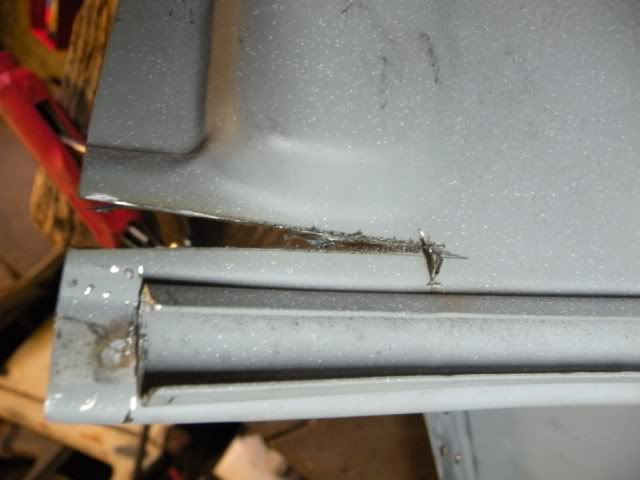
Where the gutter were showing signs of rust, they were opened out, sand blasted (horrible job!
![Roll Eyes](http://cal-look.no/lounge/Smileys/default/rolleyes.gif)
), primed with weld through primer and then shut up.
![](http://i89.photobucket.com/albums/k228/deanodynosaurs/58%20Resto/Gutters09.jpg)
![](http://i89.photobucket.com/albums/k228/deanodynosaurs/58%20Resto/Gutters10.jpg)
![](http://i89.photobucket.com/albums/k228/deanodynosaurs/58%20Resto/Gutters11.jpg)
![](http://i89.photobucket.com/albums/k228/deanodynosaurs/58%20Resto/Gutters12.jpg)
![](http://i89.photobucket.com/albums/k228/deanodynosaurs/58%20Resto/Gutters13.jpg)
![](http://i89.photobucket.com/albums/k228/deanodynosaurs/58%20Resto/Gutters14.jpg)
![](http://i89.photobucket.com/albums/k228/deanodynosaurs/58%20Resto/Gutters15.jpg)
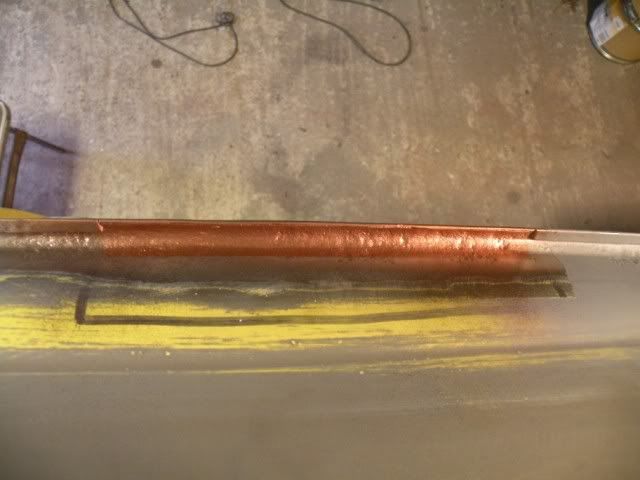
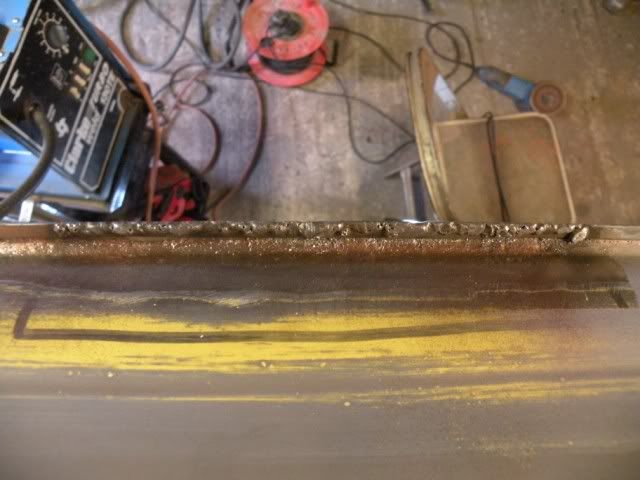
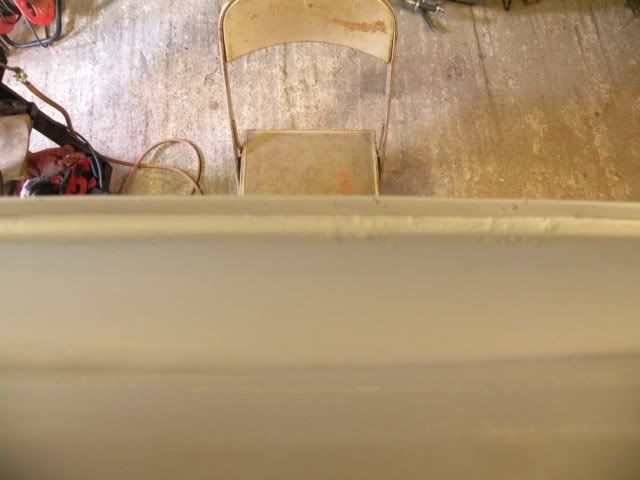
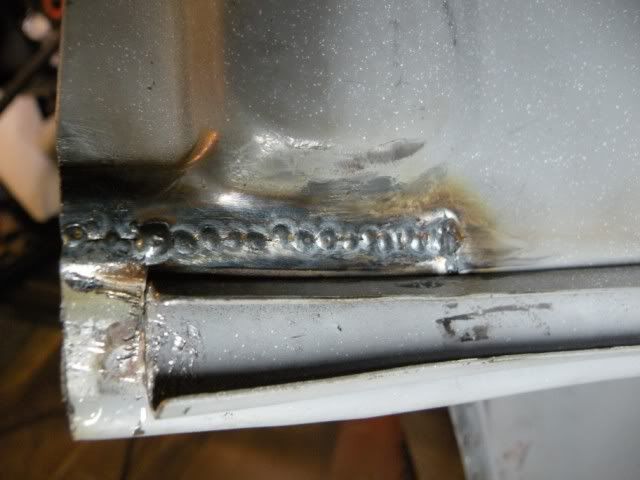
And here's the gutter all finished!
![Smiley](http://cal-look.no/lounge/Smileys/default/smiley.gif)
![](http://i89.photobucket.com/albums/k228/deanodynosaurs/58%20Resto/Gutters25.jpg)
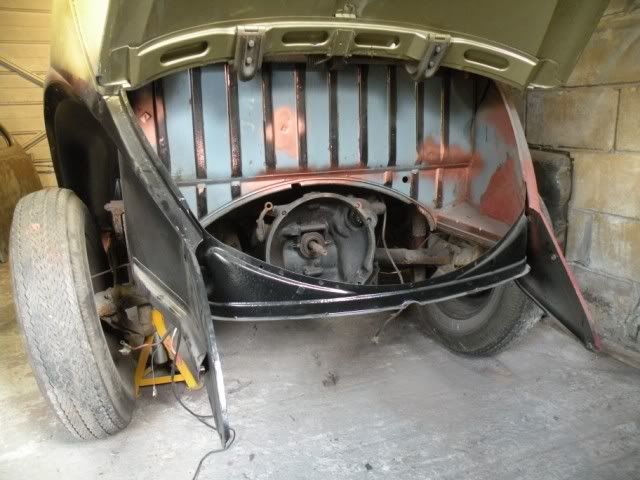
Next up was the bit I've been saving till last (well nearly last!). Fitting the rear valance!
![Smiley](http://cal-look.no/lounge/Smileys/default/smiley.gif)
Due to replacing the bumper hangers on both sides the valance was already out, but the inner seal panel had been left in as a guide, so it was time to remove it!
![](http://i89.photobucket.com/albums/k228/deanodynosaurs/58%20Resto/RearValance02.jpg)
![](http://i89.photobucket.com/albums/k228/deanodynosaurs/58%20Resto/RearValance05.jpg)
I used a new panel from Autocraft as I wanted it with a single central exhaust cut out. Big thanks to Karl for getting this exactlly spot on for me!
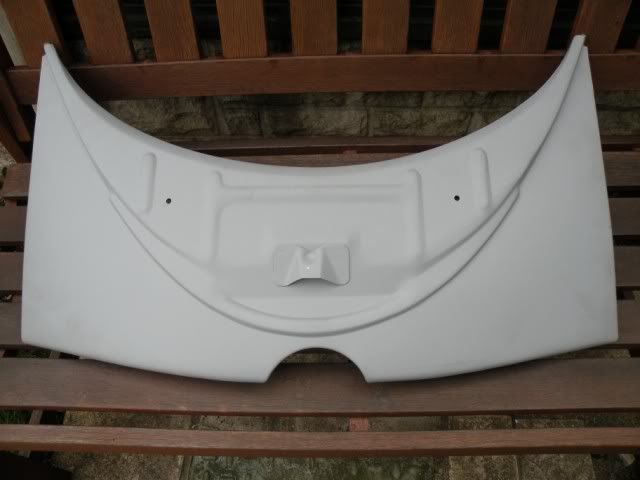
![Smiley](http://cal-look.no/lounge/Smileys/default/smiley.gif)
![](http://i89.photobucket.com/albums/k228/deanodynosaurs/58%20Resto/RearValance10.jpg)
As I’m a detail geek, I had to add in the wire holders that run inside the panel! (Yes I know I need to get out more!
![Grin](http://cal-look.no/lounge/Smileys/default/grin.gif)
)
![](http://i89.photobucket.com/albums/k228/deanodynosaurs/58%20Resto/RearValance14.jpg)
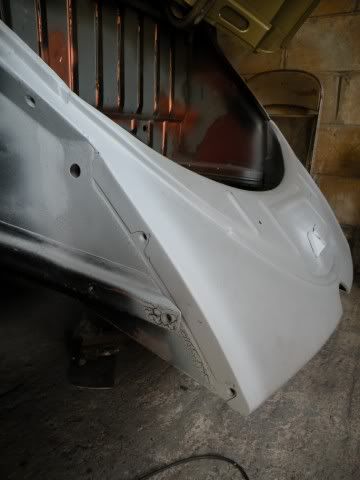
Next up was trial fitment. Notice the panel doesn’t line up very well with the wings, and the gap on the engine lid is way out.
![Huh](http://cal-look.no/lounge/Smileys/default/huh.gif)
![](http://i89.photobucket.com/albums/k228/deanodynosaurs/58%20Resto/RearValance16Checkingthefitbad.jpg)
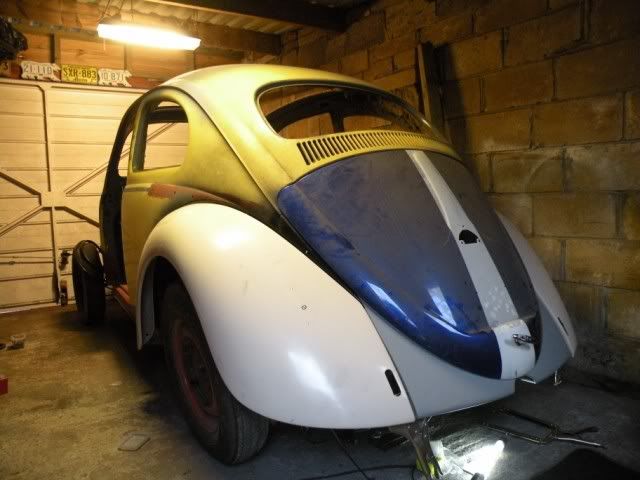
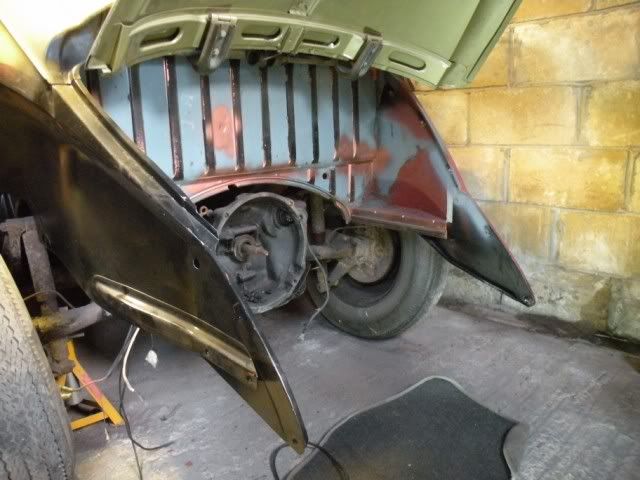
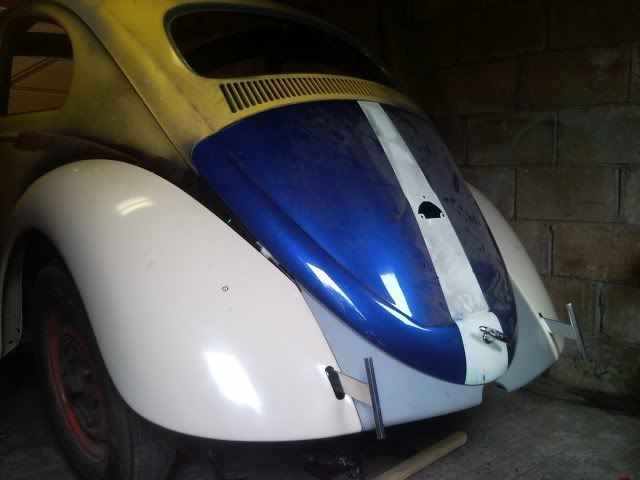
However, after a lot of fettling (including reshaping all the edges of the hanger panels where they meet the valence) I got the panel to line up much better!
![Smiley](http://cal-look.no/lounge/Smileys/default/smiley.gif)
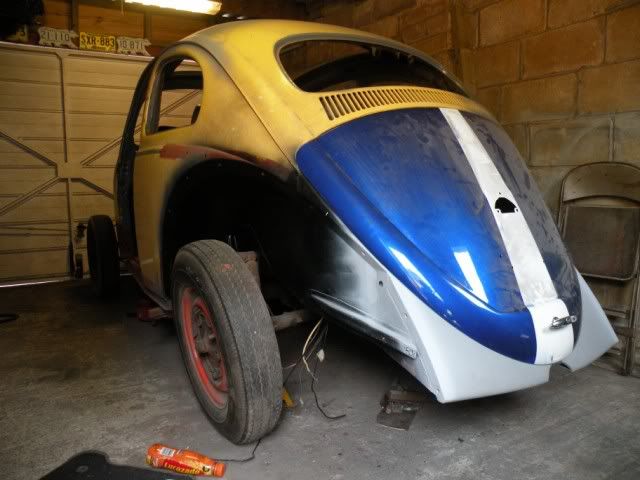
At this stage everything was loosely bolted up to make sure it all fitted right! I love this shot with the T bars on!
![Smiley](http://cal-look.no/lounge/Smileys/default/smiley.gif)
![](http://i89.photobucket.com/albums/k228/deanodynosaurs/58%20Resto/RearValance25CheckingthefitBetter.jpg)
However, not all fitted right, and this shot shows how bad the seal channels line up.
![Sad](http://cal-look.no/lounge/Smileys/default/sad.gif)
![](http://i89.photobucket.com/albums/k228/deanodynosaurs/58%20Resto/RearValance28.jpg)
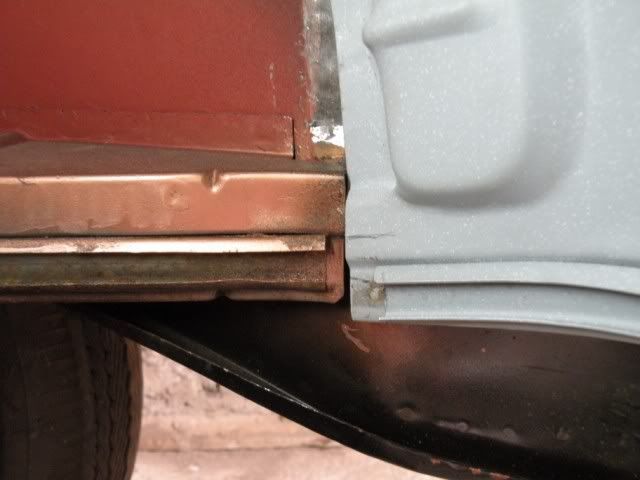
This was soon sorted out though! (Sadly I havn't got a photo of the finished panel.
![Angry](http://cal-look.no/lounge/Smileys/default/angry.gif)
)
![](http://i89.photobucket.com/albums/k228/deanodynosaurs/58%20Resto/RearValance29.jpg)
![](http://i89.photobucket.com/albums/k228/deanodynosaurs/58%20Resto/RearValance30.jpg)
![](http://i89.photobucket.com/albums/k228/deanodynosaurs/58%20Resto/RearValance31.jpg)
Finally time to weld the rear valence in!
![Smiley](http://cal-look.no/lounge/Smileys/default/smiley.gif)
![](http://i89.photobucket.com/albums/k228/deanodynosaurs/58%20Resto/RearValance41.jpg)
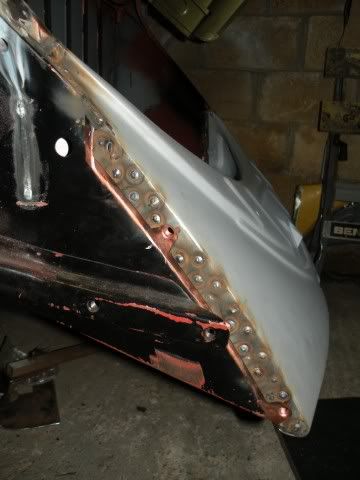
And then grind back and paint!
![](http://i89.photobucket.com/albums/k228/deanodynosaurs/58%20Resto/RearValance43.jpg)
And finally she’s in!
![Smiley](http://cal-look.no/lounge/Smileys/default/smiley.gif)
I'm much happier with the final fit now, as the engine lid sits nice, with good small gaps!
![Smiley](http://cal-look.no/lounge/Smileys/default/smiley.gif)
![](http://i89.photobucket.com/albums/k228/deanodynosaurs/58%20Resto/RearValance50.jpg)
The last bit I did was only a small job, but was an absolute nightmare, to get it looking right, as well as clear of everything!
I've got a glass SWF washer bottle that I was going to put in the car, but I wanted it to look factory, as if it always came with it. I know most people put it in the wheel well next to the brake fluid pot, but I still wanted to run a spare wheel, as I am going to use the car. Thus I came up with this location, up in the under bonnet area.
![Smiley](http://cal-look.no/lounge/Smileys/default/smiley.gif)
![](http://i89.photobucket.com/albums/k228/deanodynosaurs/58%20Resto/SWFWasherBracket04.jpg)
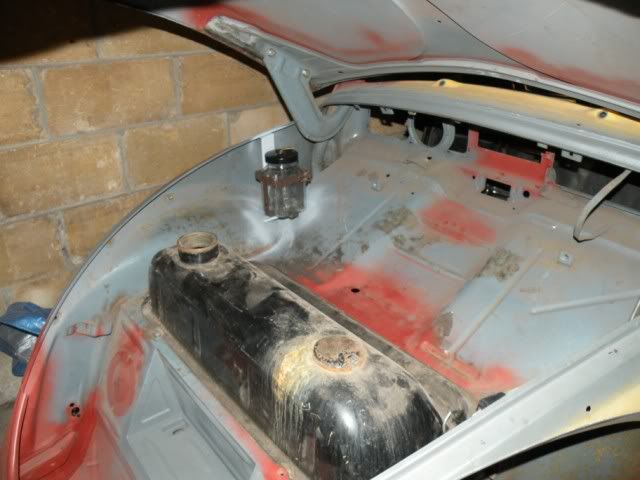
It took a lot of measuring (a sitting in the bonnet area with the bonnet closed!
![Grin](http://cal-look.no/lounge/Smileys/default/grin.gif)
), but I finally got it in the right place so the hinge doesn’t hit it when it closes! I'm really pleased with this!
![Smiley](http://cal-look.no/lounge/Smileys/default/smiley.gif)
![](http://i89.photobucket.com/albums/k228/deanodynosaurs/58%20Resto/SWFWasherBracket01.jpg)
![](http://i89.photobucket.com/albums/k228/deanodynosaurs/58%20Resto/SWFWasherBracket02.jpg)
Anyway, other than a few little bit's, that the body fully done now!
![Smiley](http://cal-look.no/lounge/Smileys/default/smiley.gif)
TIme to move on to building the chasis, and trial fitting everything!
![Smiley](http://cal-look.no/lounge/Smileys/default/smiley.gif)
Dude
![Cool](http://cal-look.no/lounge/Smileys/default/cool.gif)