|
vwhelmot
|
 |
« Reply #30 on: June 11, 2015, 12:02:54 pm » |
|
|
|
|
|
|
 Logged
|
|
|
|
|
vwhelmot
|
|
« Reply #31 on: June 11, 2015, 12:19:53 pm » |
|
|
|
|
|
|
Logged
|
|
|
|
|
vwhelmot
|
|
« Reply #32 on: June 11, 2015, 13:15:44 pm » |
|
|
|
|
|
|
Logged
|
|
|
|
|
vwhelmot
|
|
« Reply #33 on: June 11, 2015, 13:22:51 pm » |
|
Tacked in place  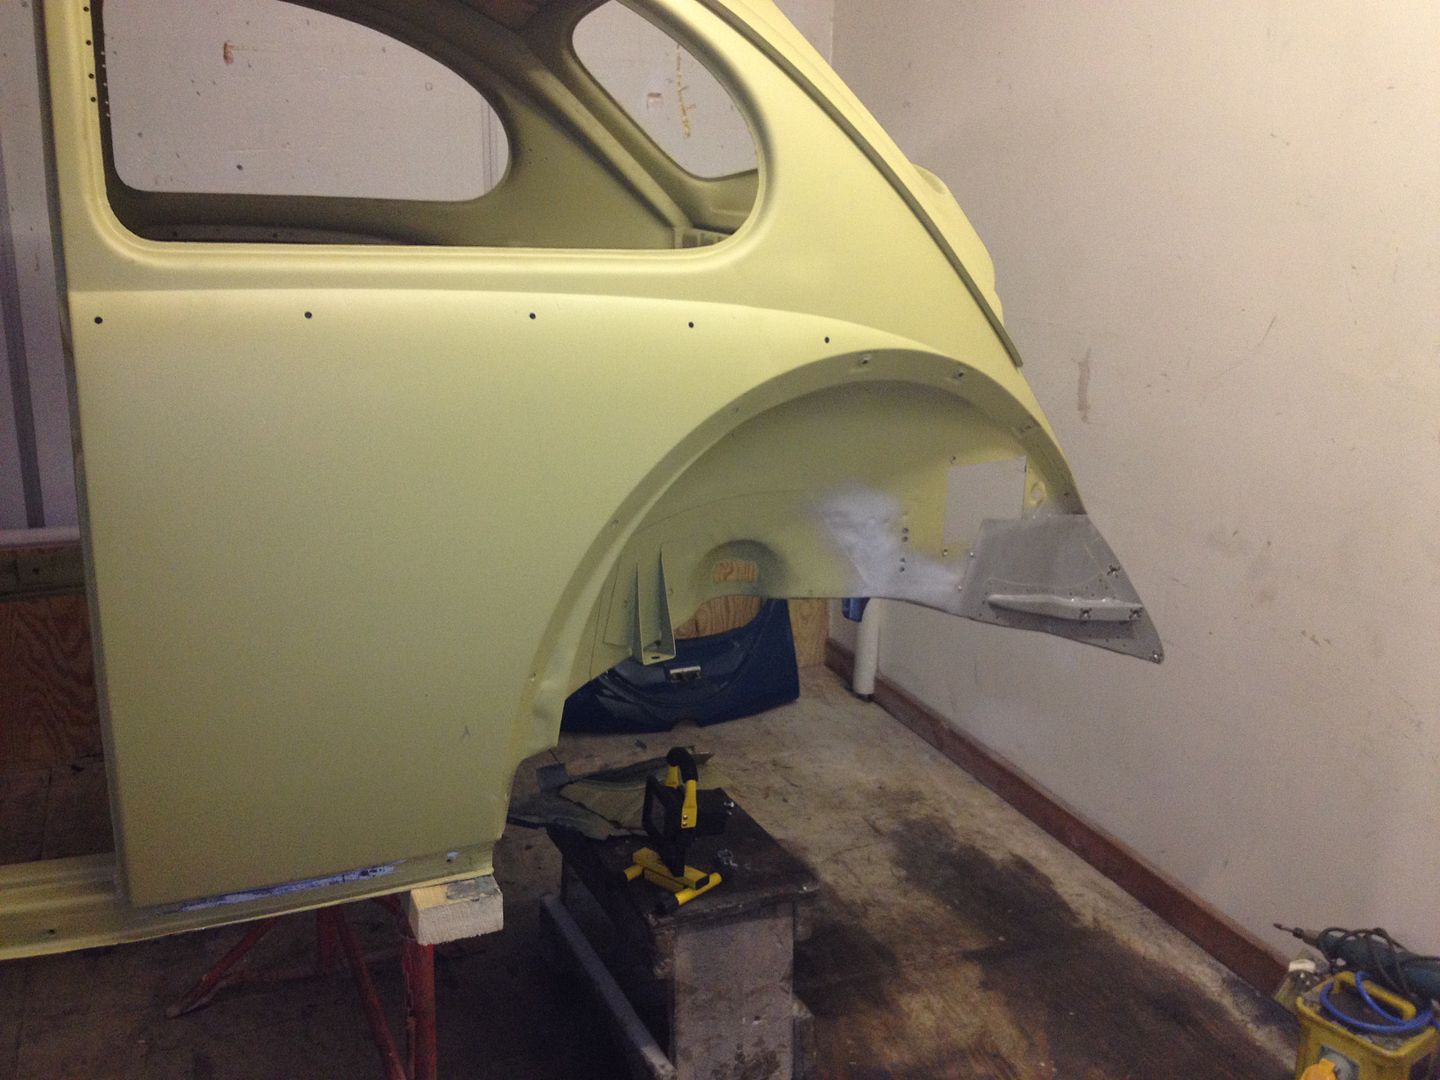 It didn't line up at the rear but I sorted that not long after as you will see 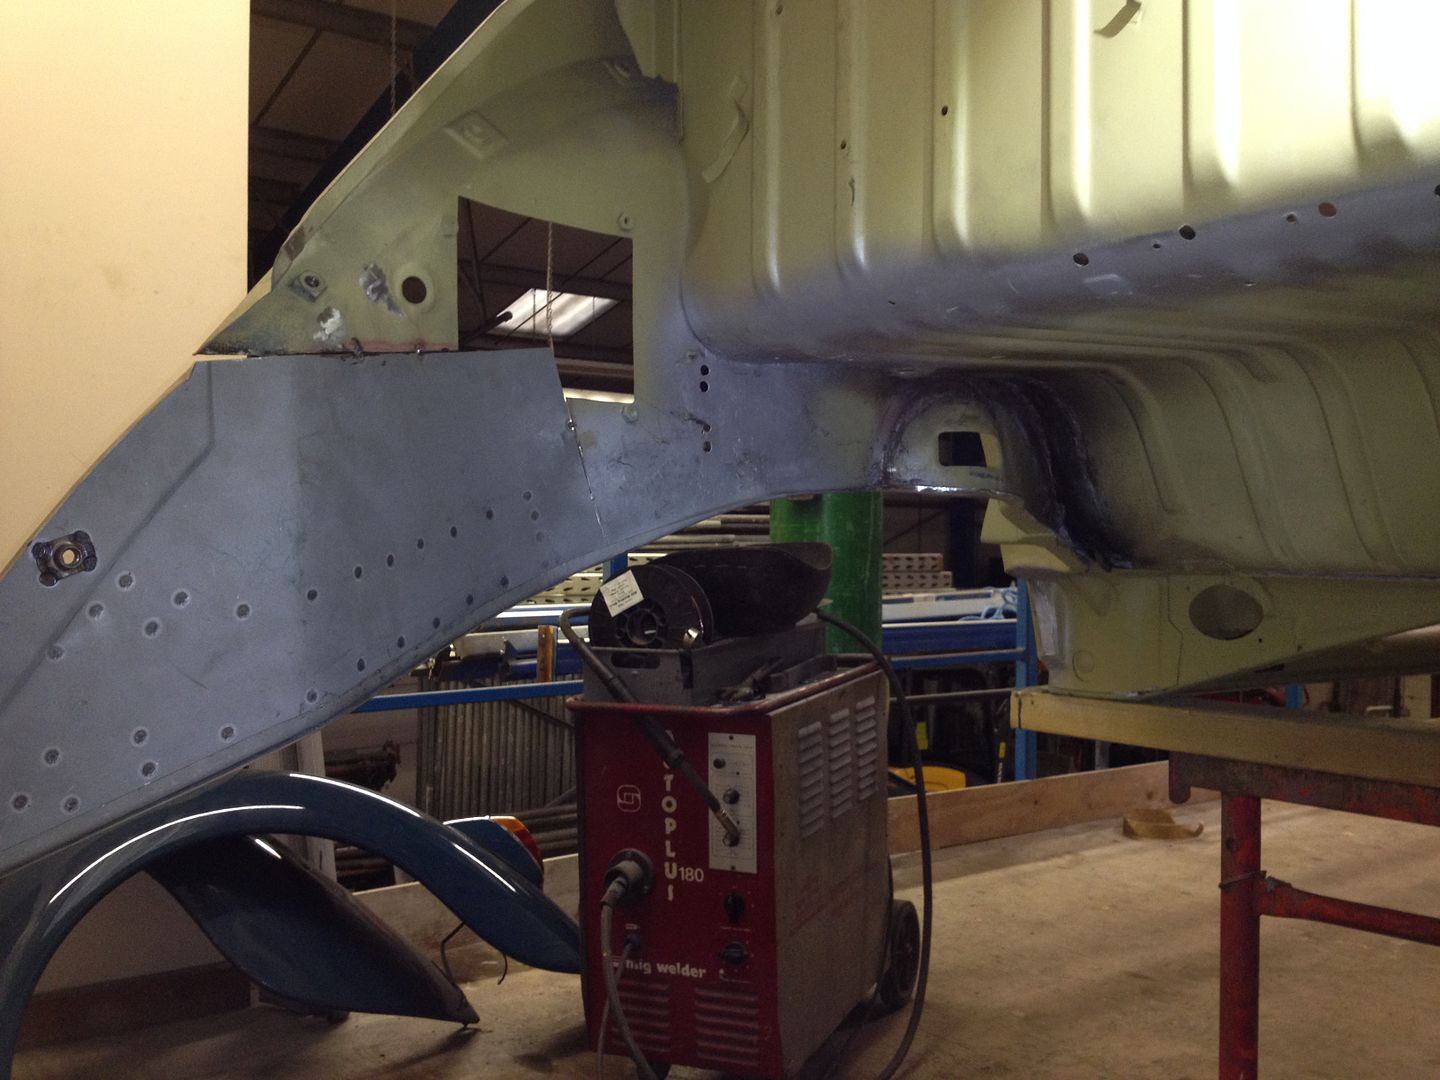 Semi welded 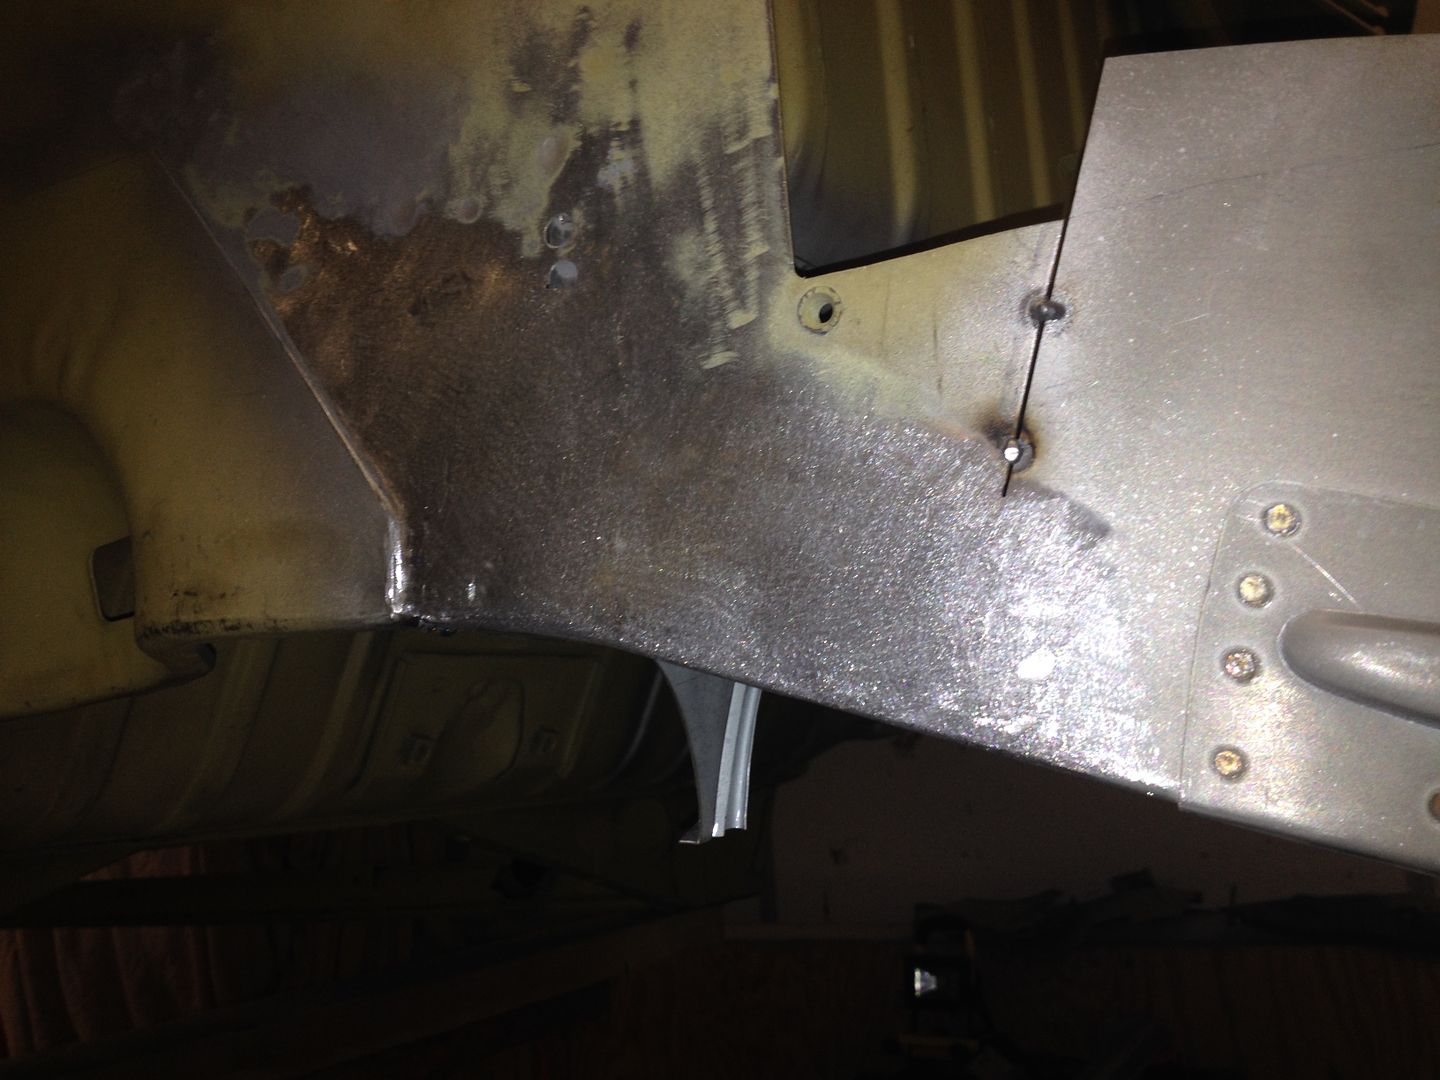 The lip wasn't really the correct shape at this stage either. 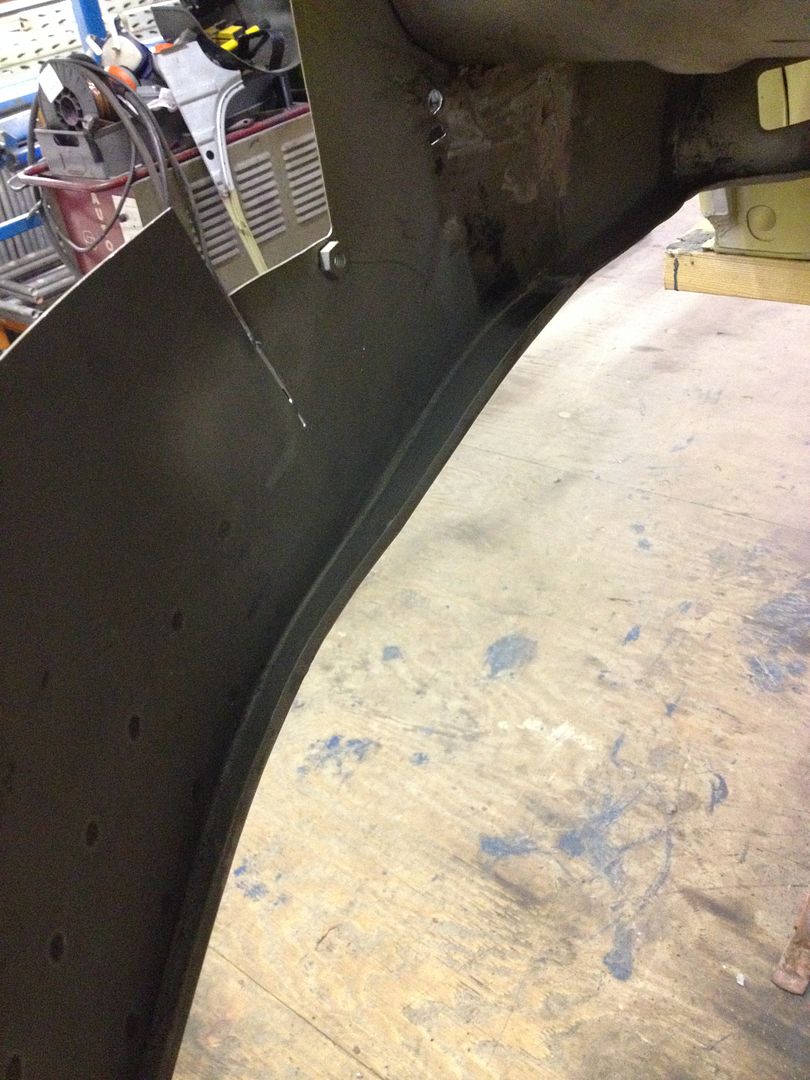 |
|
|
|
|
Logged
|
|
|
|
|
vwhelmot
|
|
« Reply #34 on: June 11, 2015, 13:29:44 pm » |
|
|
|
|
|
|
Logged
|
|
|
|
|
vwhelmot
|
|
« Reply #35 on: June 11, 2015, 13:33:35 pm » |
|
|
|
|
|
« Last Edit: June 11, 2015, 13:35:46 pm by vwhelmot »
|
Logged
|
|
|
|
|
|
|
leec
|
|
« Reply #37 on: June 11, 2015, 18:23:18 pm » |
|
Top work.
I really liked the work you did on your oval that I saw on vzi.
This car will be awesome
Lee
|
|
|
|
|
Logged
|
|
|
|
|
vwhelmot
|
|
« Reply #38 on: June 12, 2015, 12:04:00 pm » |
|
Thanks matey. The other side needed the same treatment in that I had to create a new lip. 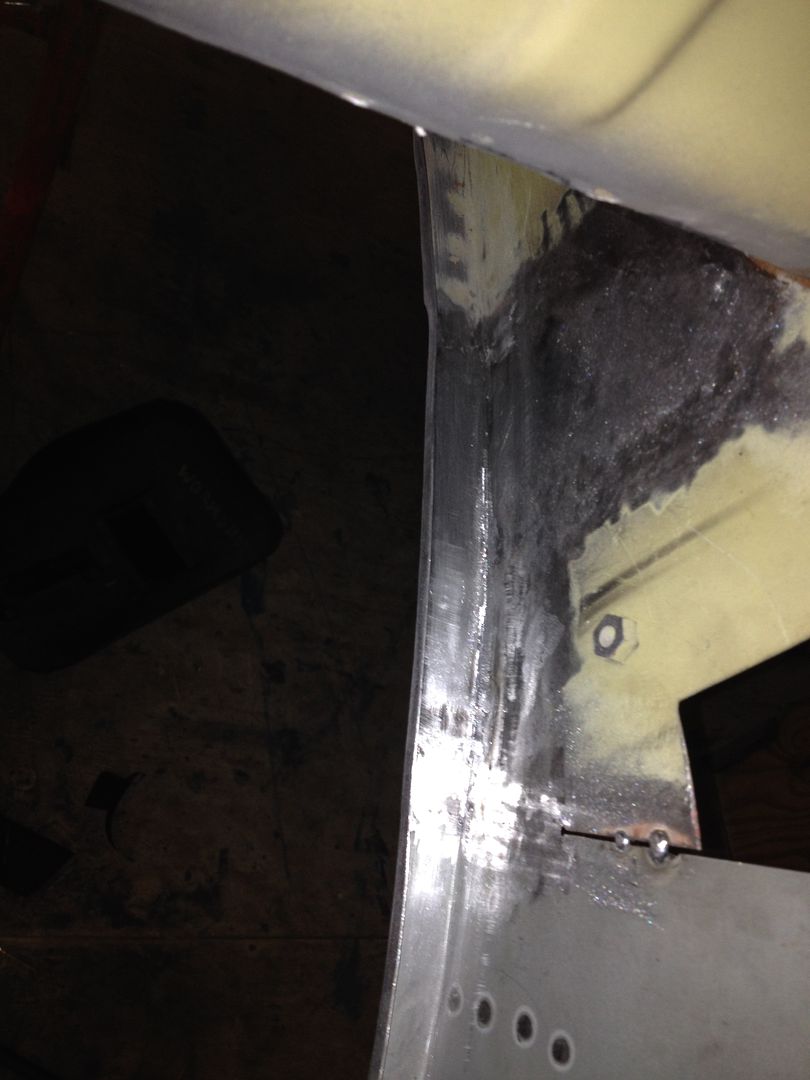 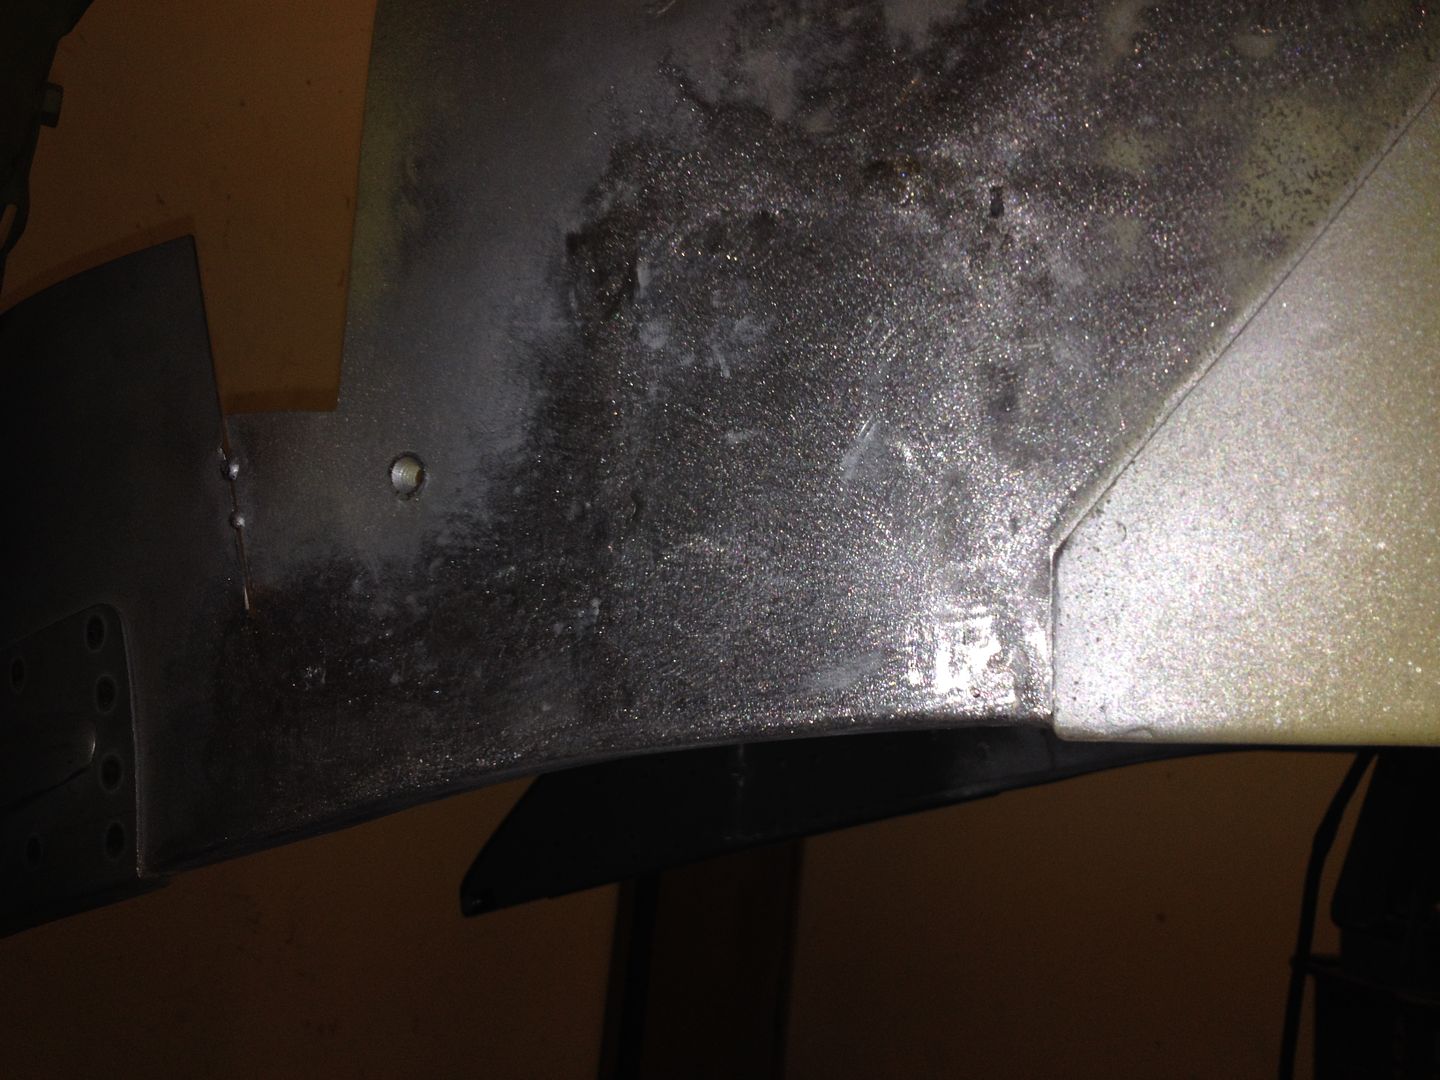 Now to weld in the rear panel and the two side trays , you need a valence to line things up. I managed to source a NOS one which was nice but I had to do something with the wing mounting nutserts first. Now VW in their infinite wisdom decided to use two different types of captive nuts. Unfortunately for me mine has the square recessed type and my car was a right mismatch of types as all these areas had been worked on previously. I bought another valence on egay which included the sections I was after but it was bent and crusty. Crusty 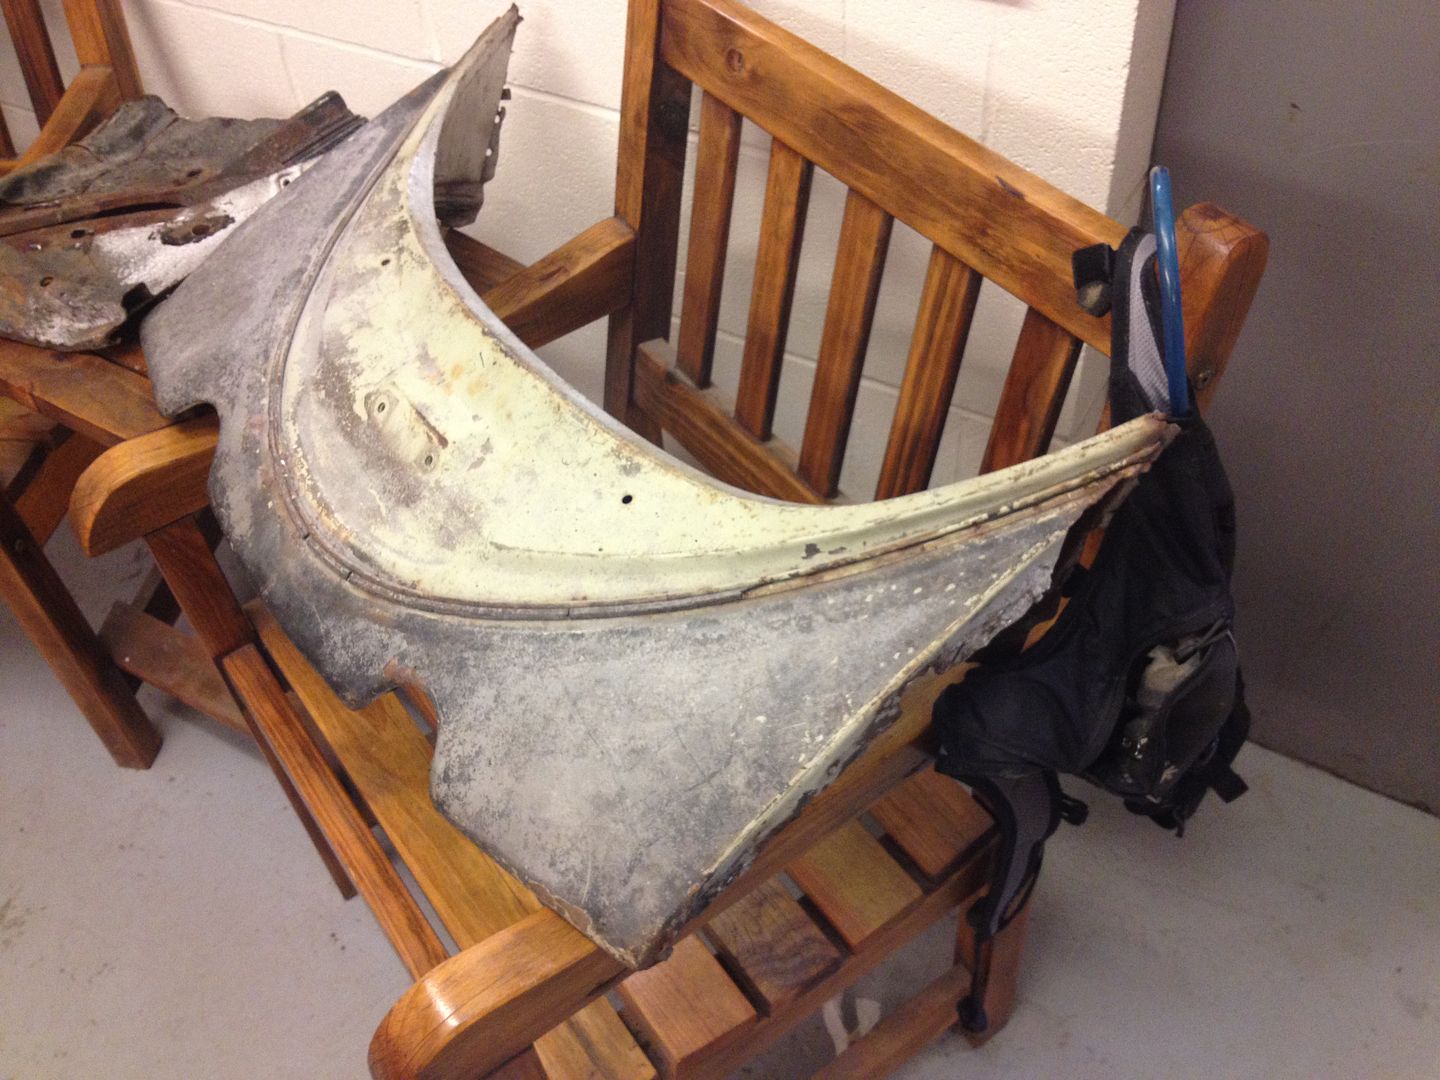 This is the section I was after with the correct nutsert 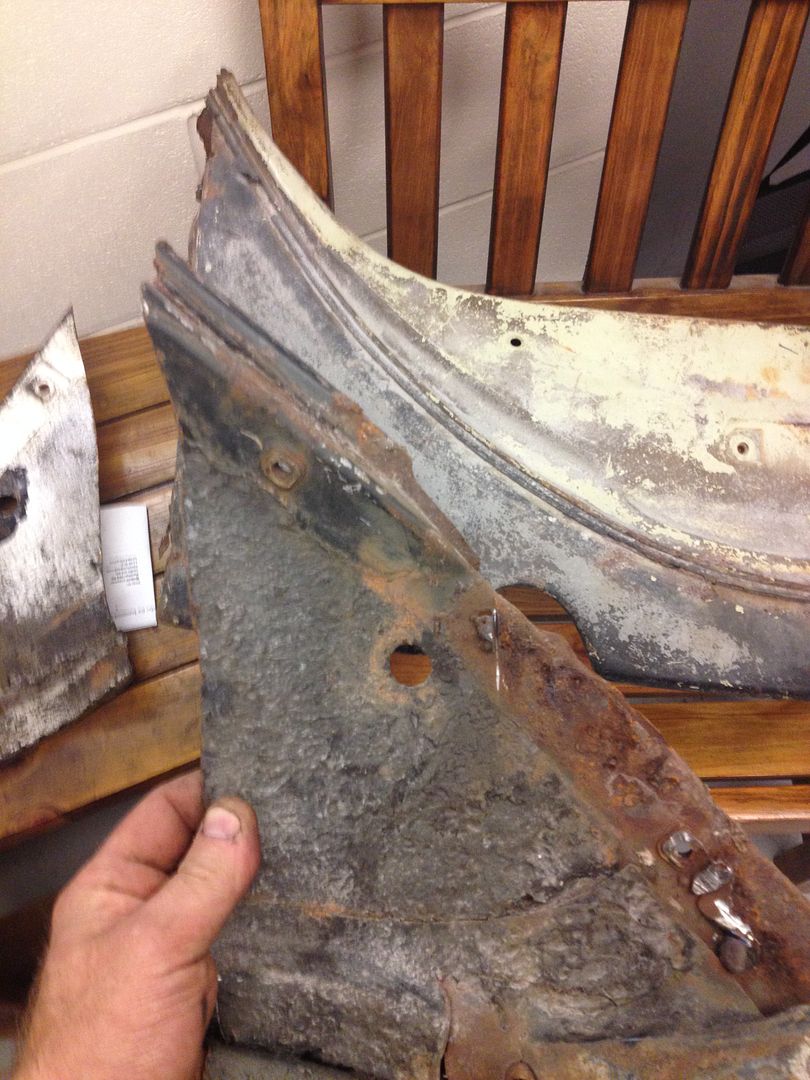 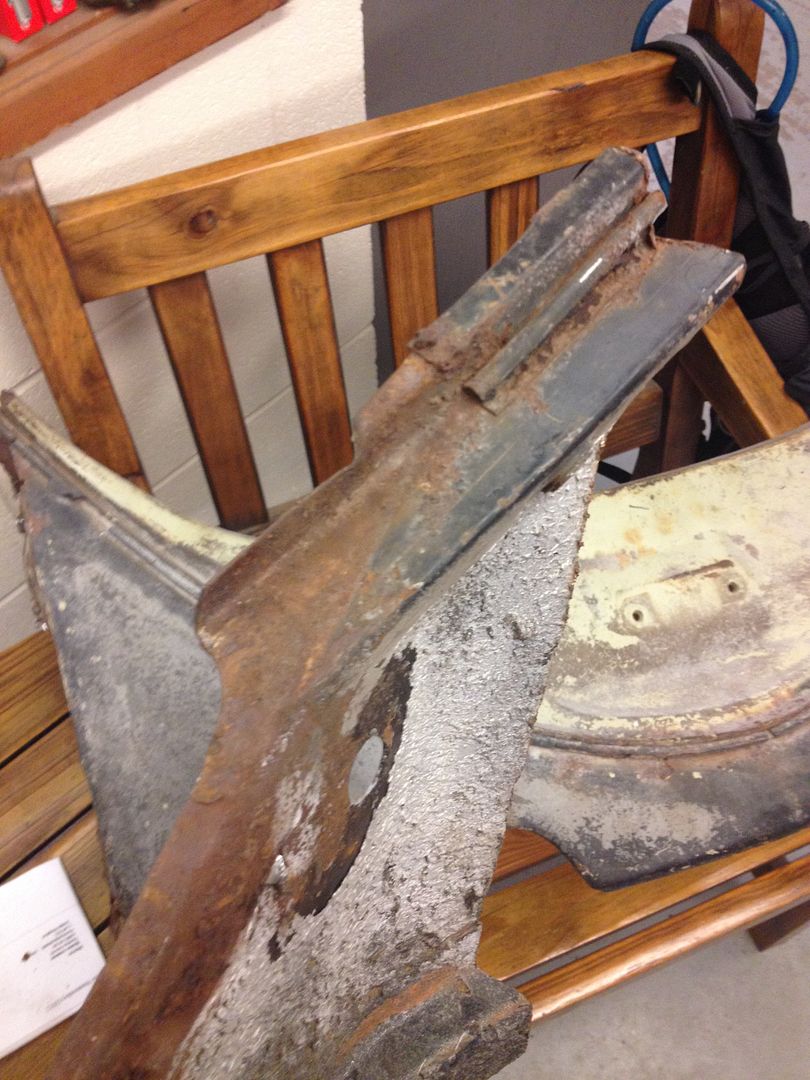 Cut the section out 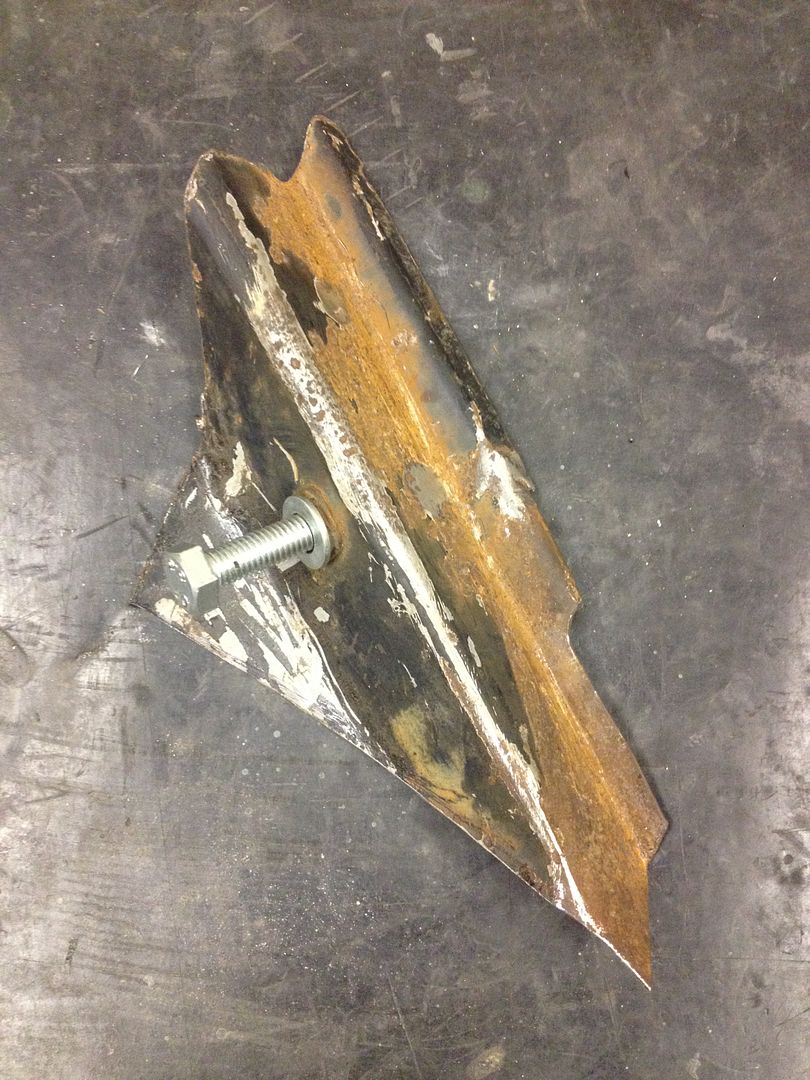 Blasted  Tacked 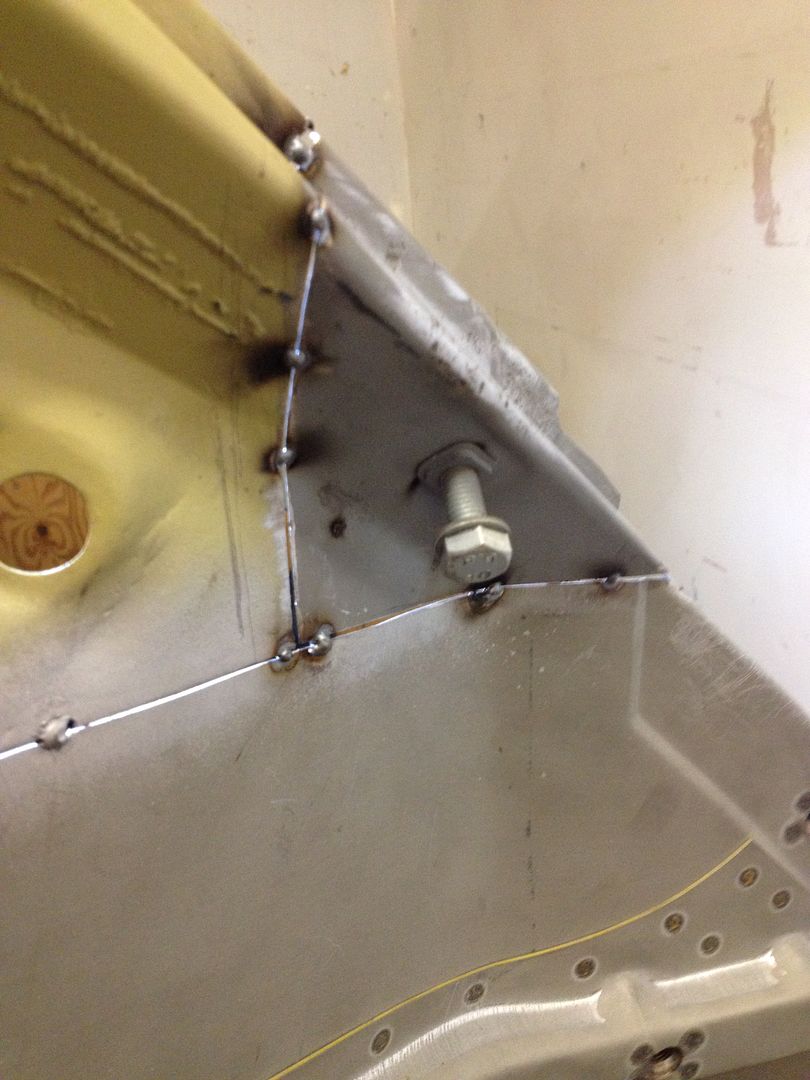 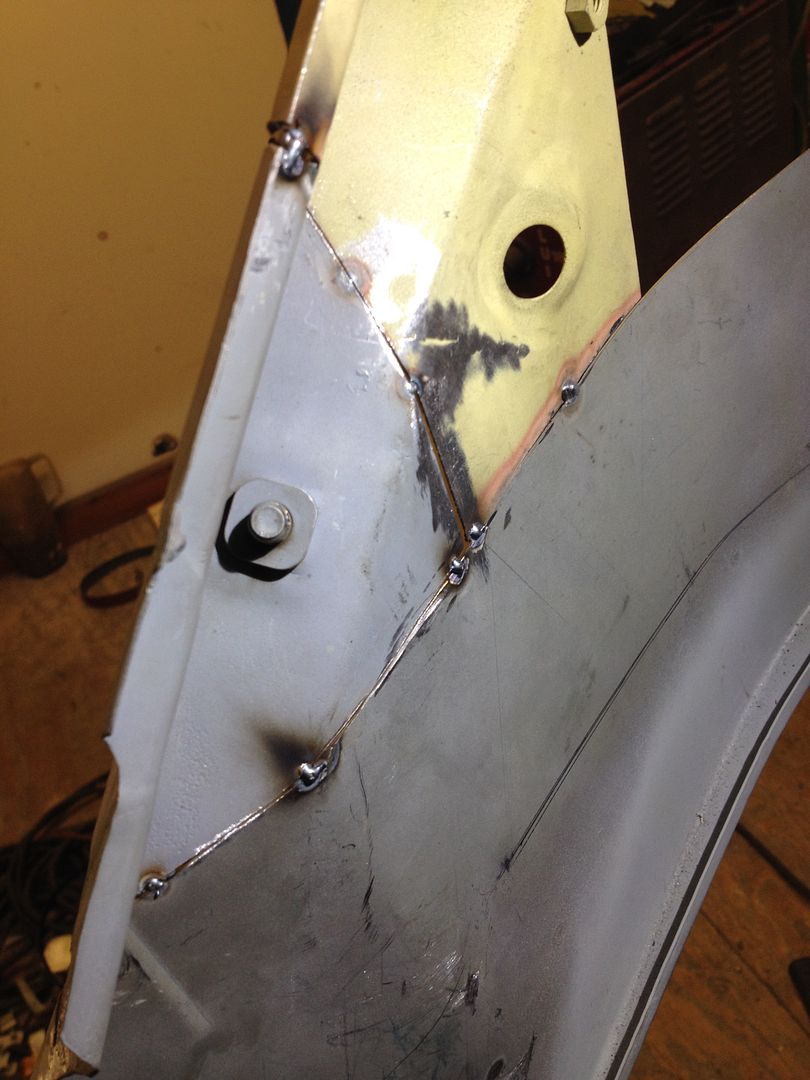 |
|
|
|
|
Logged
|
|
|
|
|
vwhelmot
|
|
« Reply #39 on: June 12, 2015, 12:17:17 pm » |
|
|
|
|
|
|
Logged
|
|
|
|
|
vwhelmot
|
|
« Reply #40 on: June 15, 2015, 09:34:29 am » |
|
|
|
|
|
|
Logged
|
|
|
|
|
vwhelmot
|
|
« Reply #41 on: June 15, 2015, 09:57:15 am » |
|
|
|
|
|
|
Logged
|
|
|
|
|
vwhelmot
|
|
« Reply #42 on: June 15, 2015, 12:02:47 pm » |
|
So both sides nearly done, the square top corner of the LH weber hole was adjusted after I welded in a section to make a curve. 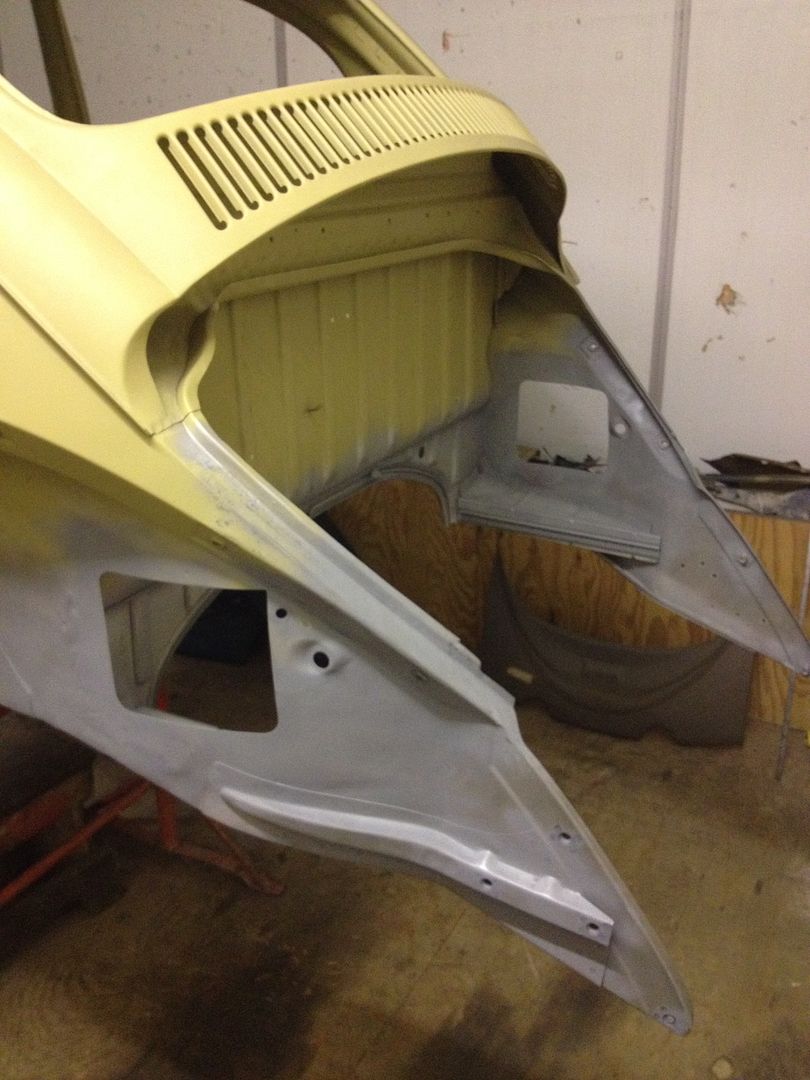 The next on the list was the rear cross members. Now as far as I`m concerned the only was to repair these are to cut them out completely and make them good before welding them back in again, rather than just trying to repair them in place. Its a neater job. I had repaired mine before using a later square type member and it looked far from good. 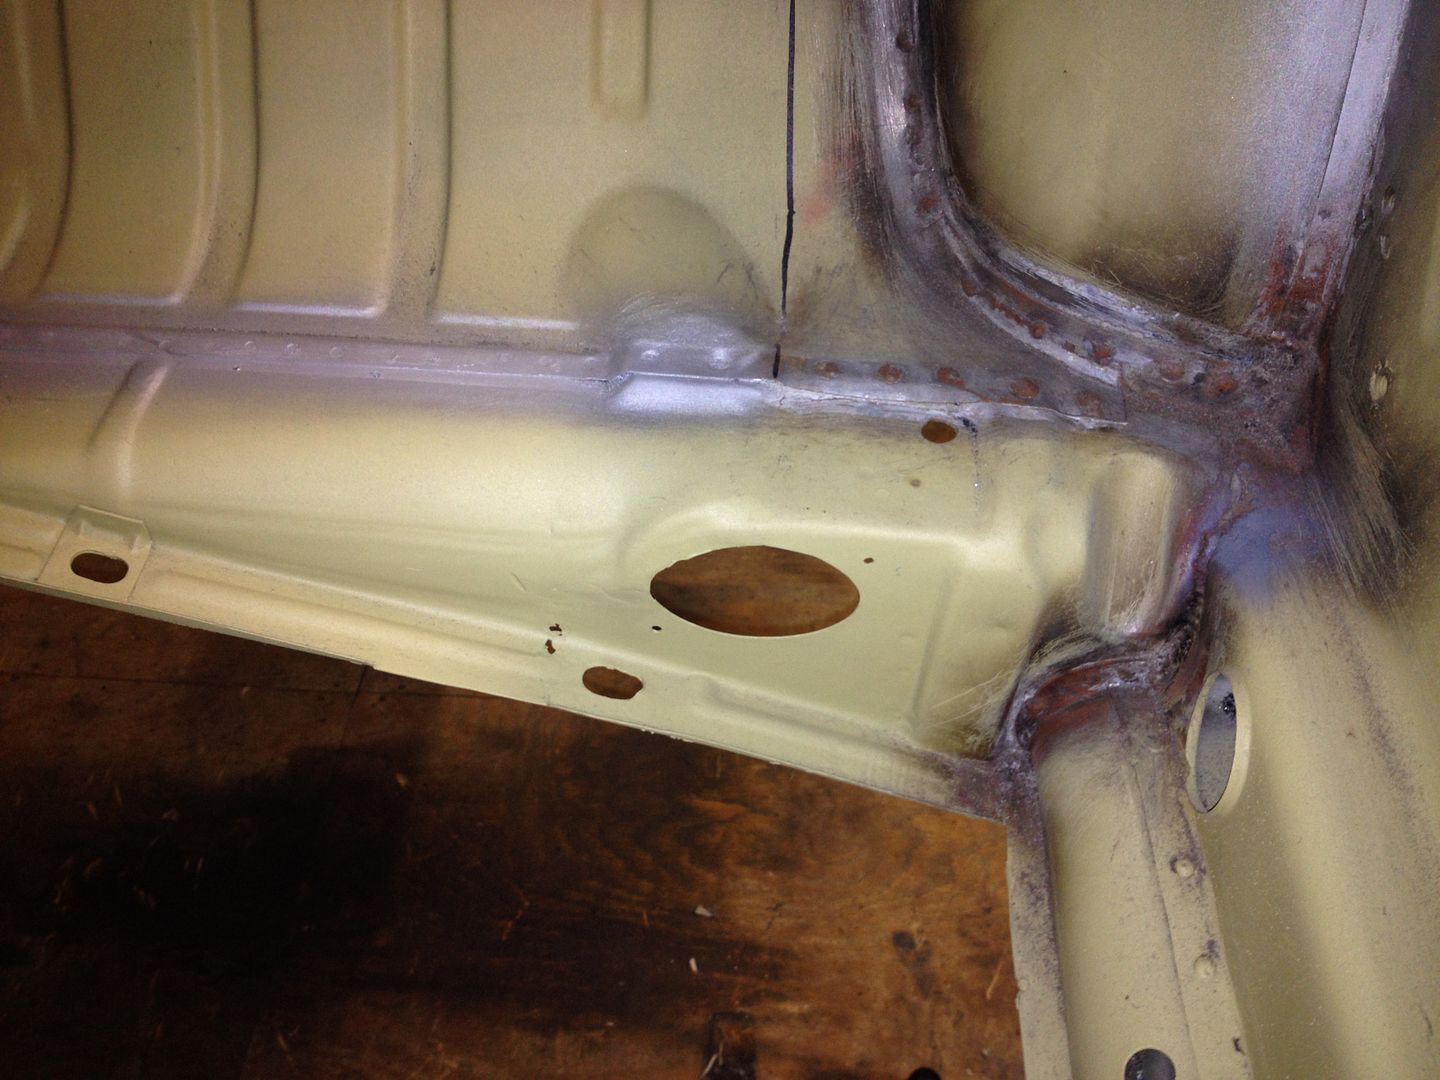 |
|
|
|
« Last Edit: June 15, 2015, 12:12:12 pm by vwhelmot »
|
Logged
|
|
|
|
|
|
|
|
|
vwhelmot
|
|
« Reply #45 on: June 15, 2015, 14:14:05 pm » |
|
|
|
|
|
|
Logged
|
|
|
|
|
karl h
|
|
« Reply #46 on: June 15, 2015, 16:03:34 pm » |
|
VERY nice work!
|
|
|
|
|
Logged
|
|
|
|
|
vwhelmot
|
|
« Reply #47 on: June 16, 2015, 09:26:54 am » |
|
|
|
|
|
|
Logged
|
|
|
|
|
vwhelmot
|
|
« Reply #48 on: June 16, 2015, 09:35:13 am » |
|
|
|
|
|
|
Logged
|
|
|
|
|
|
|
vwhelmot
|
|
« Reply #50 on: June 16, 2015, 10:41:42 am » |
|
|
|
|
|
|
Logged
|
|
|
|
|
|
|
vwhelmot
|
|
« Reply #52 on: June 17, 2015, 11:40:59 am » |
|
Rewelded and smoothed off the welds here 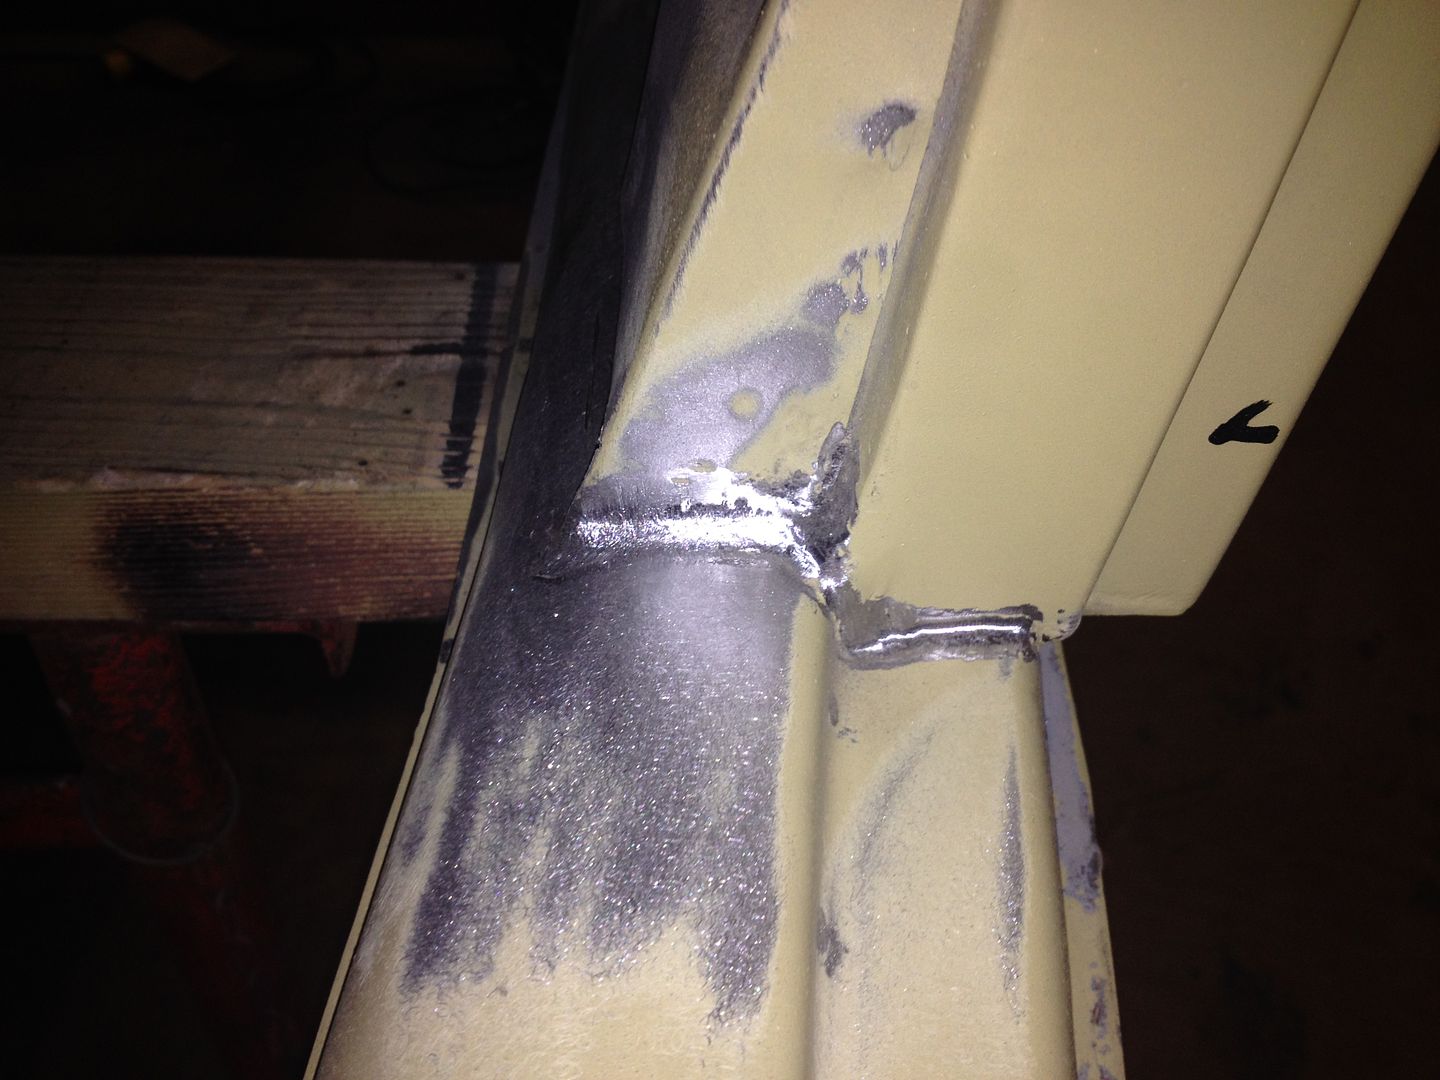 I`m not going to be running heaters so I cut off the pipe inlet and filled in the hole. 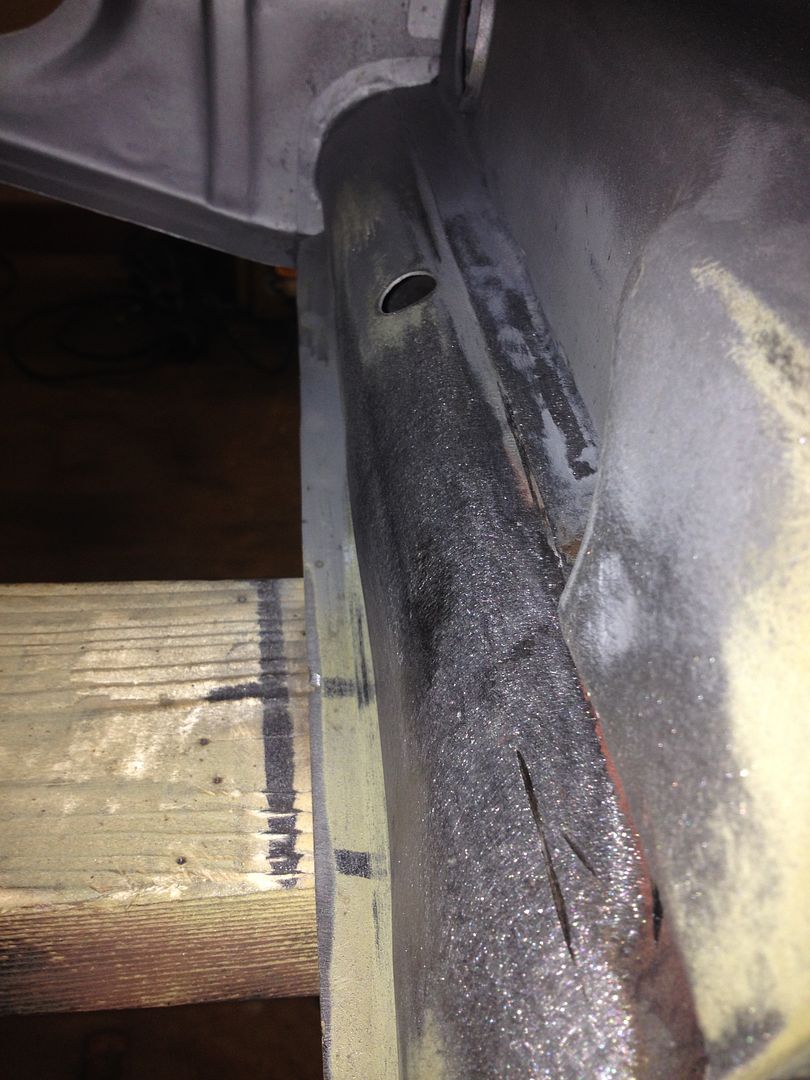 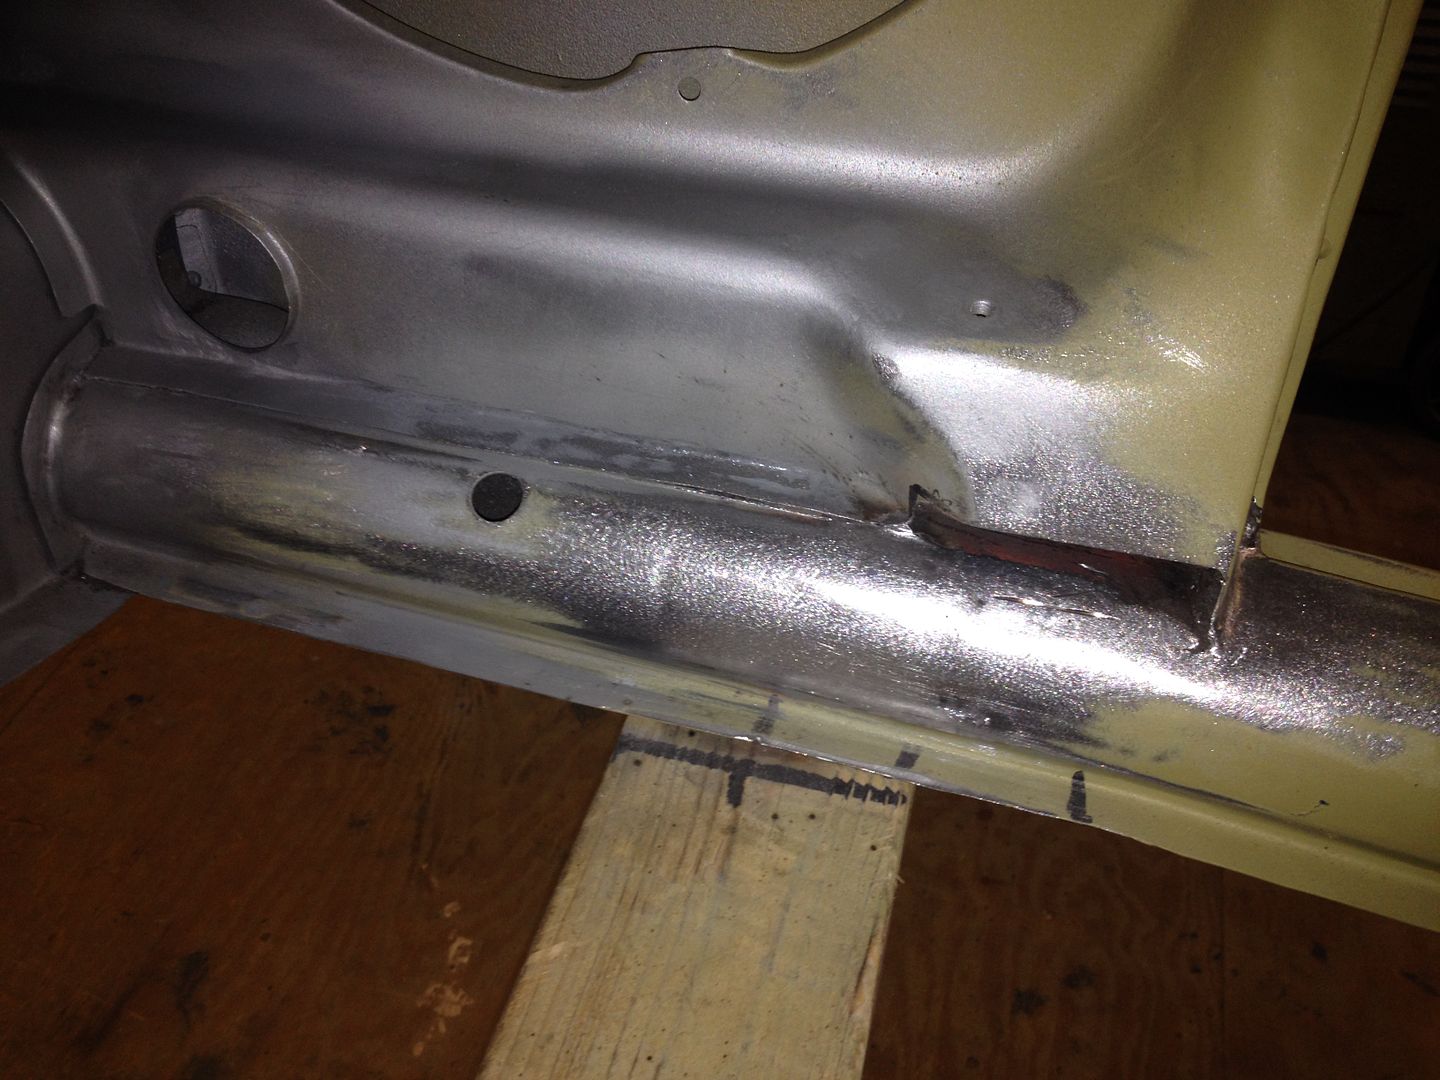 Made a new piece 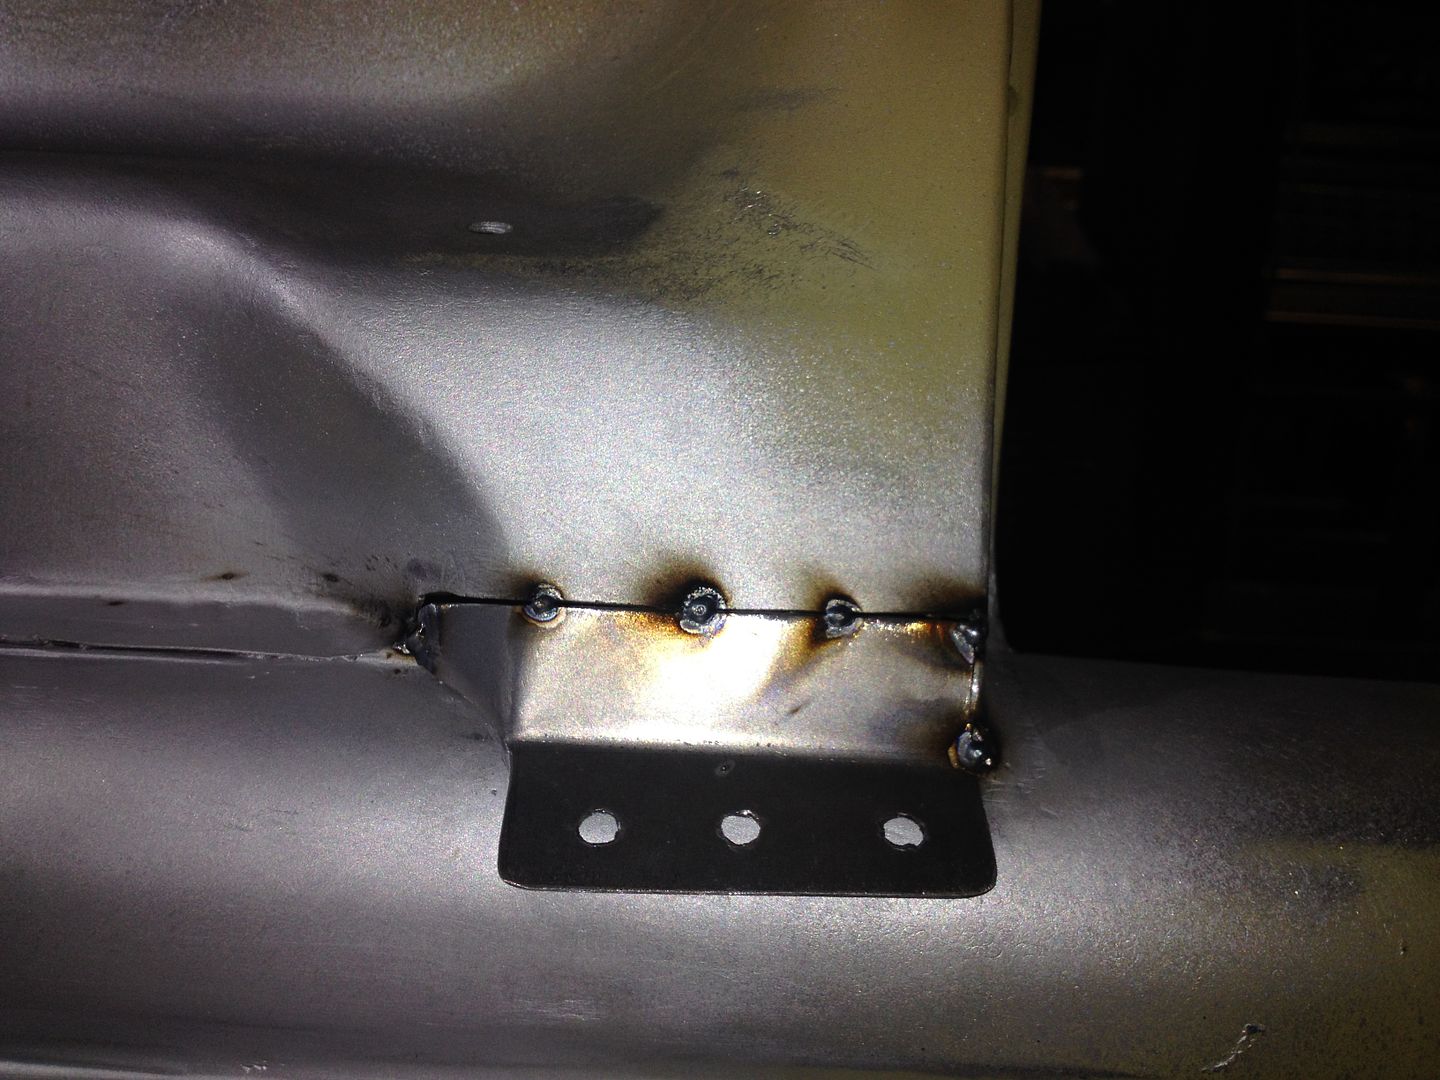 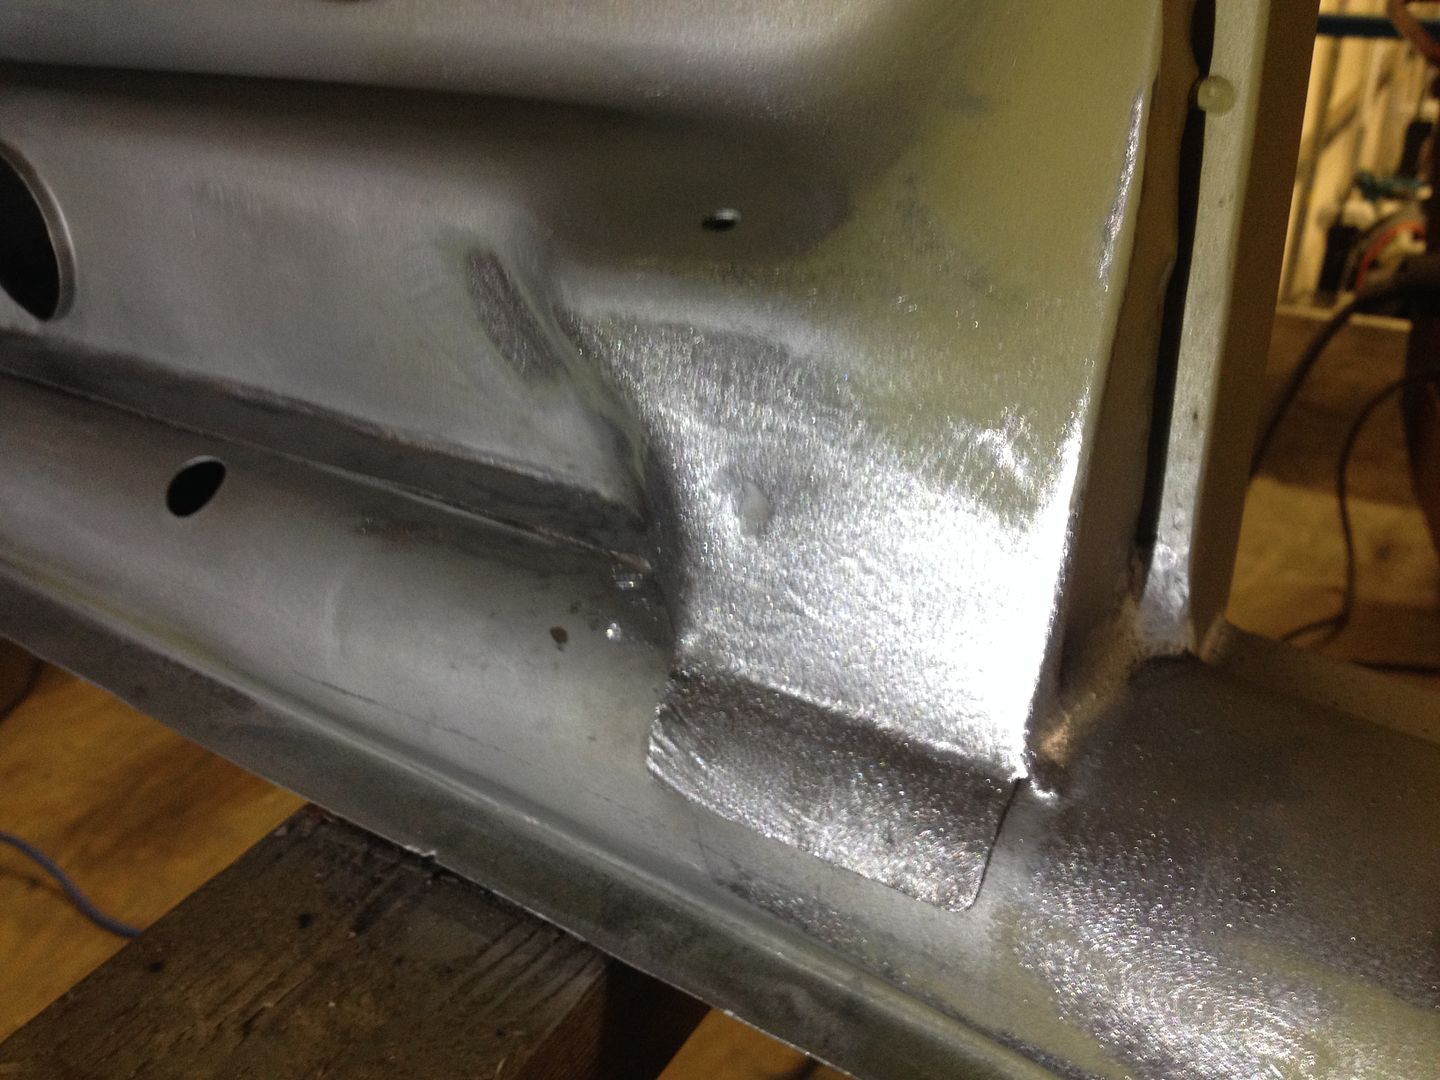 I then refitted the body to align and fully weld in the cross member 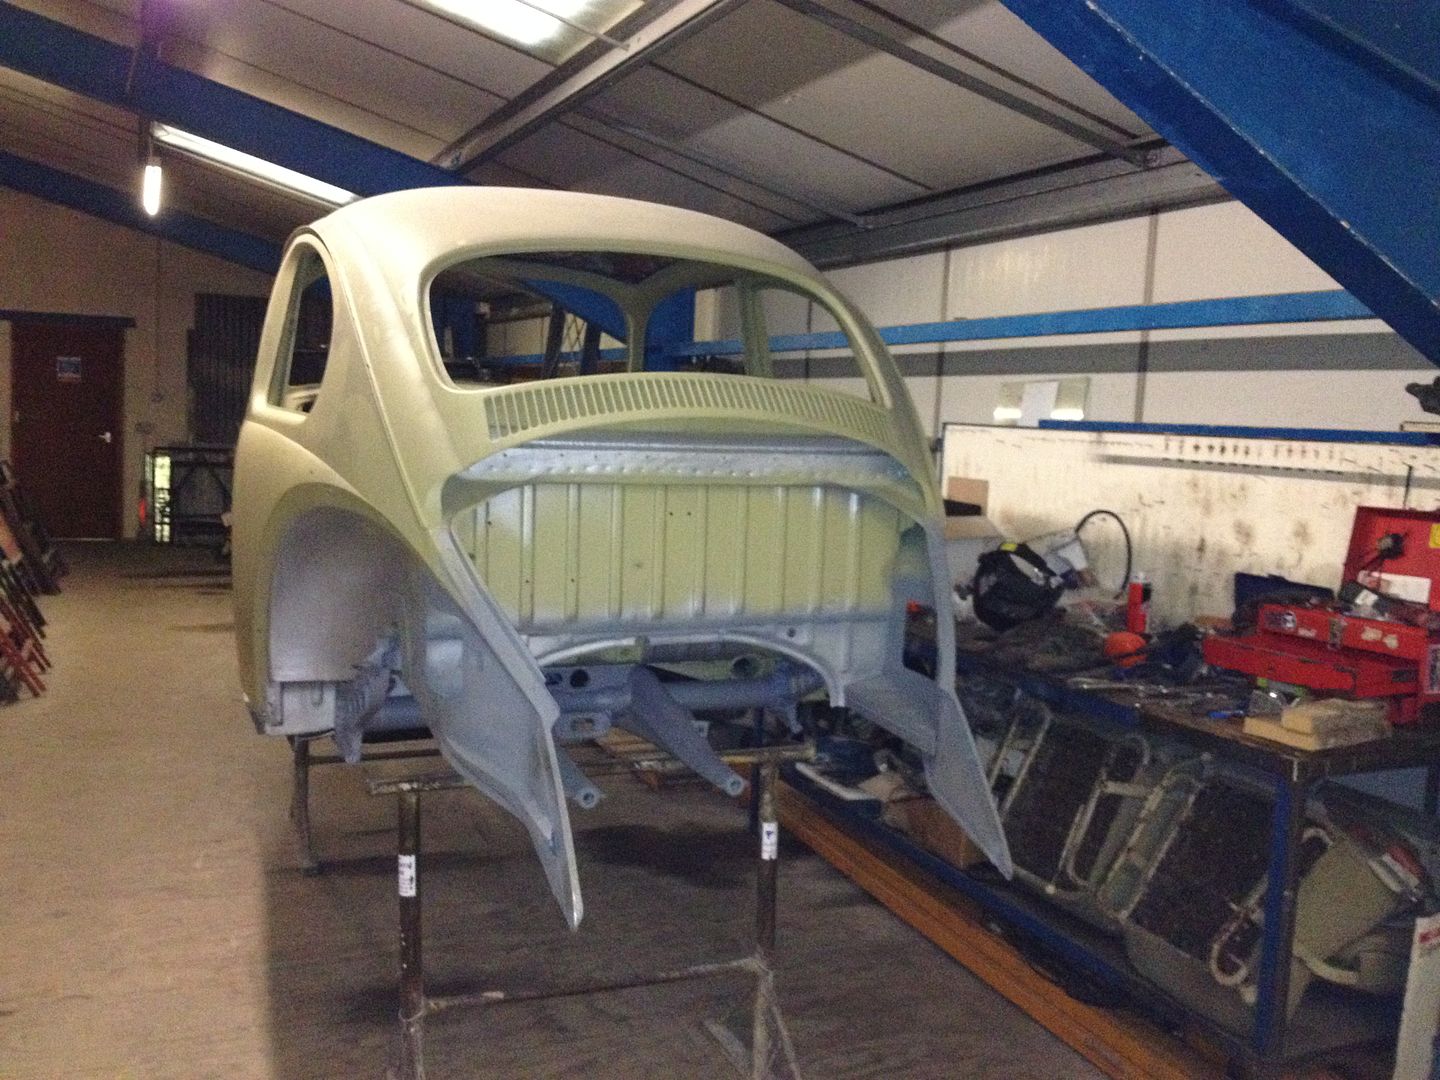 Pre welded 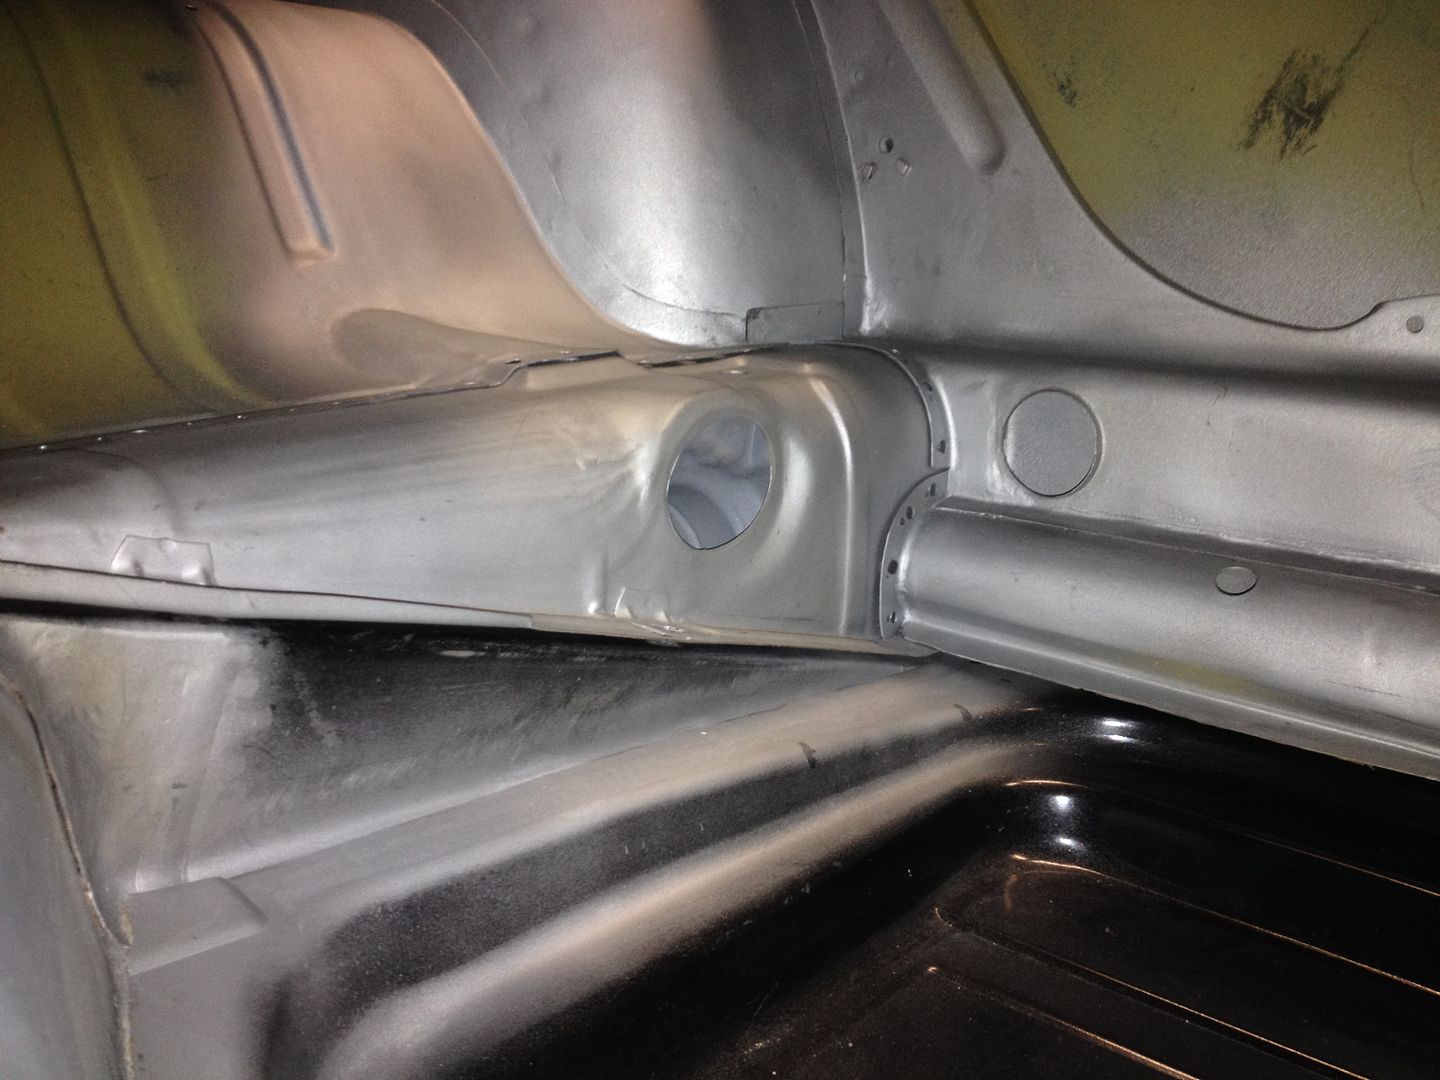 Cool  All welded in and smoothed 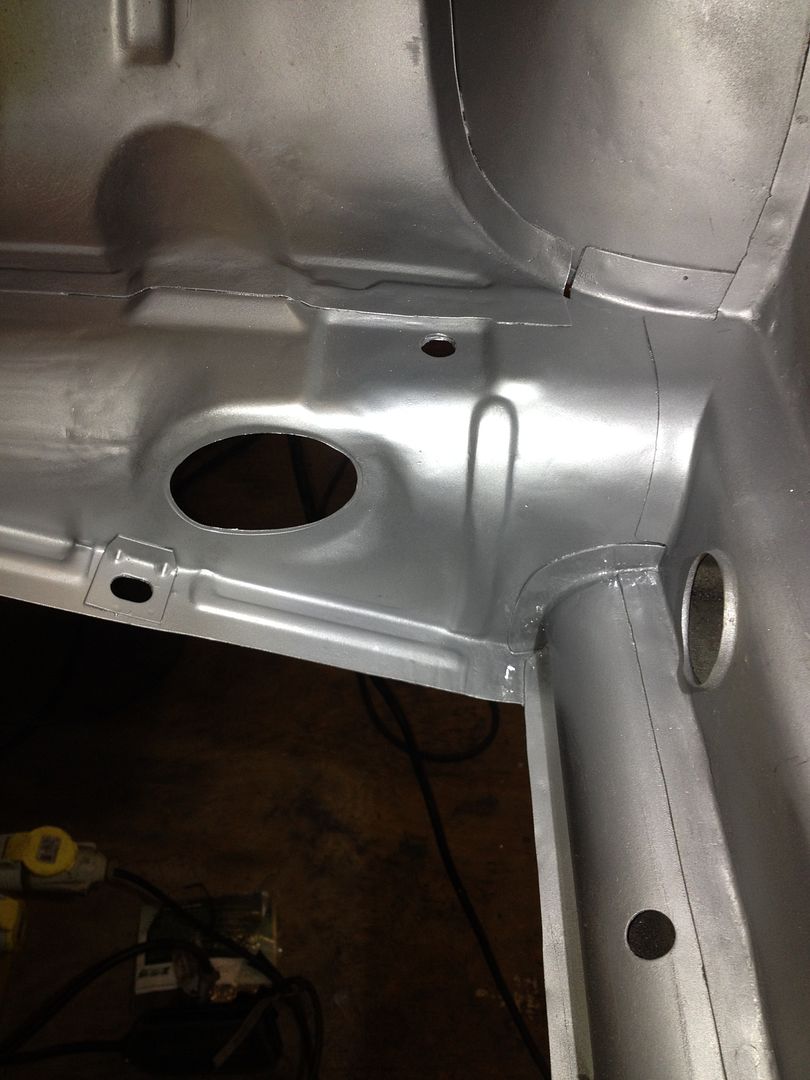 Bit still to do here 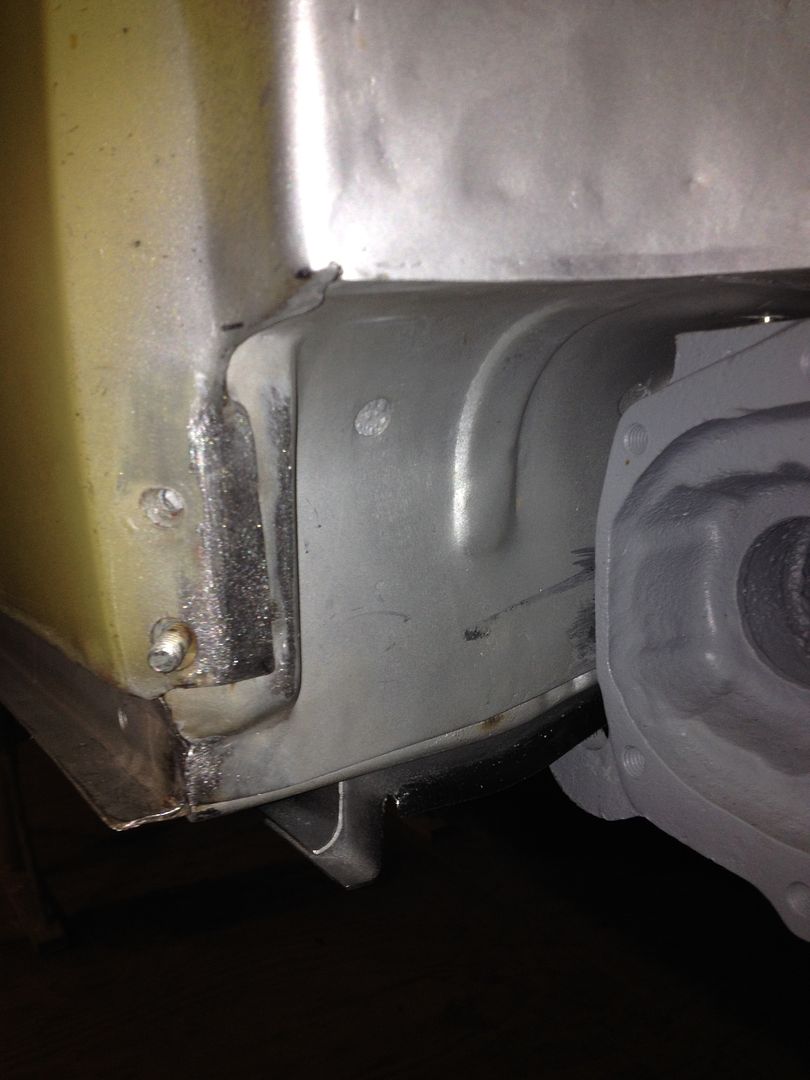 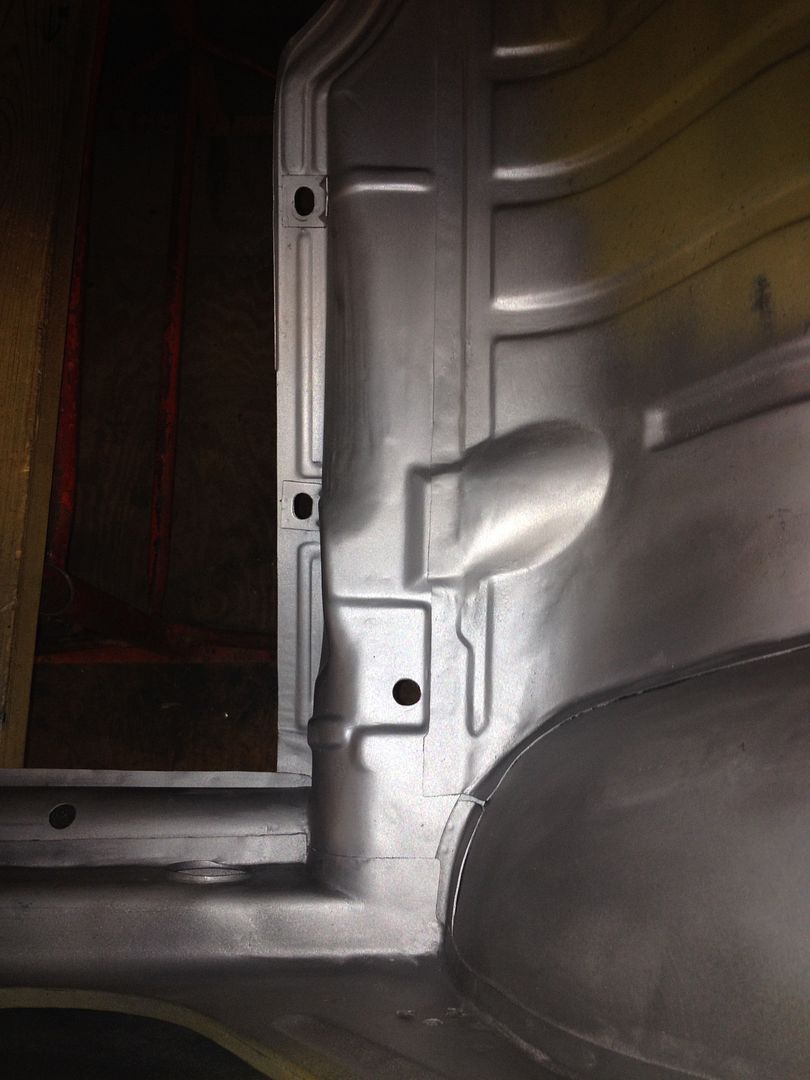 Happy days 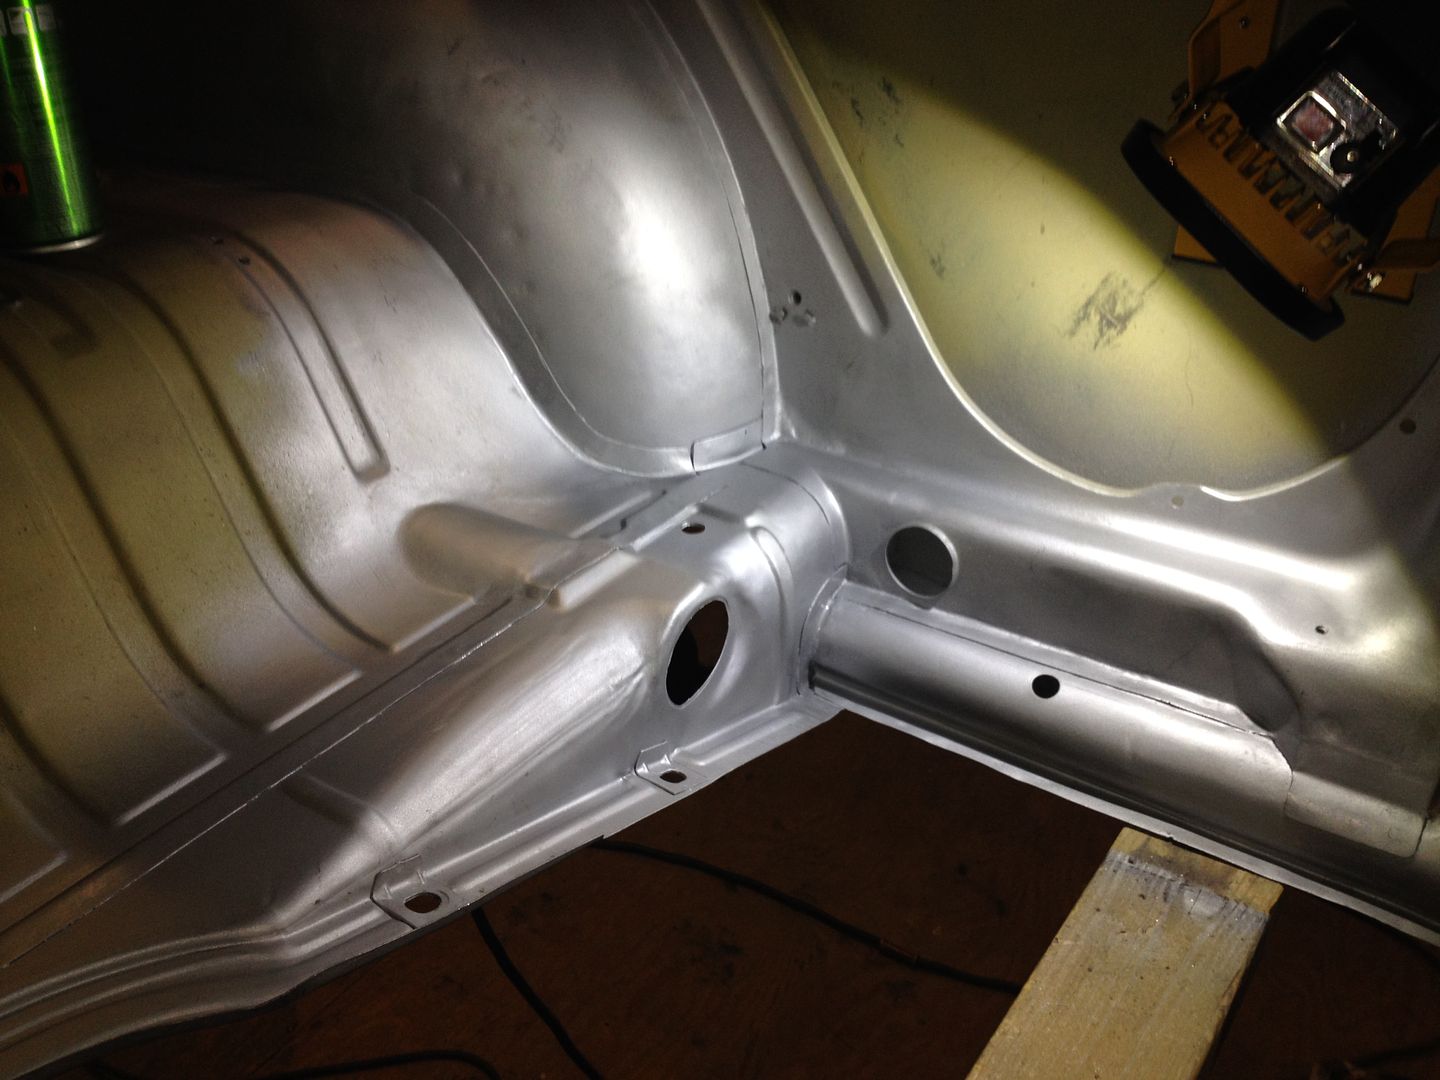 |
|
|
|
|
Logged
|
|
|
|
|
richie
|
|
« Reply #53 on: June 17, 2015, 12:06:03 pm » |
|
That's some seriously impressive work you are doing  You must have a lot of patience to make it all fit so well, looking forward to seeing how it turns out cheers Richie |
|
|
|
|
Logged
|
Cars are supposed to be driven, not just talked about!!! Good parts might be expensive but good advice is priceless  |
|
|
|
vwhelmot
|
|
« Reply #54 on: June 17, 2015, 12:15:03 pm » |
|
|
|
|
|
« Last Edit: May 03, 2017, 23:21:05 pm by vwhelmot »
|
Logged
|
|
|
|
|
|
|
|
|
jick
|
|
« Reply #57 on: June 17, 2015, 21:02:36 pm » |
|
well, I suppose with a little more practice and effort you might just get things to an okay kind of standard...
haha.....seriously dude....absolutely incredible workmanship and detail, I don't believe anyone else has come close to this.
VERY much looking forward to seeing more of this .
Jick
|
|
|
|
|
Logged
|
|
|
|
Erlend / bug66
Global Moderator
Hero Member

Posts: 958
SCC Event

|
|
« Reply #58 on: June 17, 2015, 21:53:13 pm » |
|
I'll box up my car and ship it, just need the address  This is excellent! My boss saw me snooping this thread at work today. Not a car guy, but totally impressed!  |
|
|
|
|
Logged
|
The '67:
10.626 @ 132mph, SCC 2016
10.407 @ 134mph, SCC 2017
10.221 @ 135mph, SCC 2018
The '59:
Not yet..
|
|
|
|
Pedalpusher
|
|
« Reply #59 on: June 18, 2015, 06:16:35 am » |
|
Yes, guys are totally right!
Danny Gabbard and now You have set the bar for metalfinishing for me at least! Pleasure to follow a build with this kind of detailwork
|
|
|
|
|
Logged
|
|
|
|
|
 The Cal-look Lounge


 Author